
User Guider
ProfiFold Quick Tents
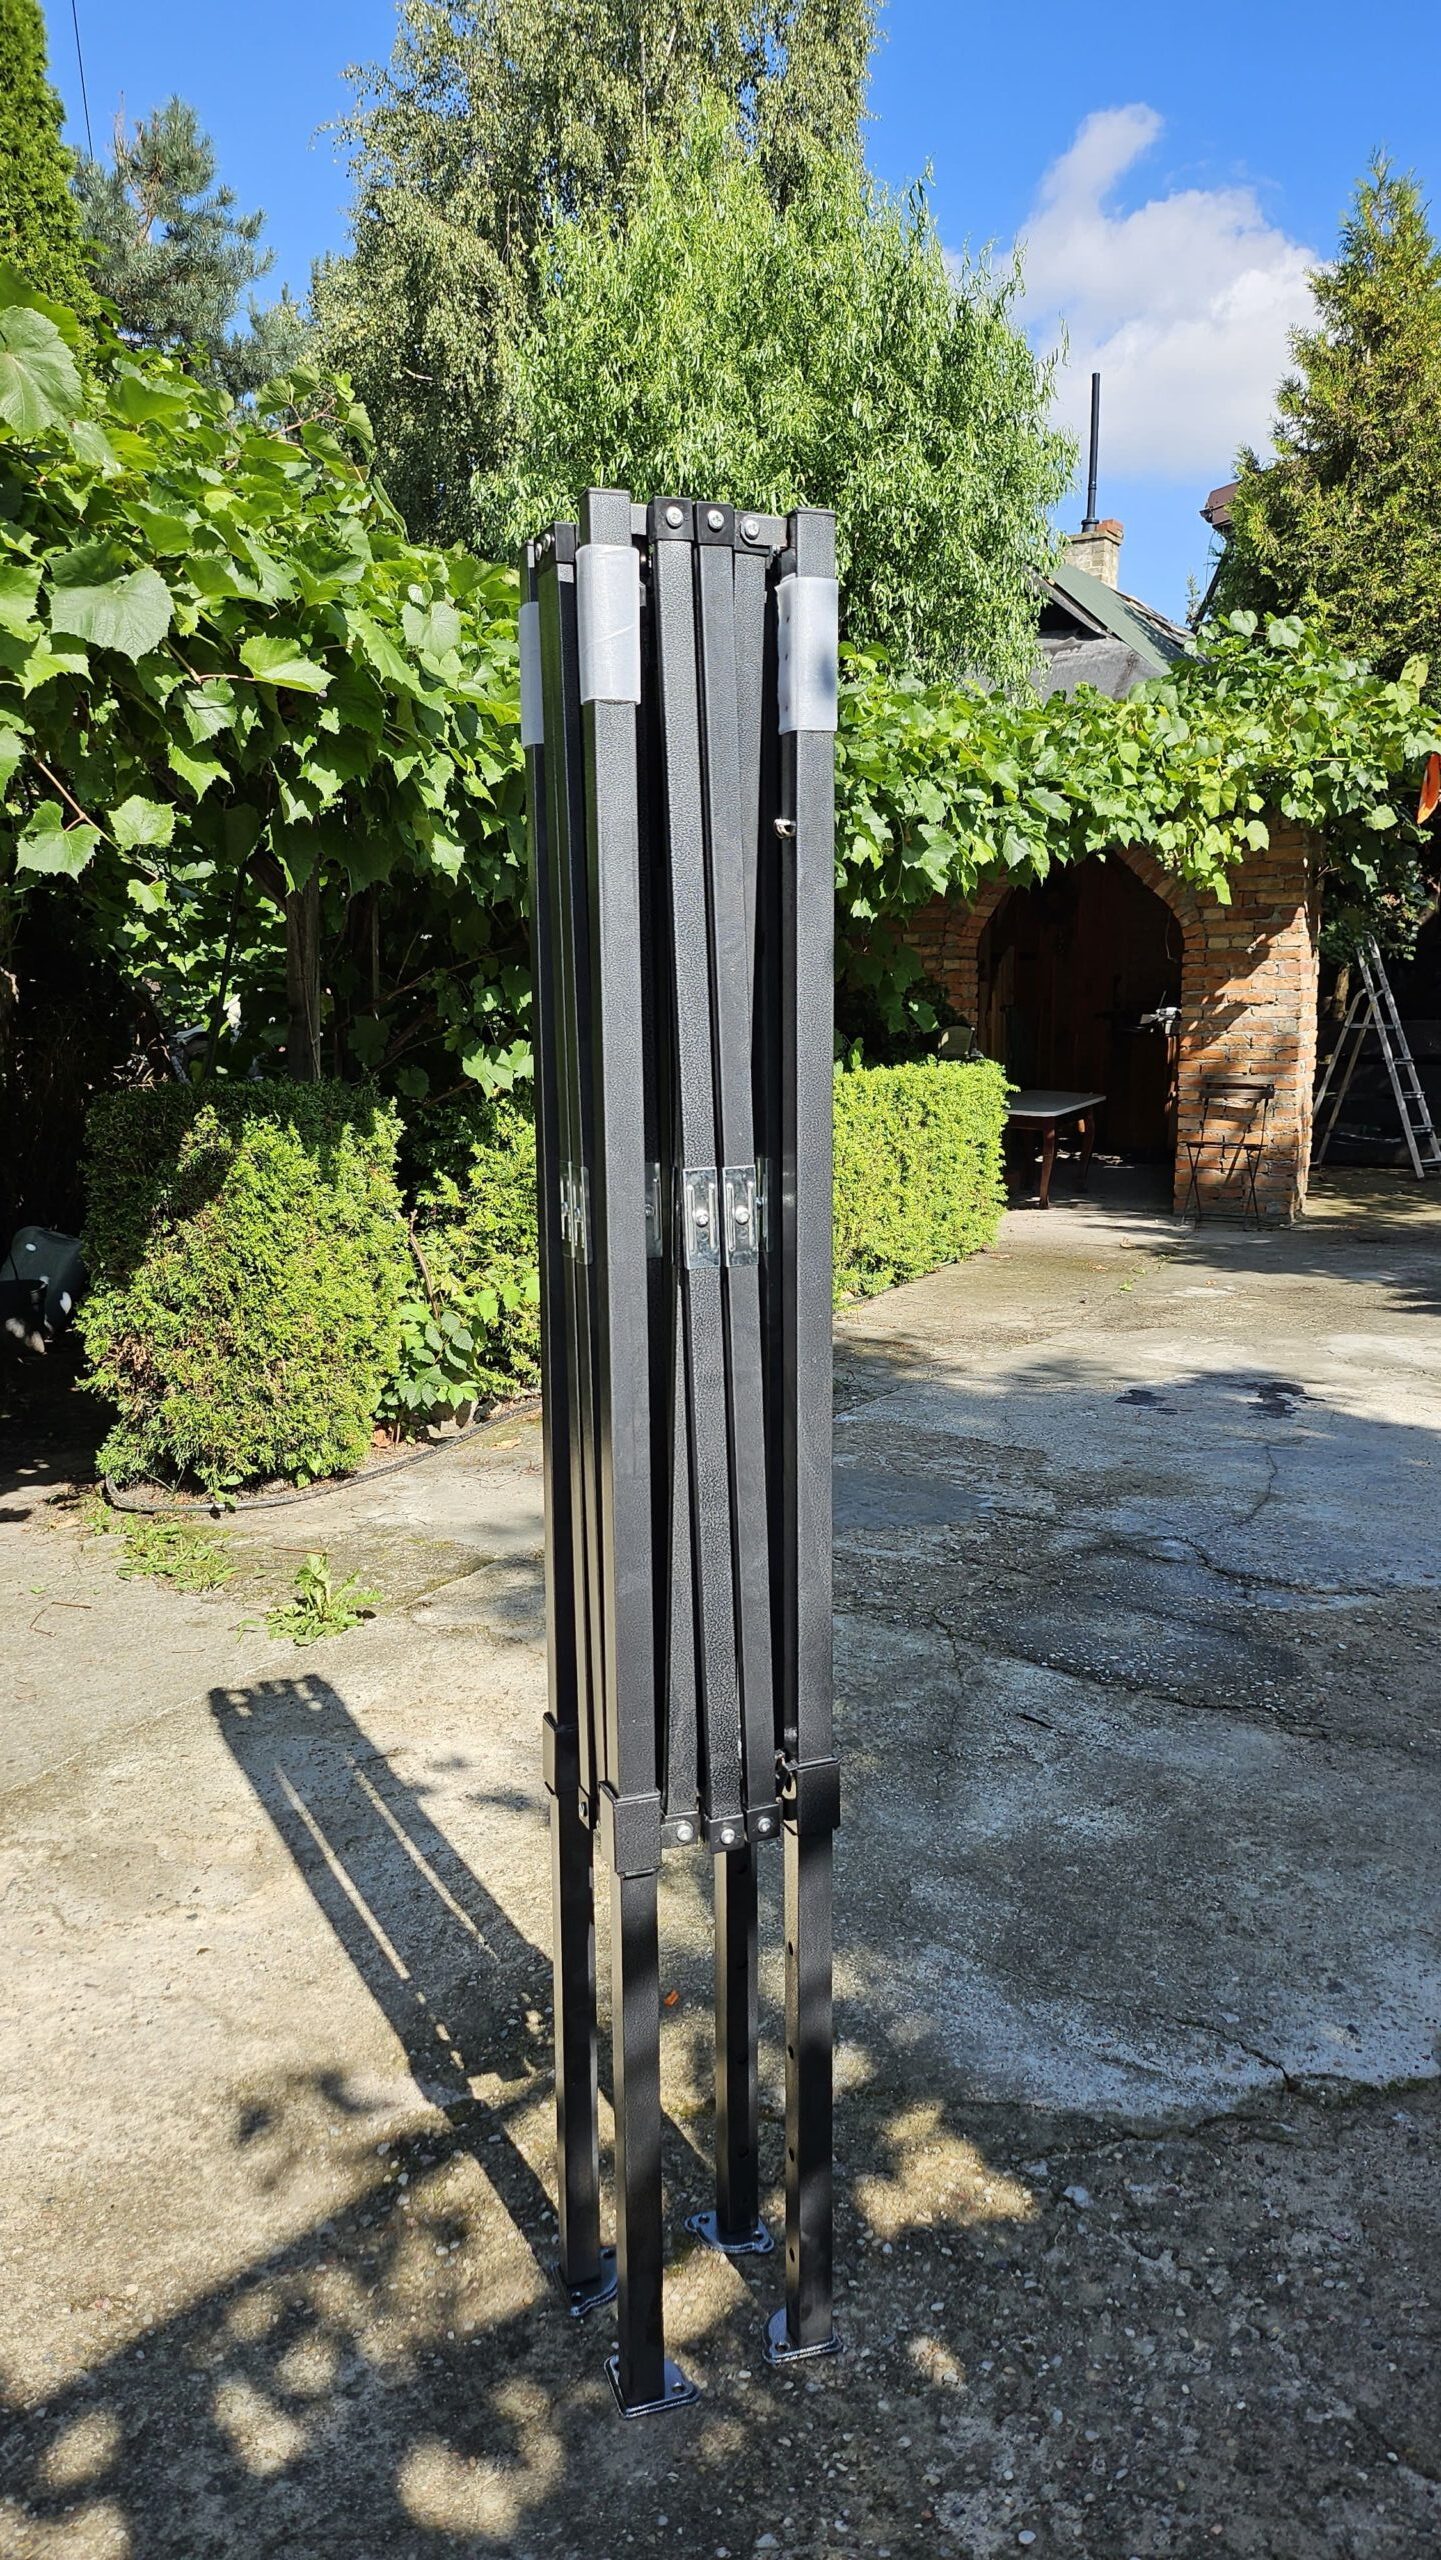
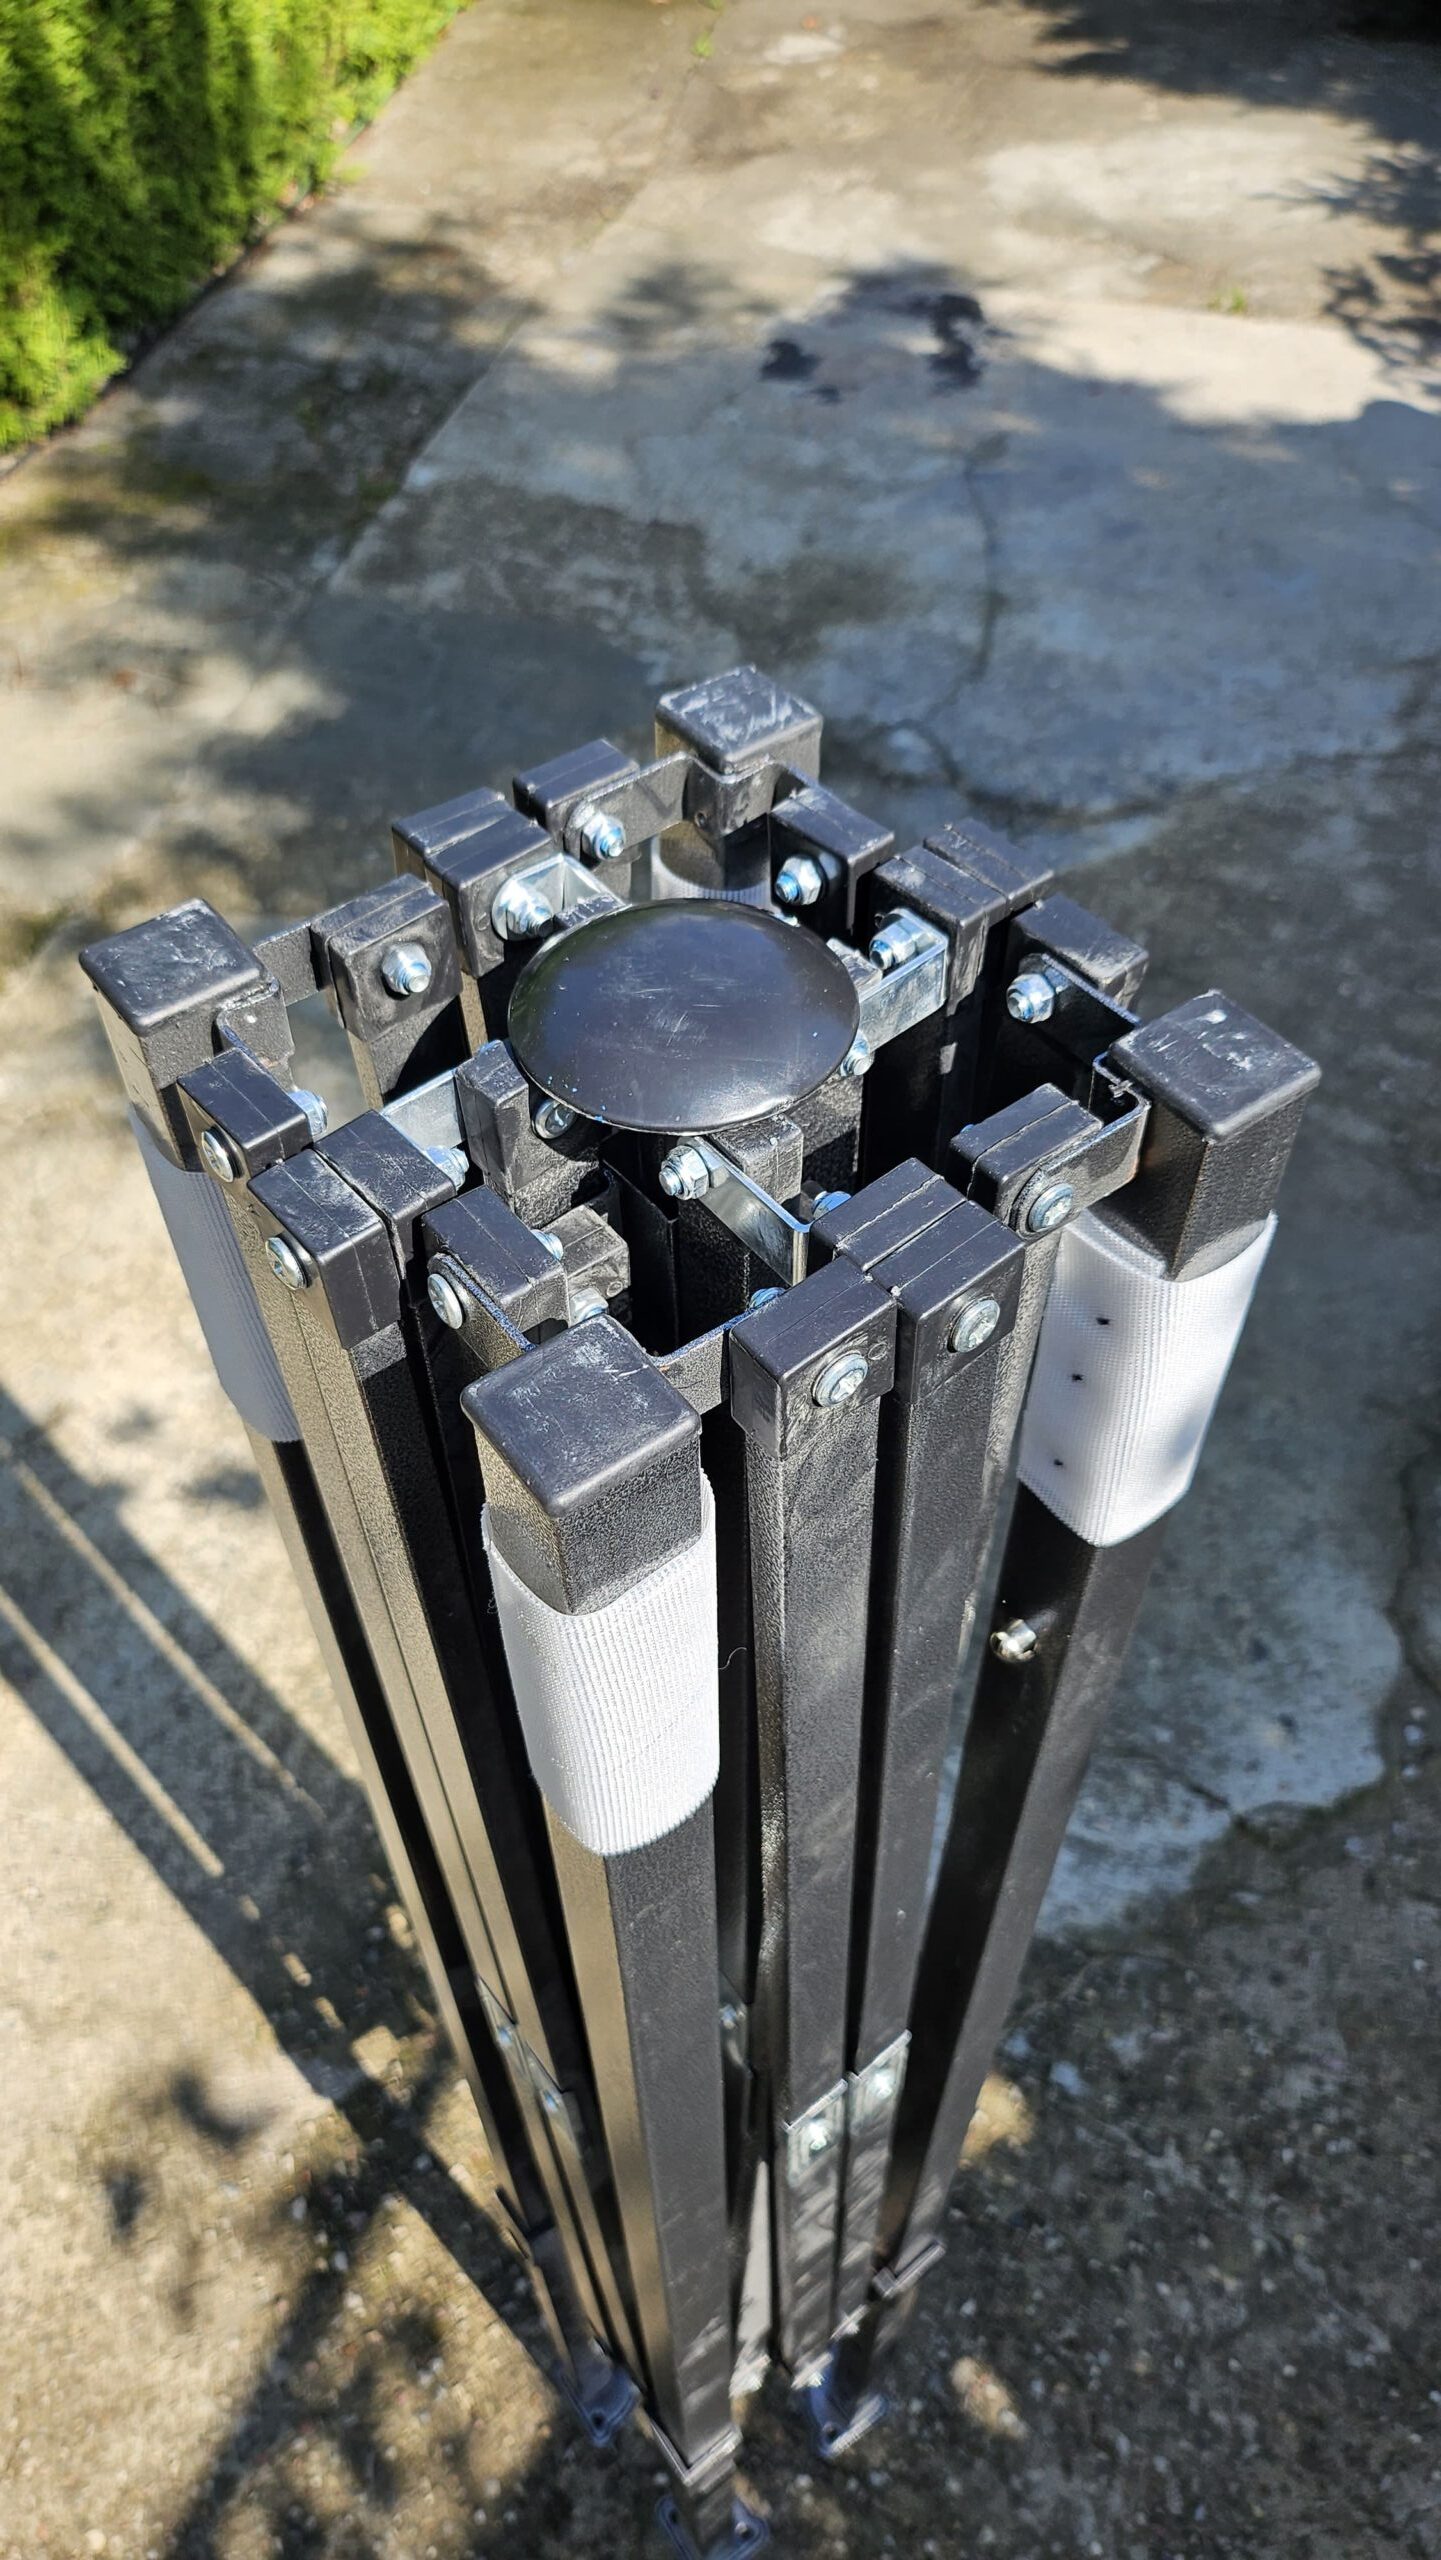
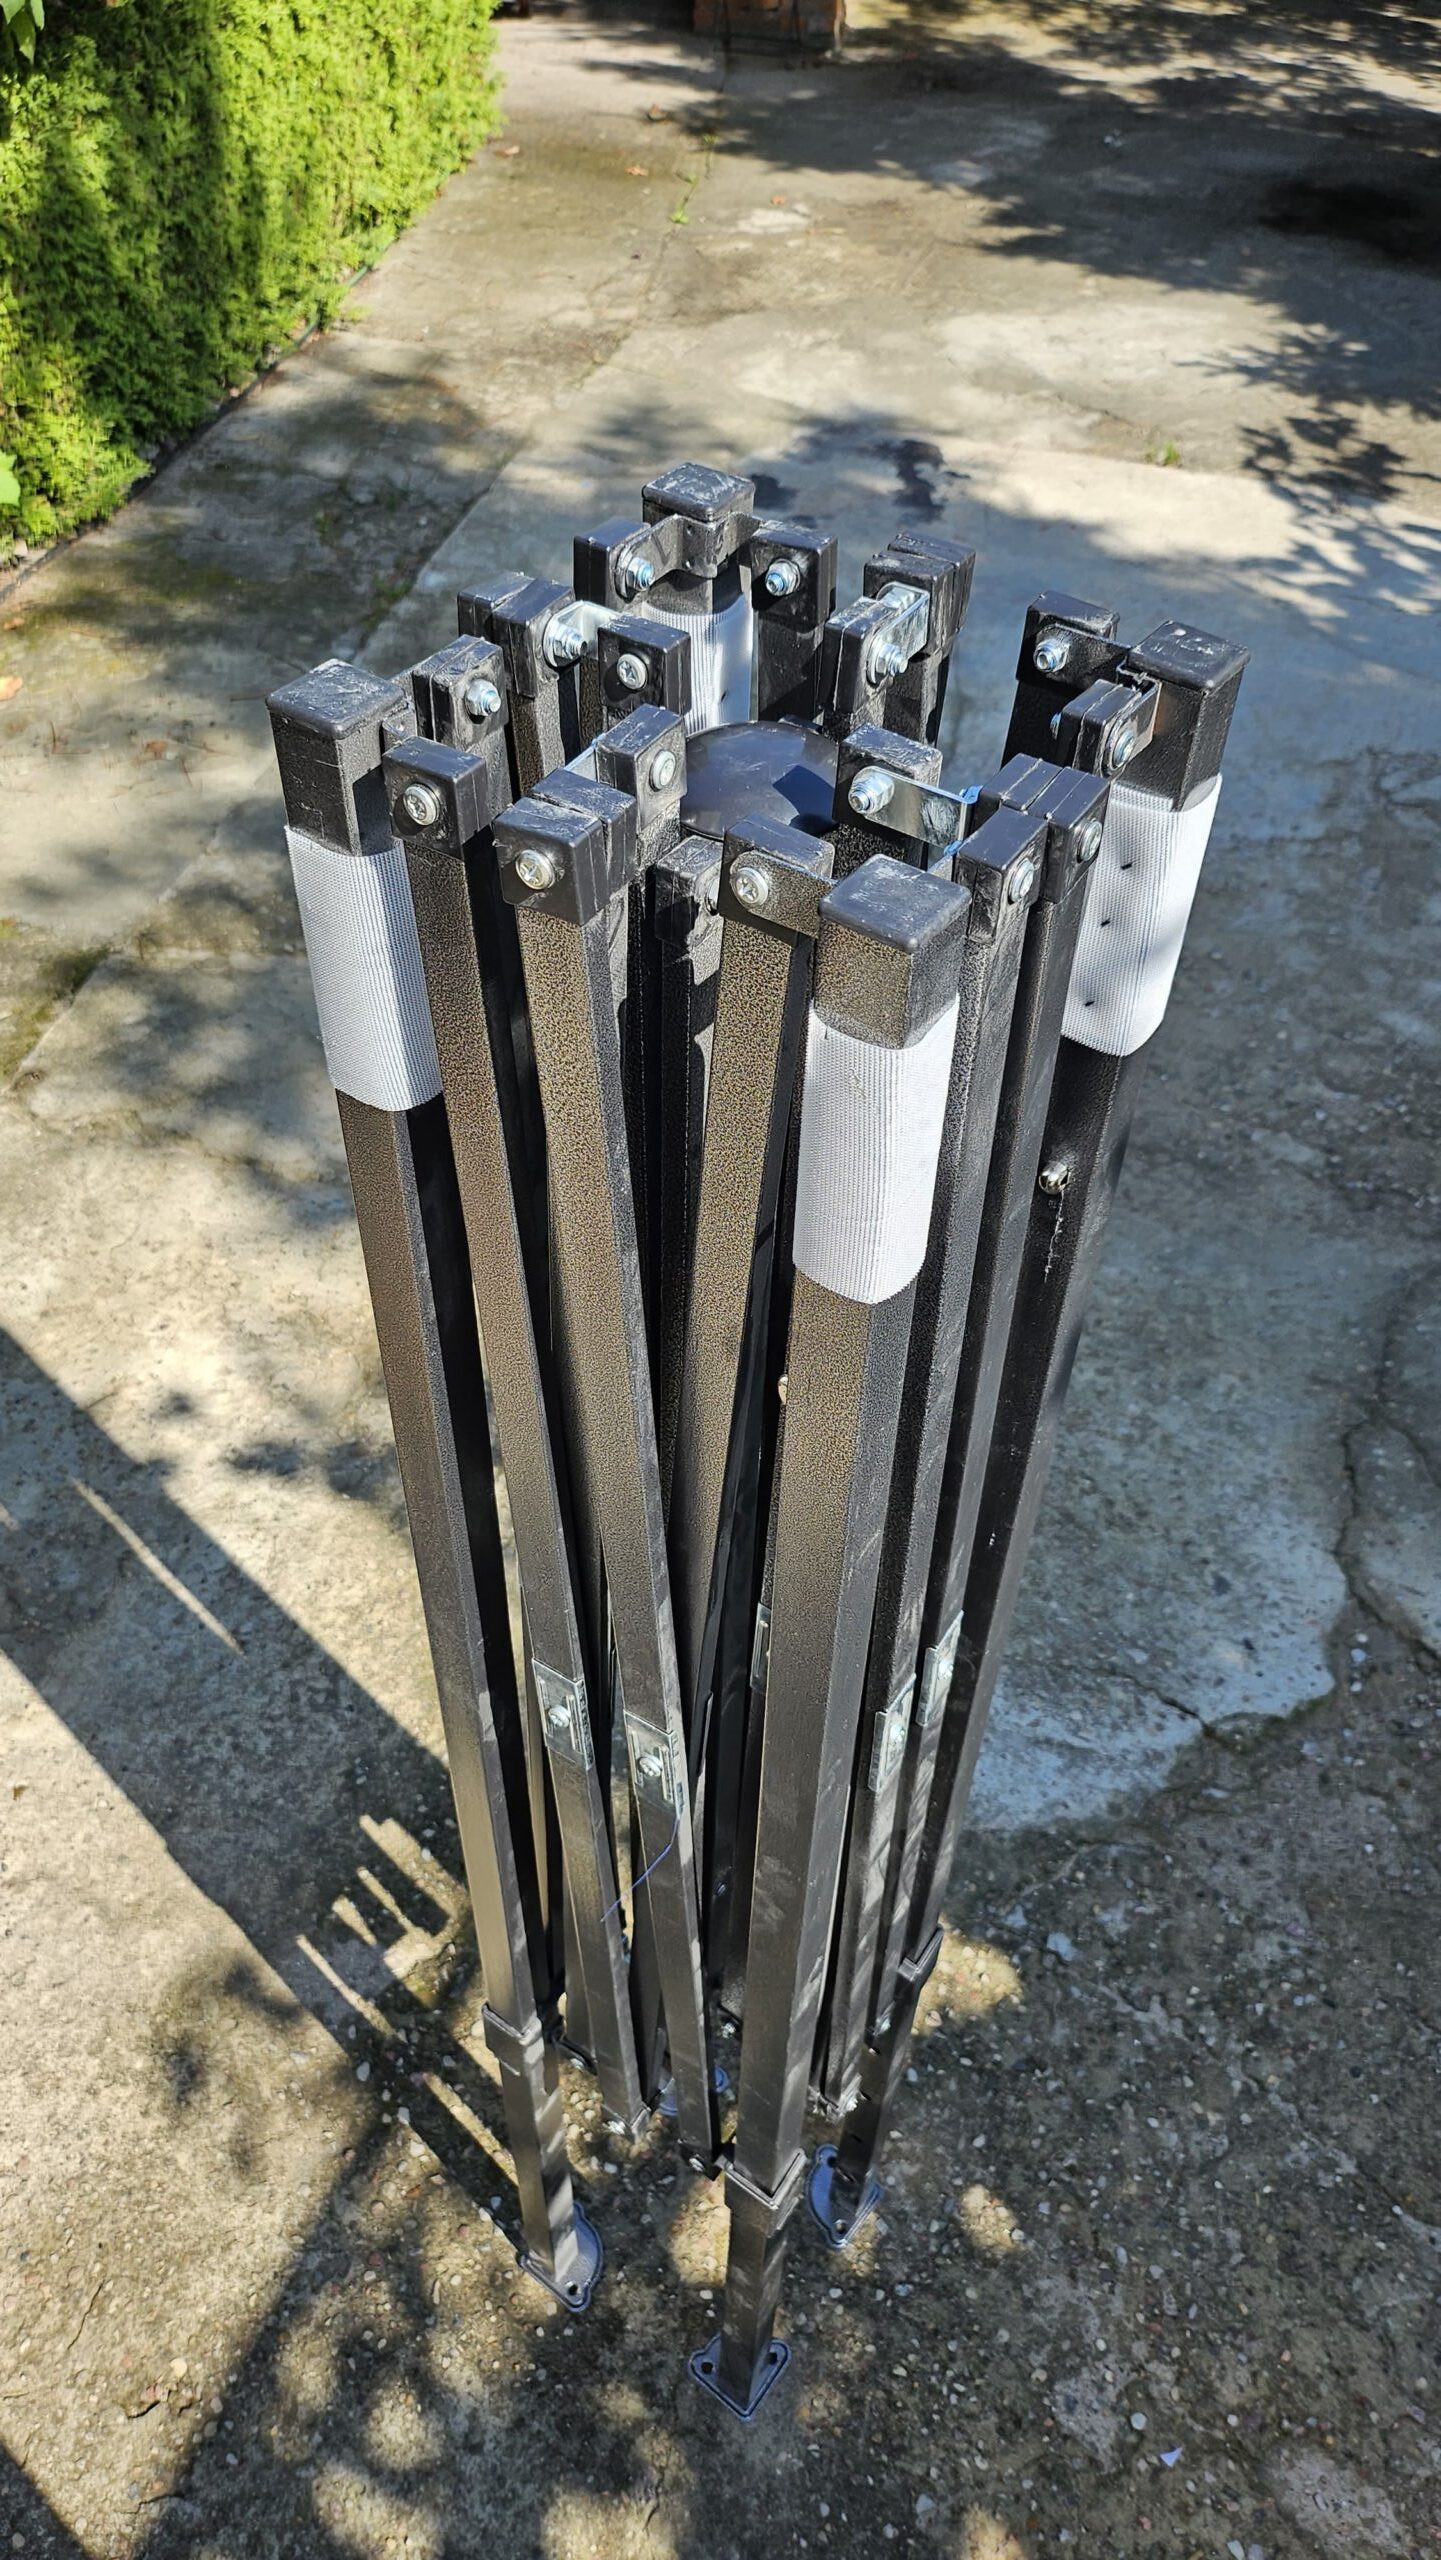
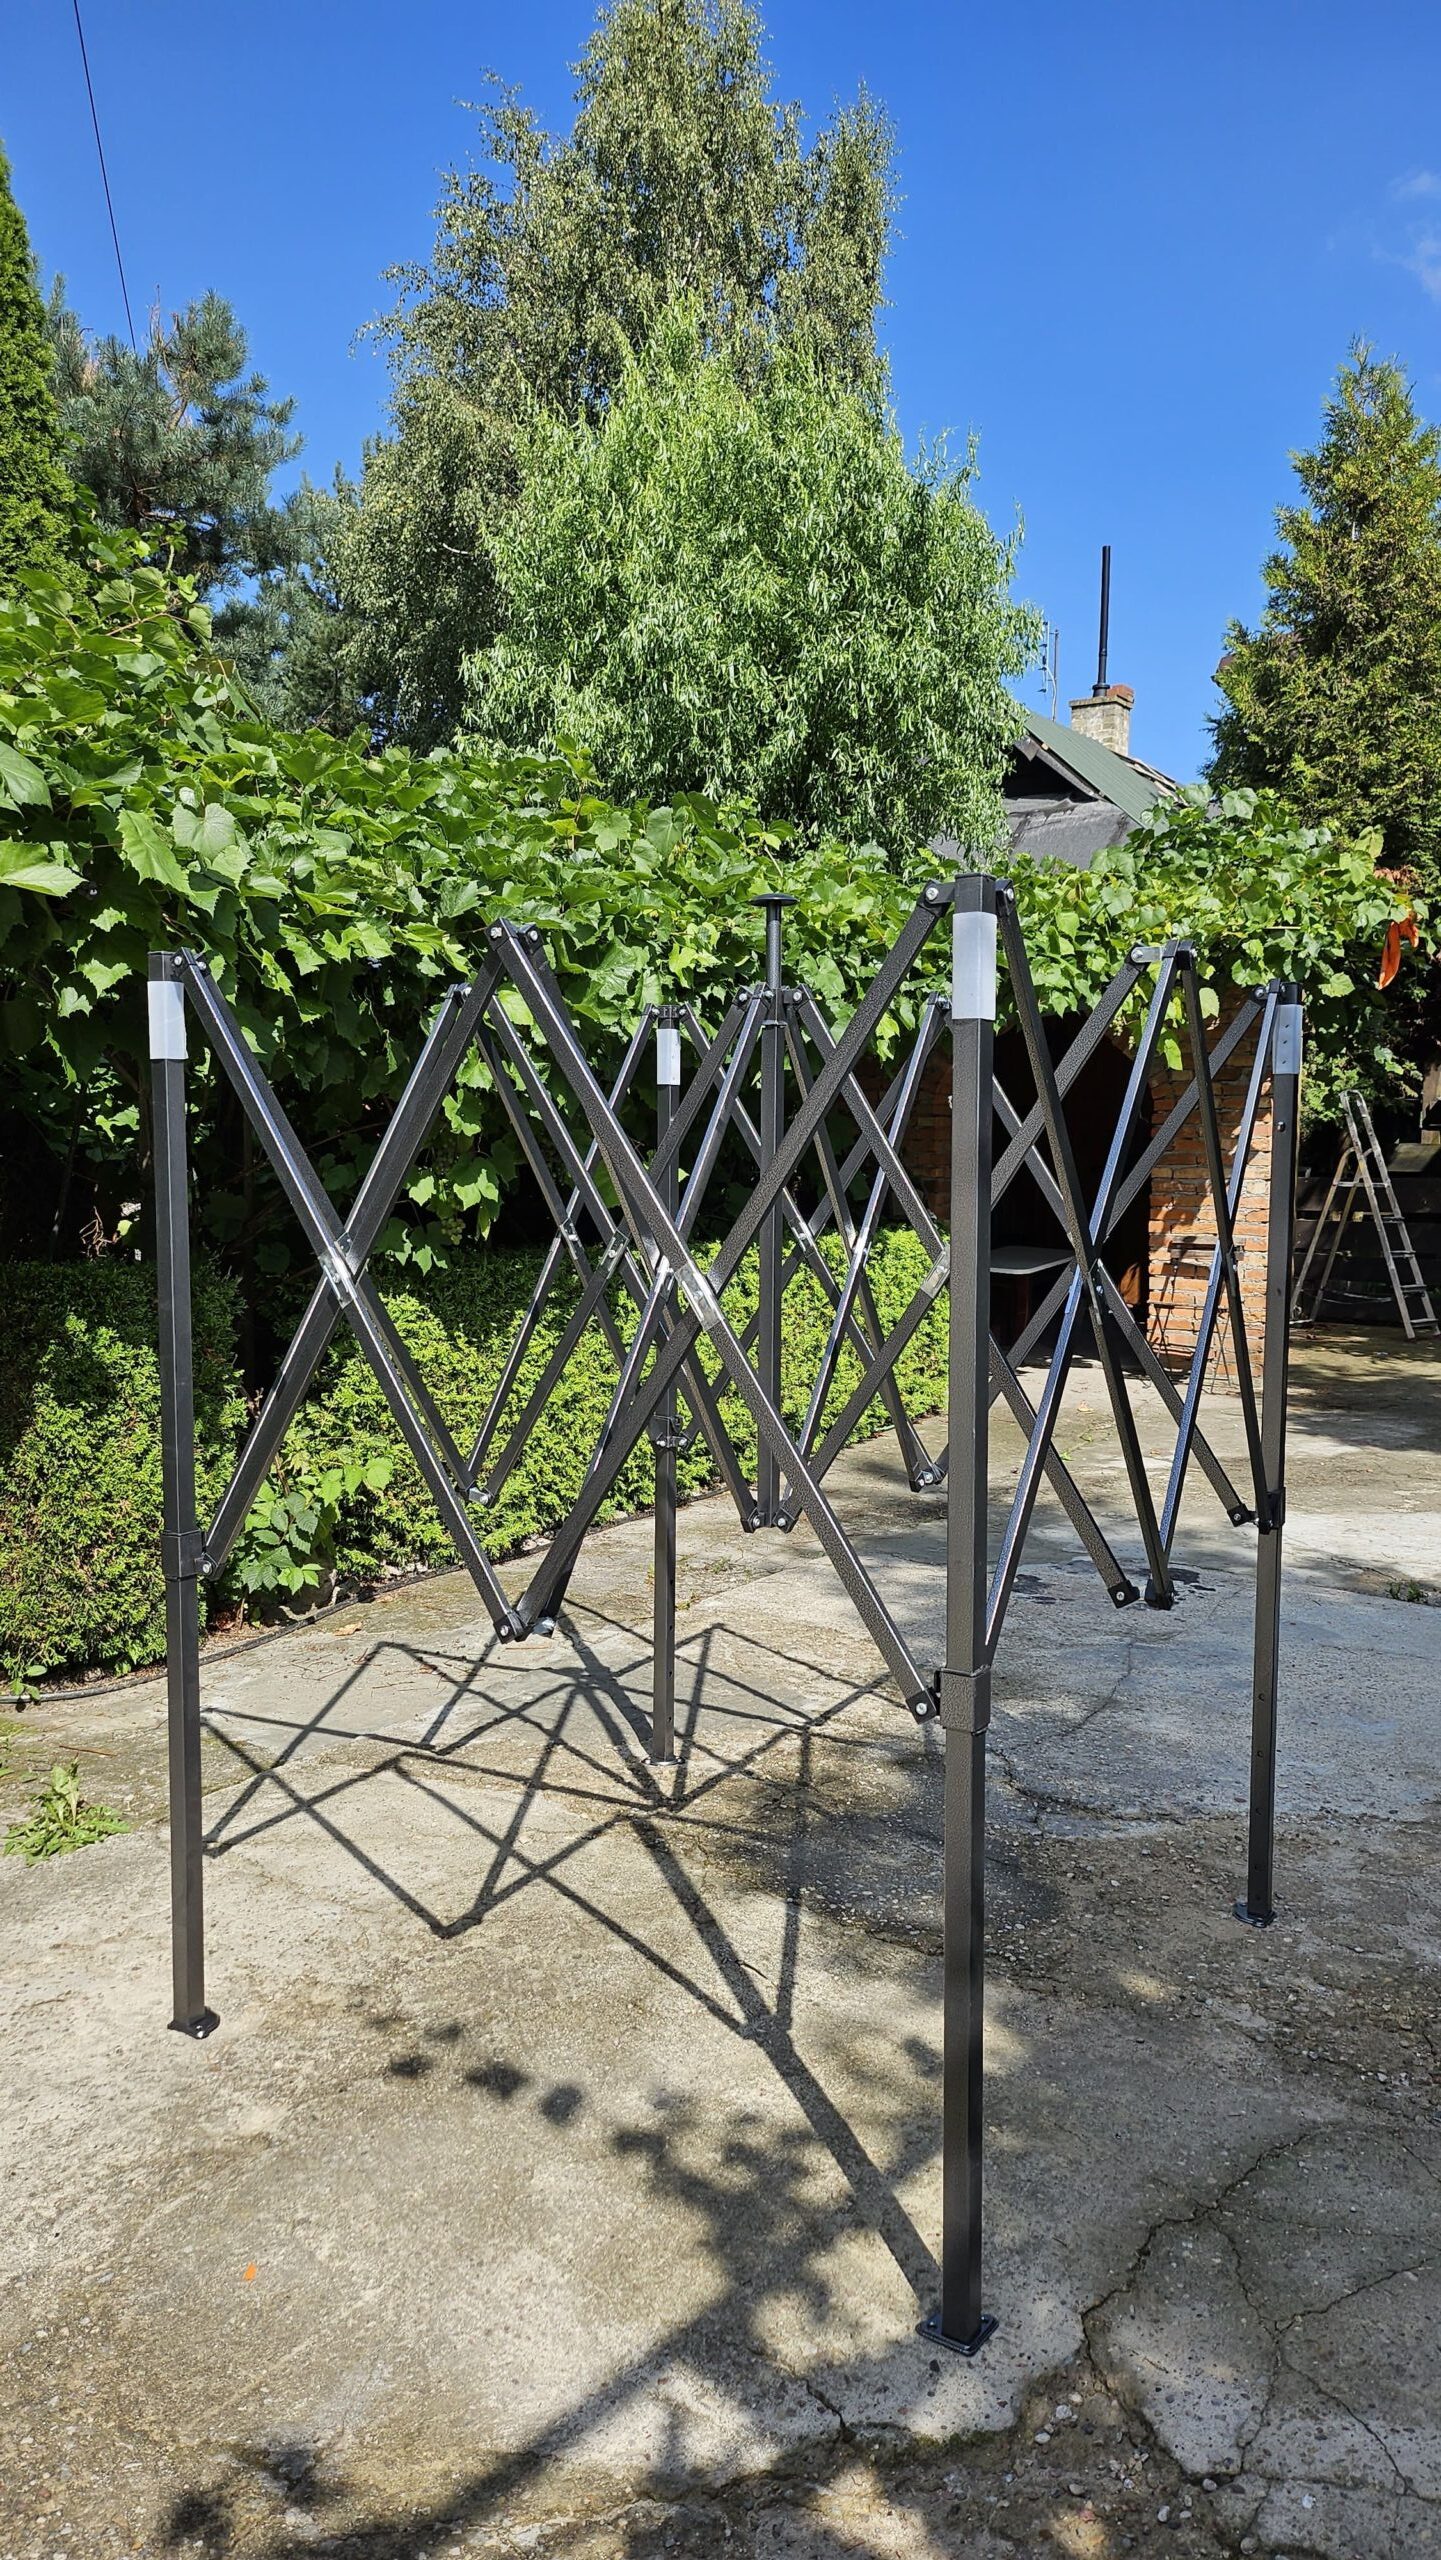
Step 1 – Prepare the tent frame.
- Unpack and set up the tent frame on a flat surface.
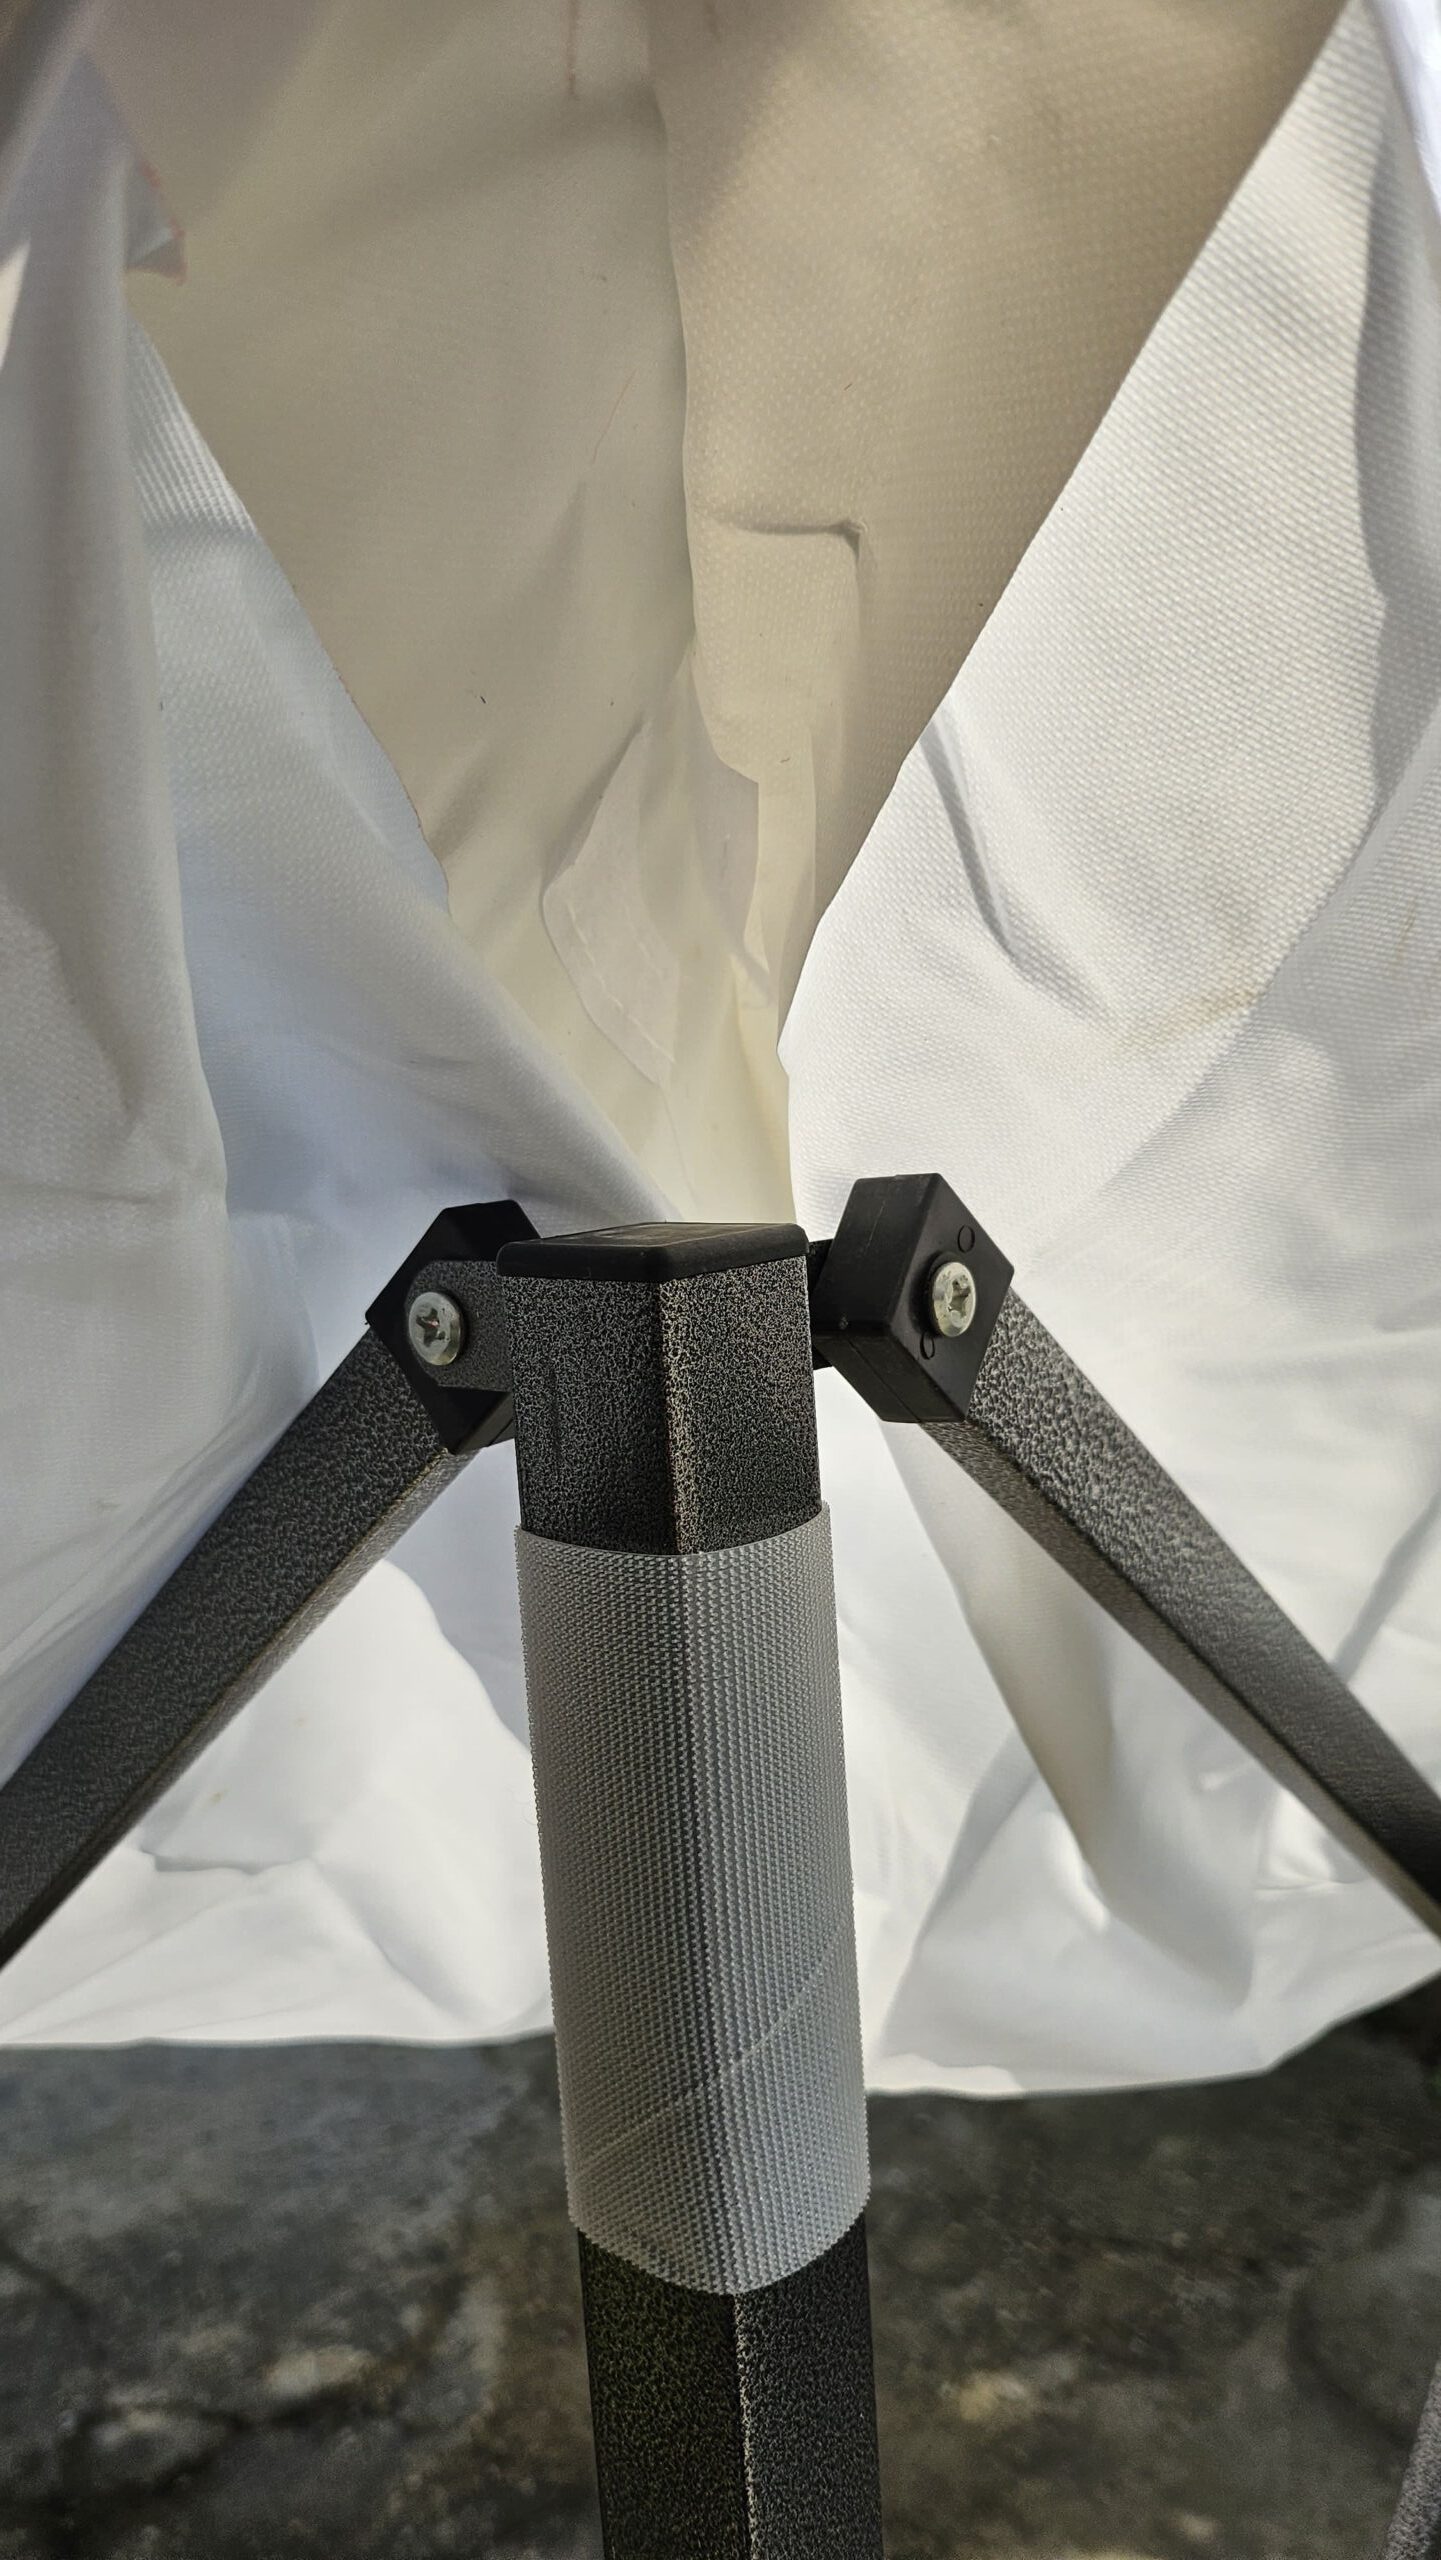
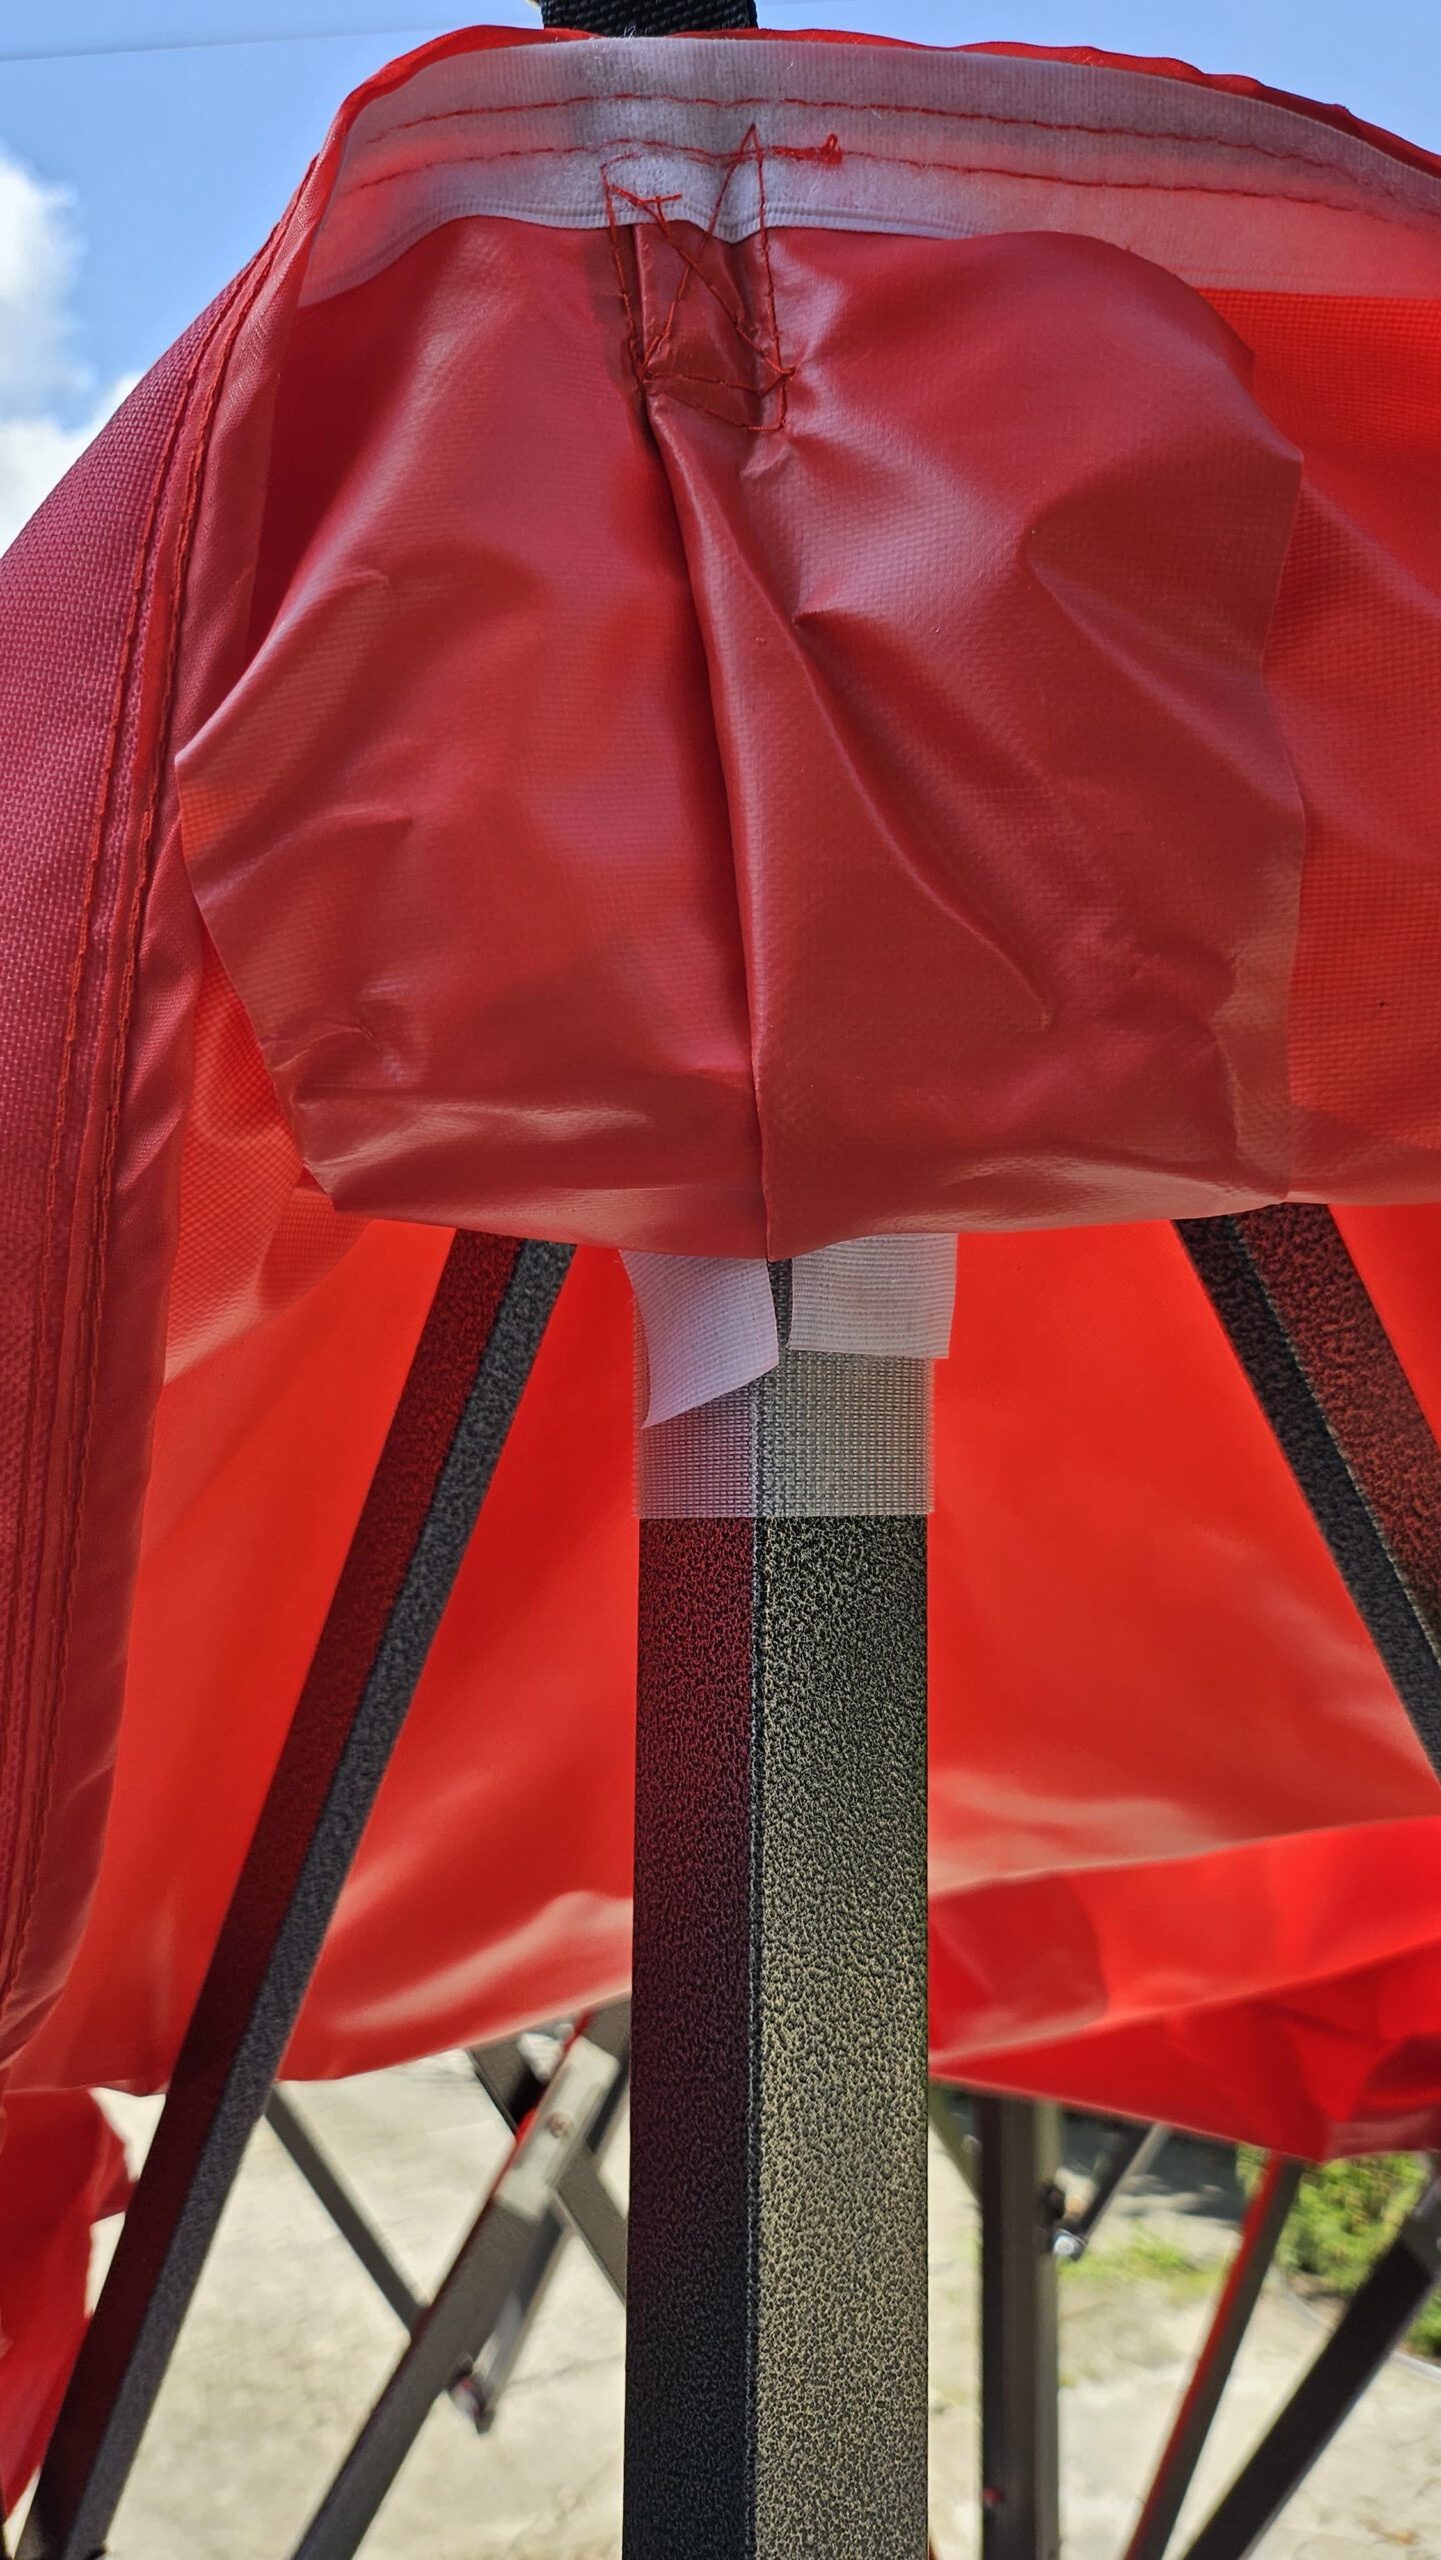
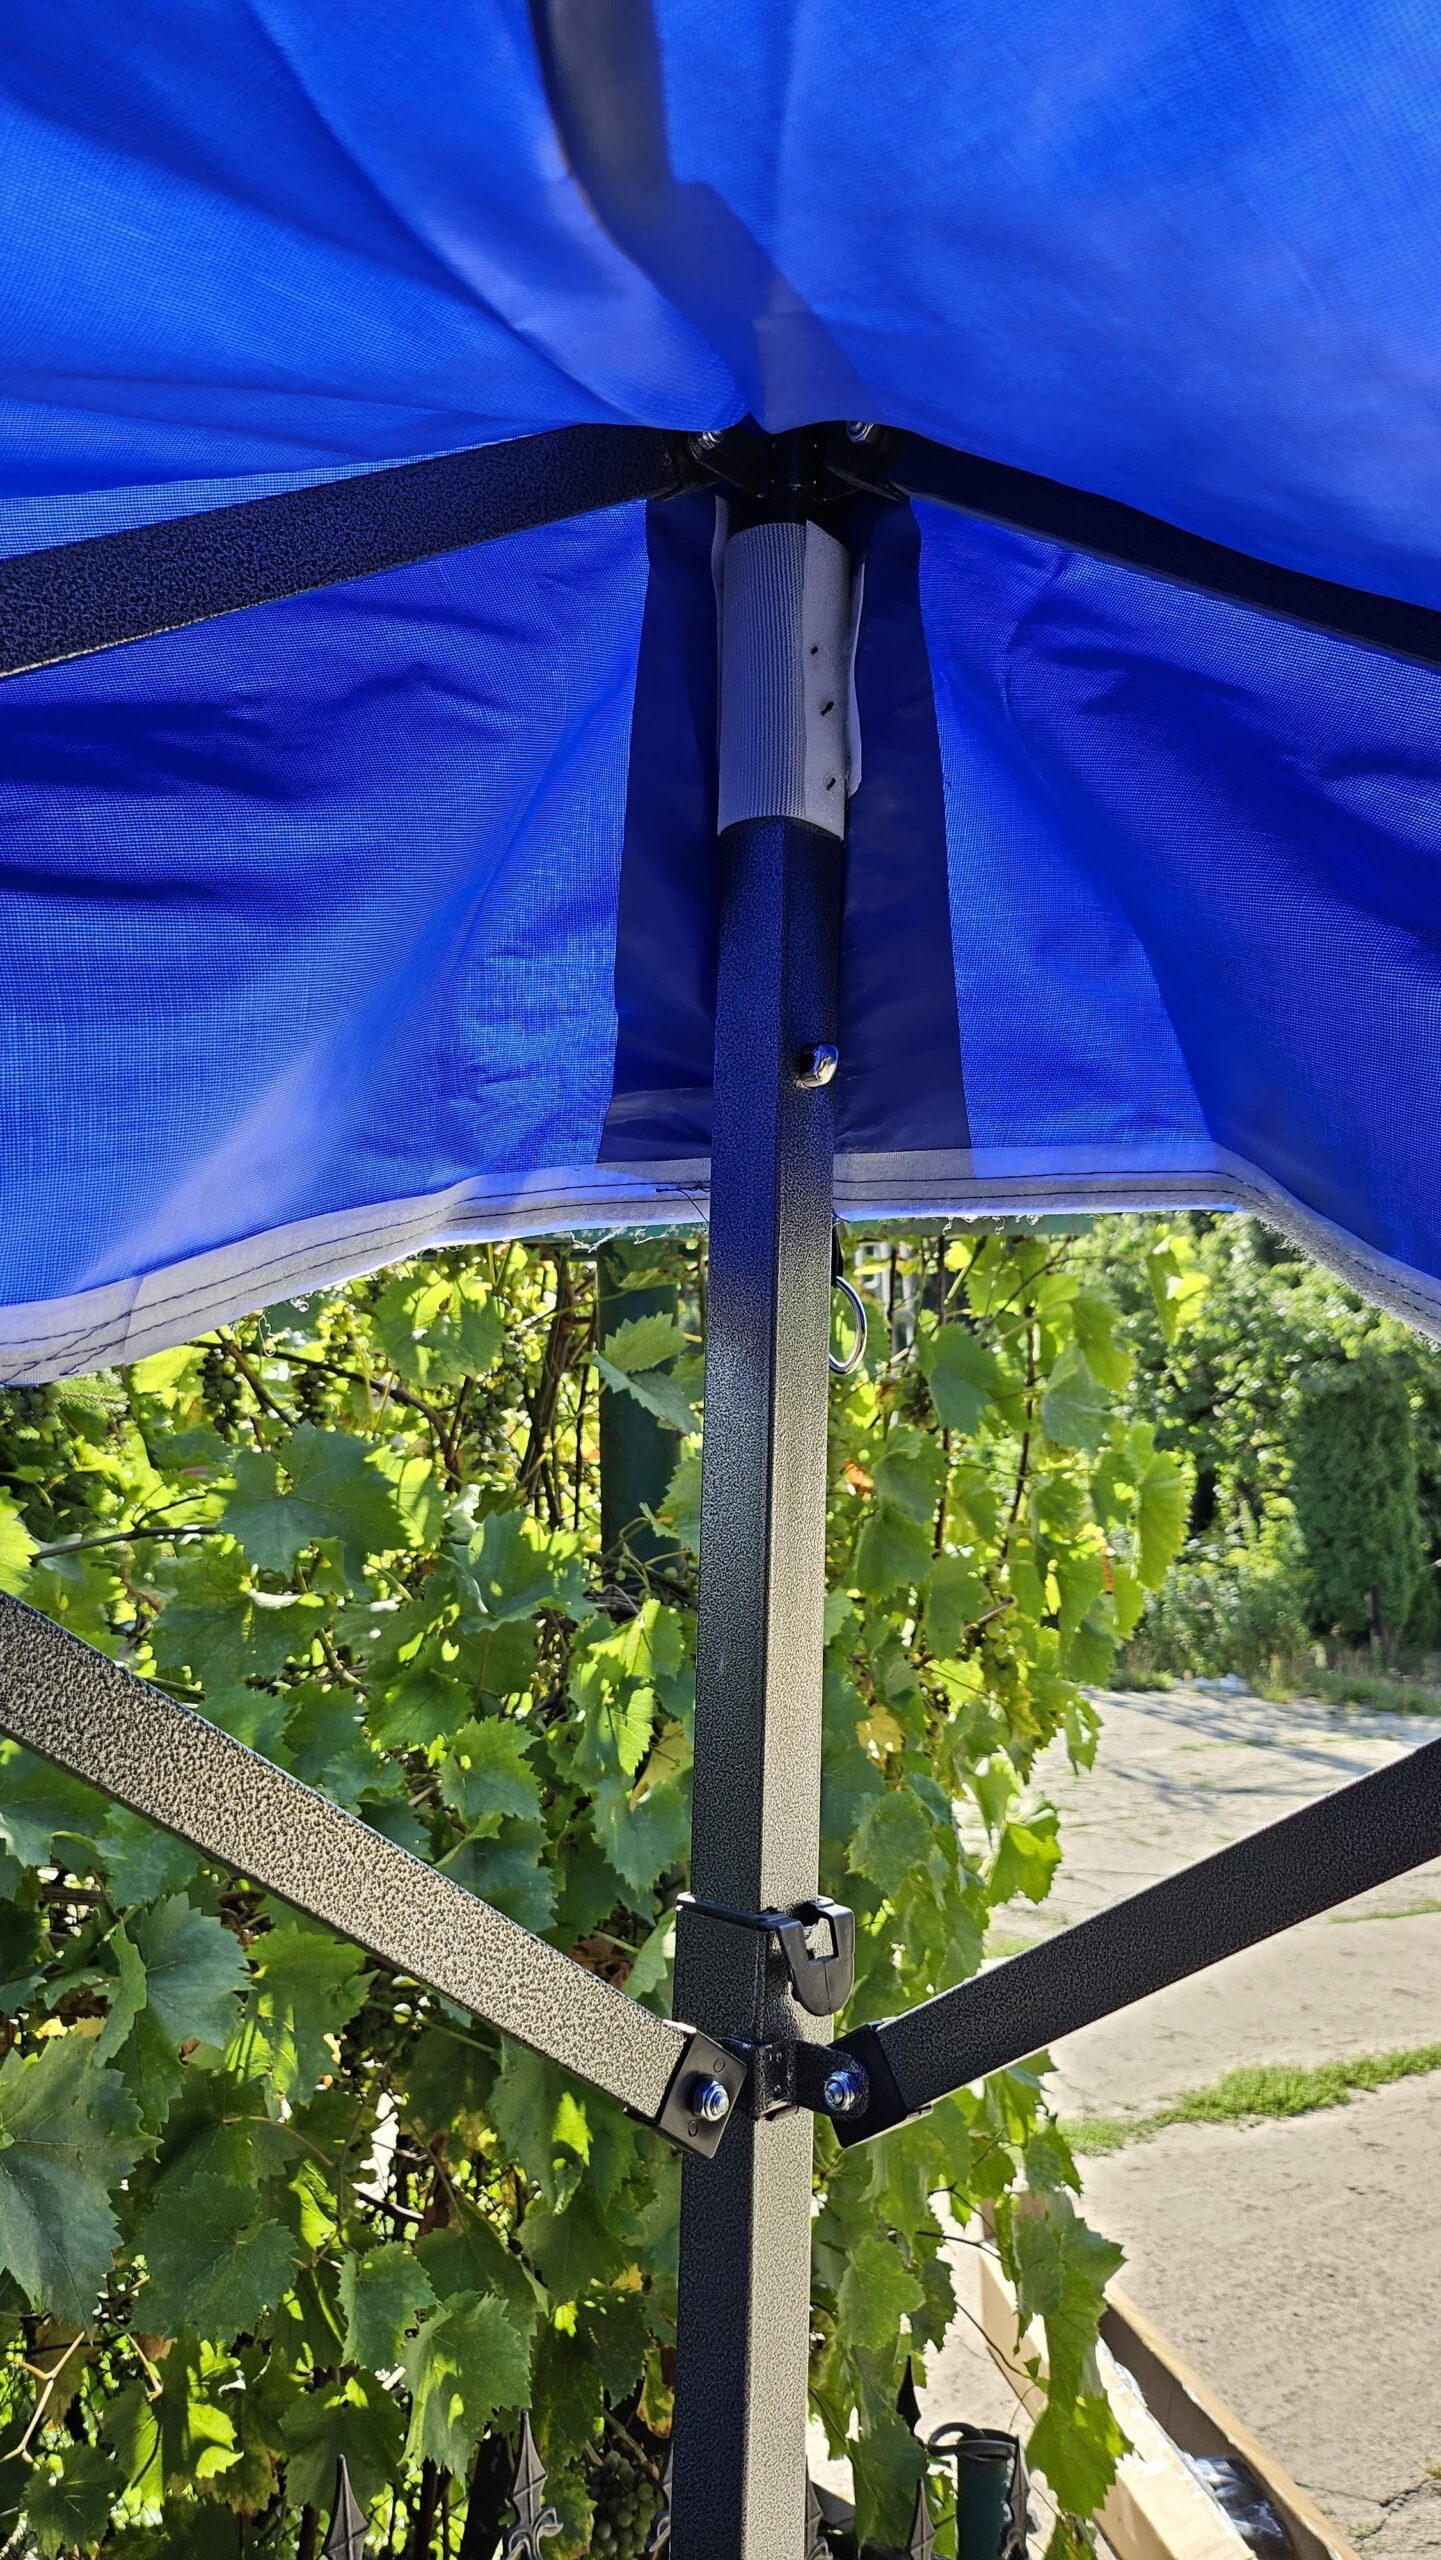
- Insert the round roof poles (tubes with a “plastic cap” on top) into the square profiles in the middle of the frame.
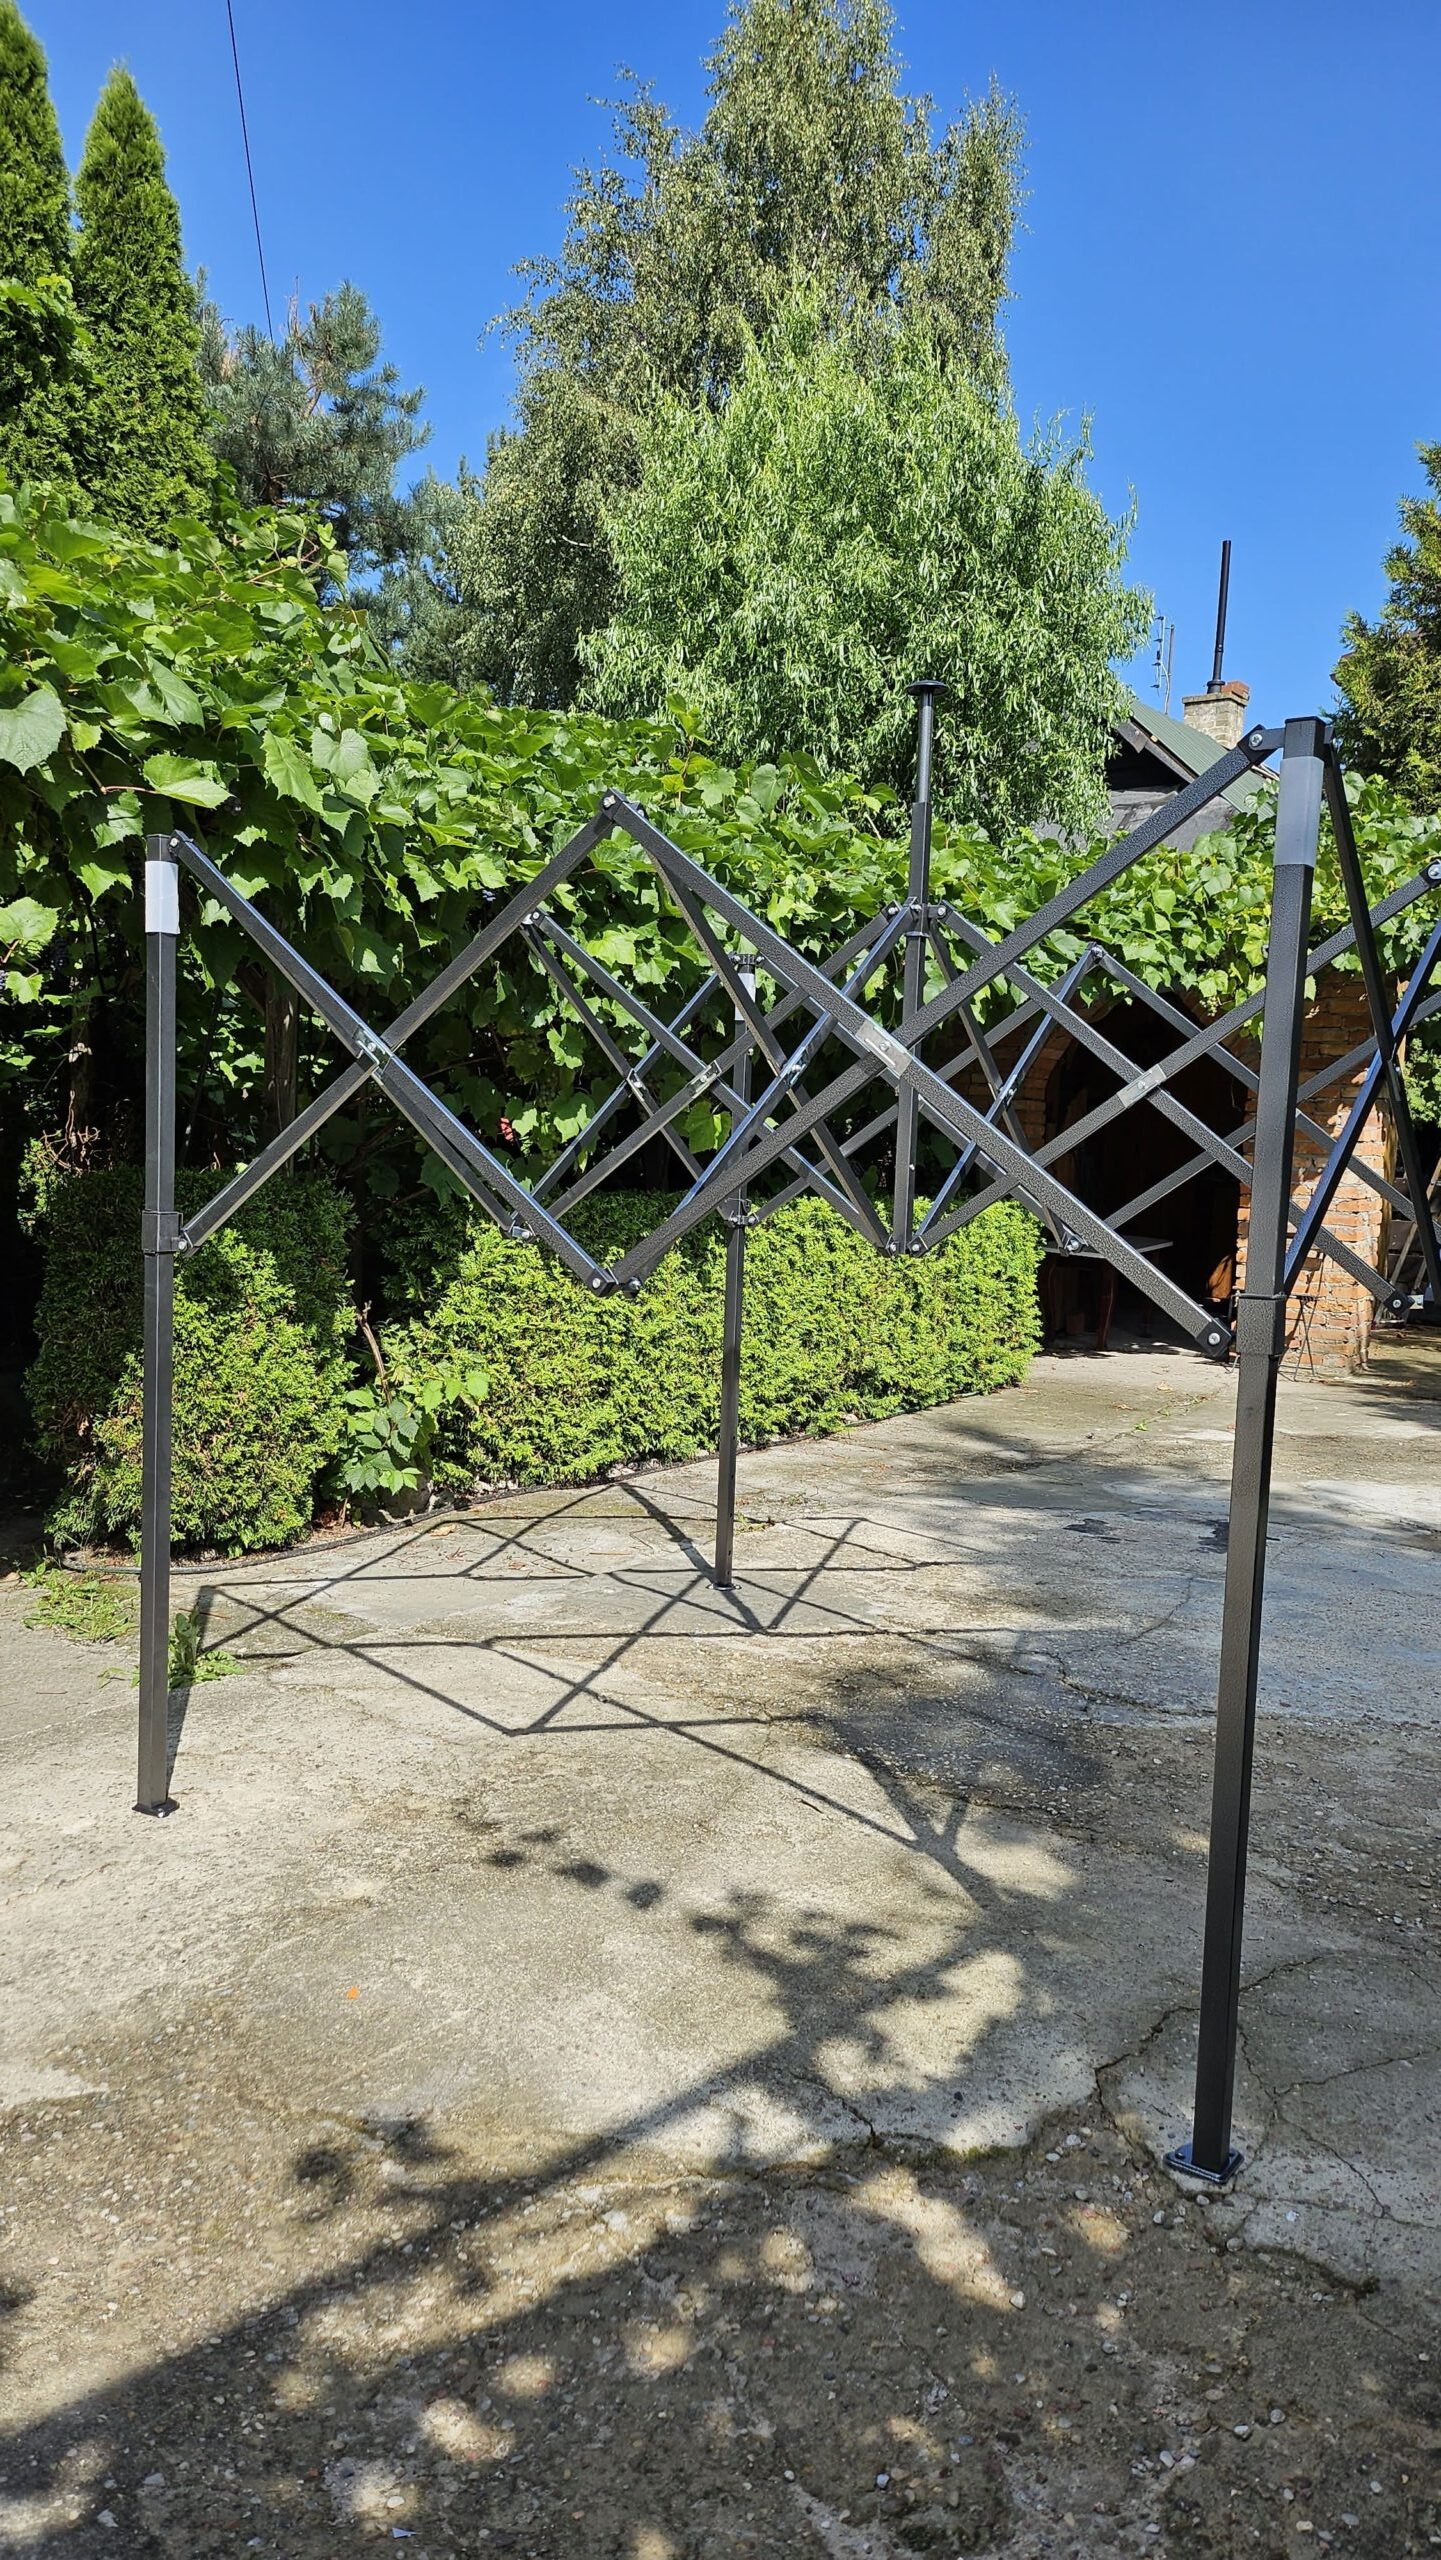
Step 2 – Lay the roof on.
- Ensure that the frame is at the lowest height and only slightly extended.
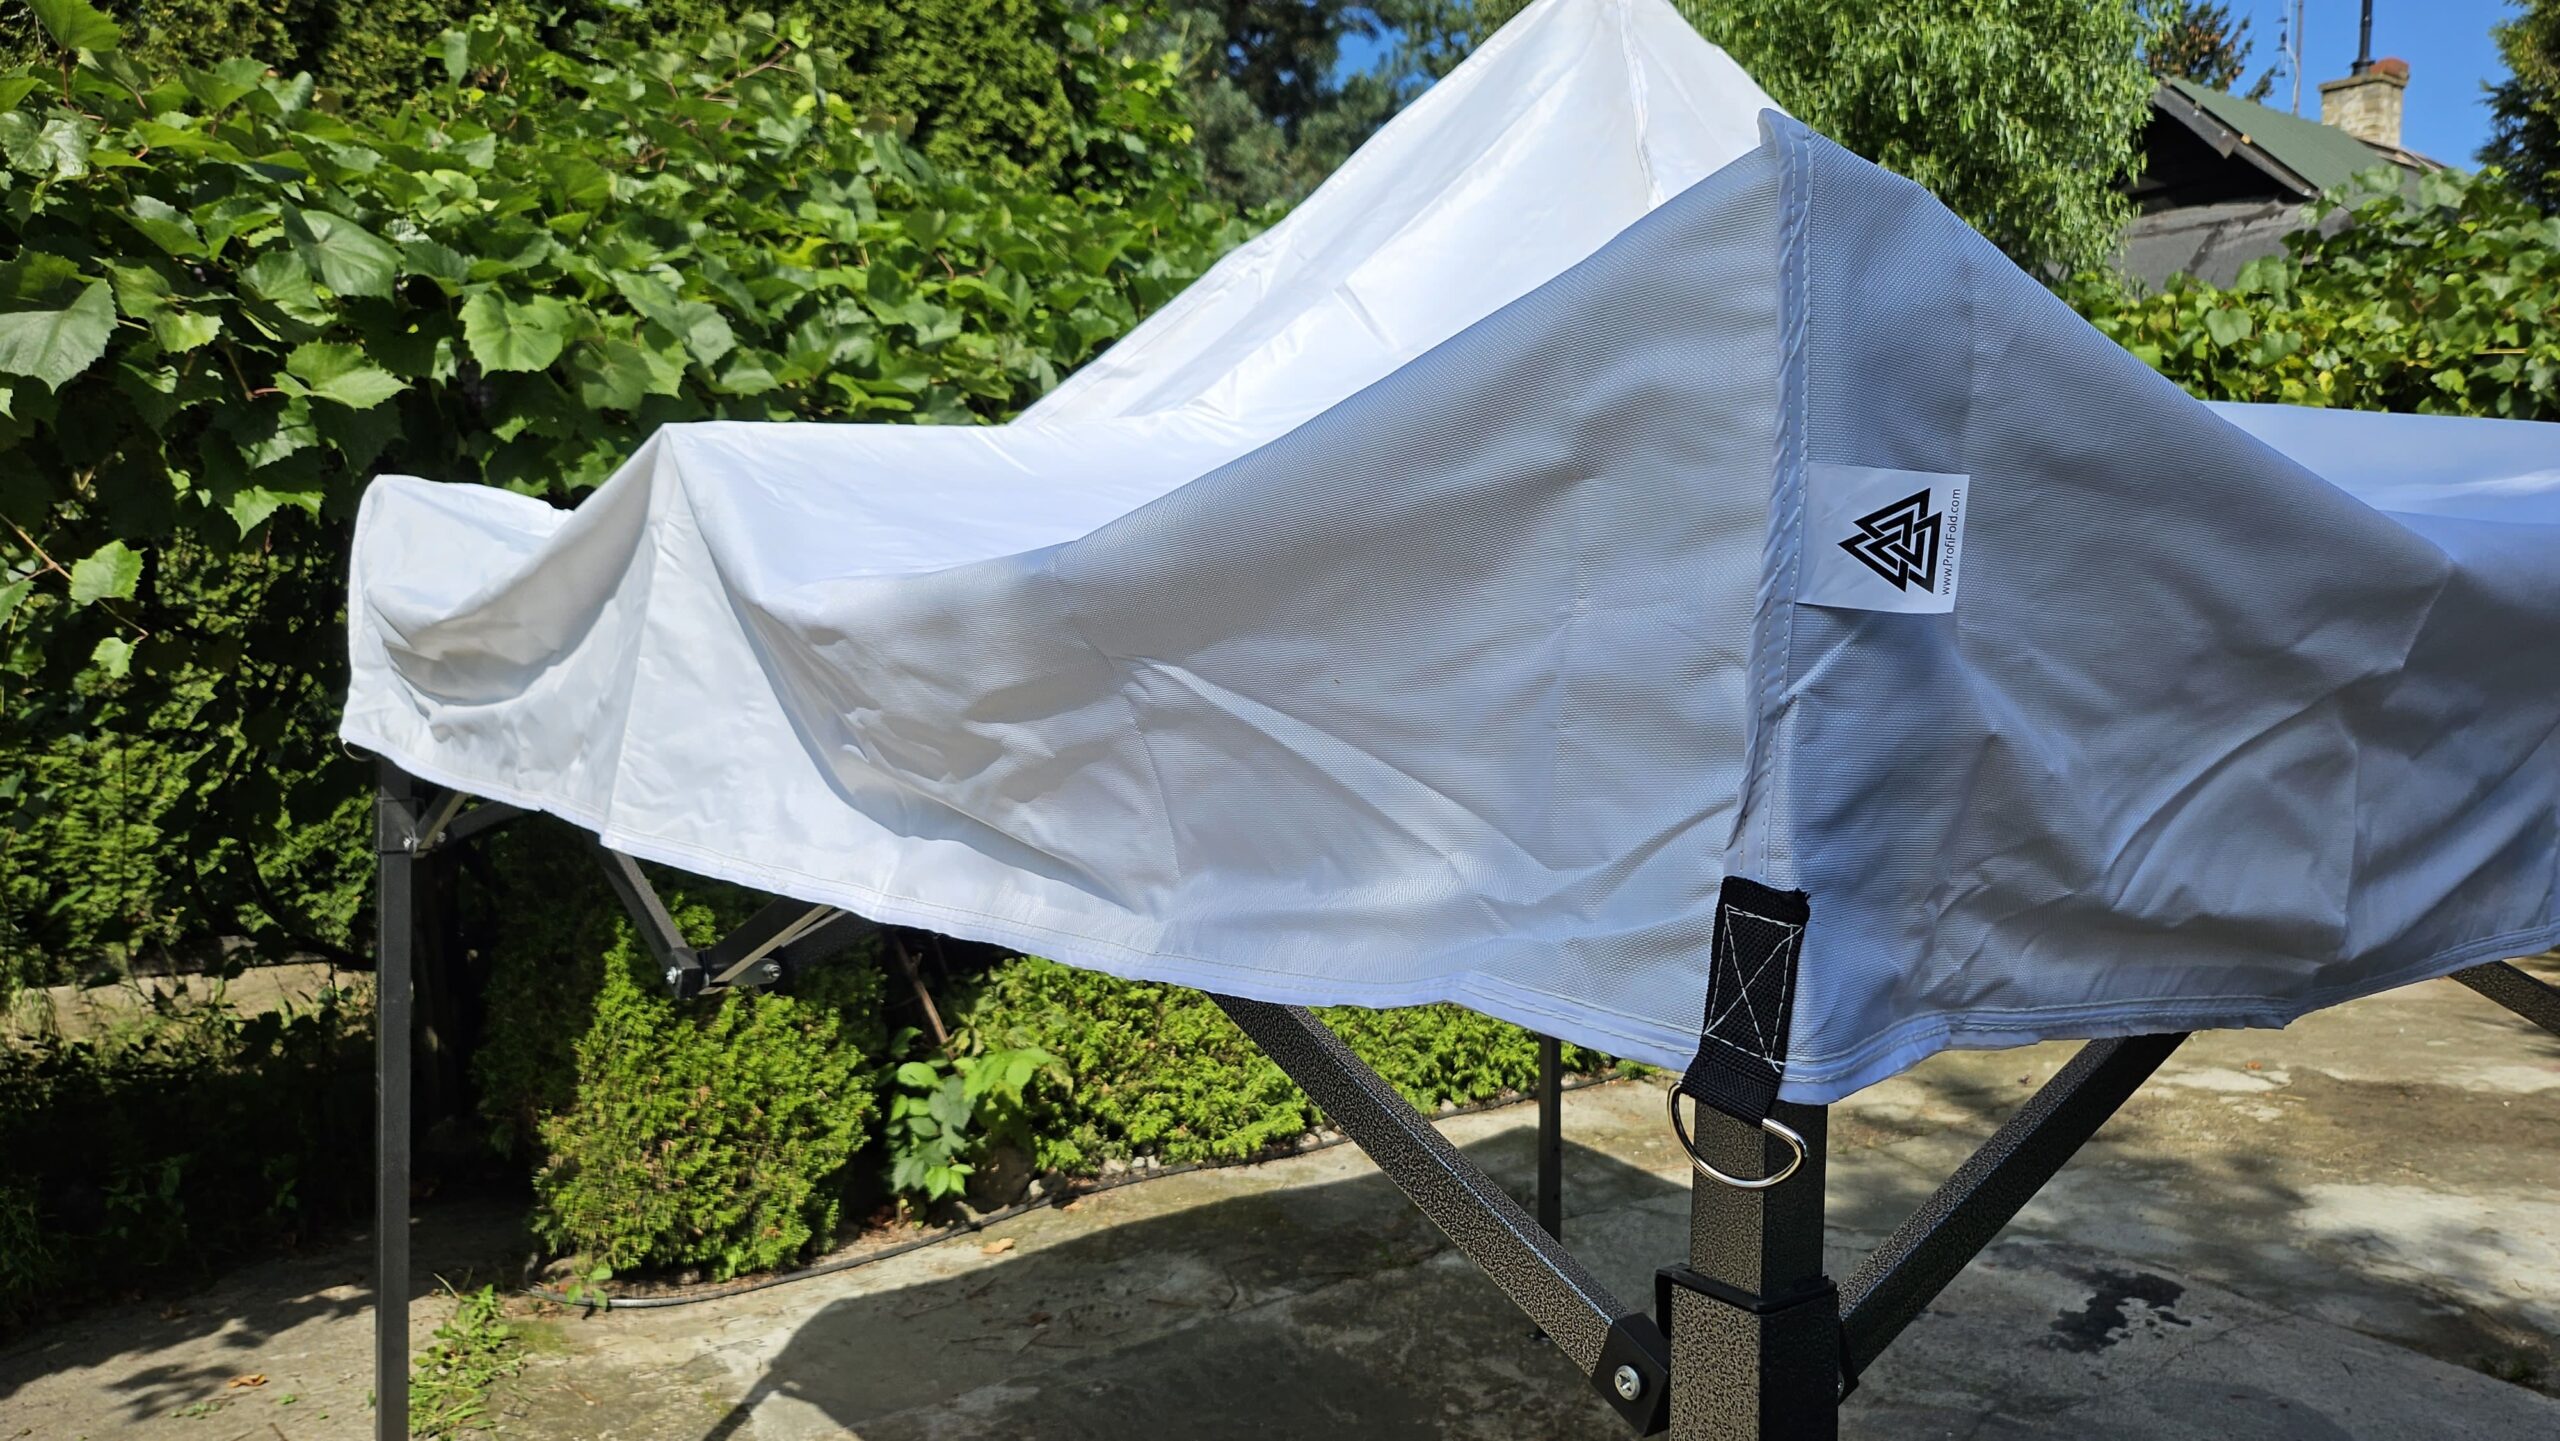
- Place the roof on, making sure that the center of the roof rests on the “plastic caps”.
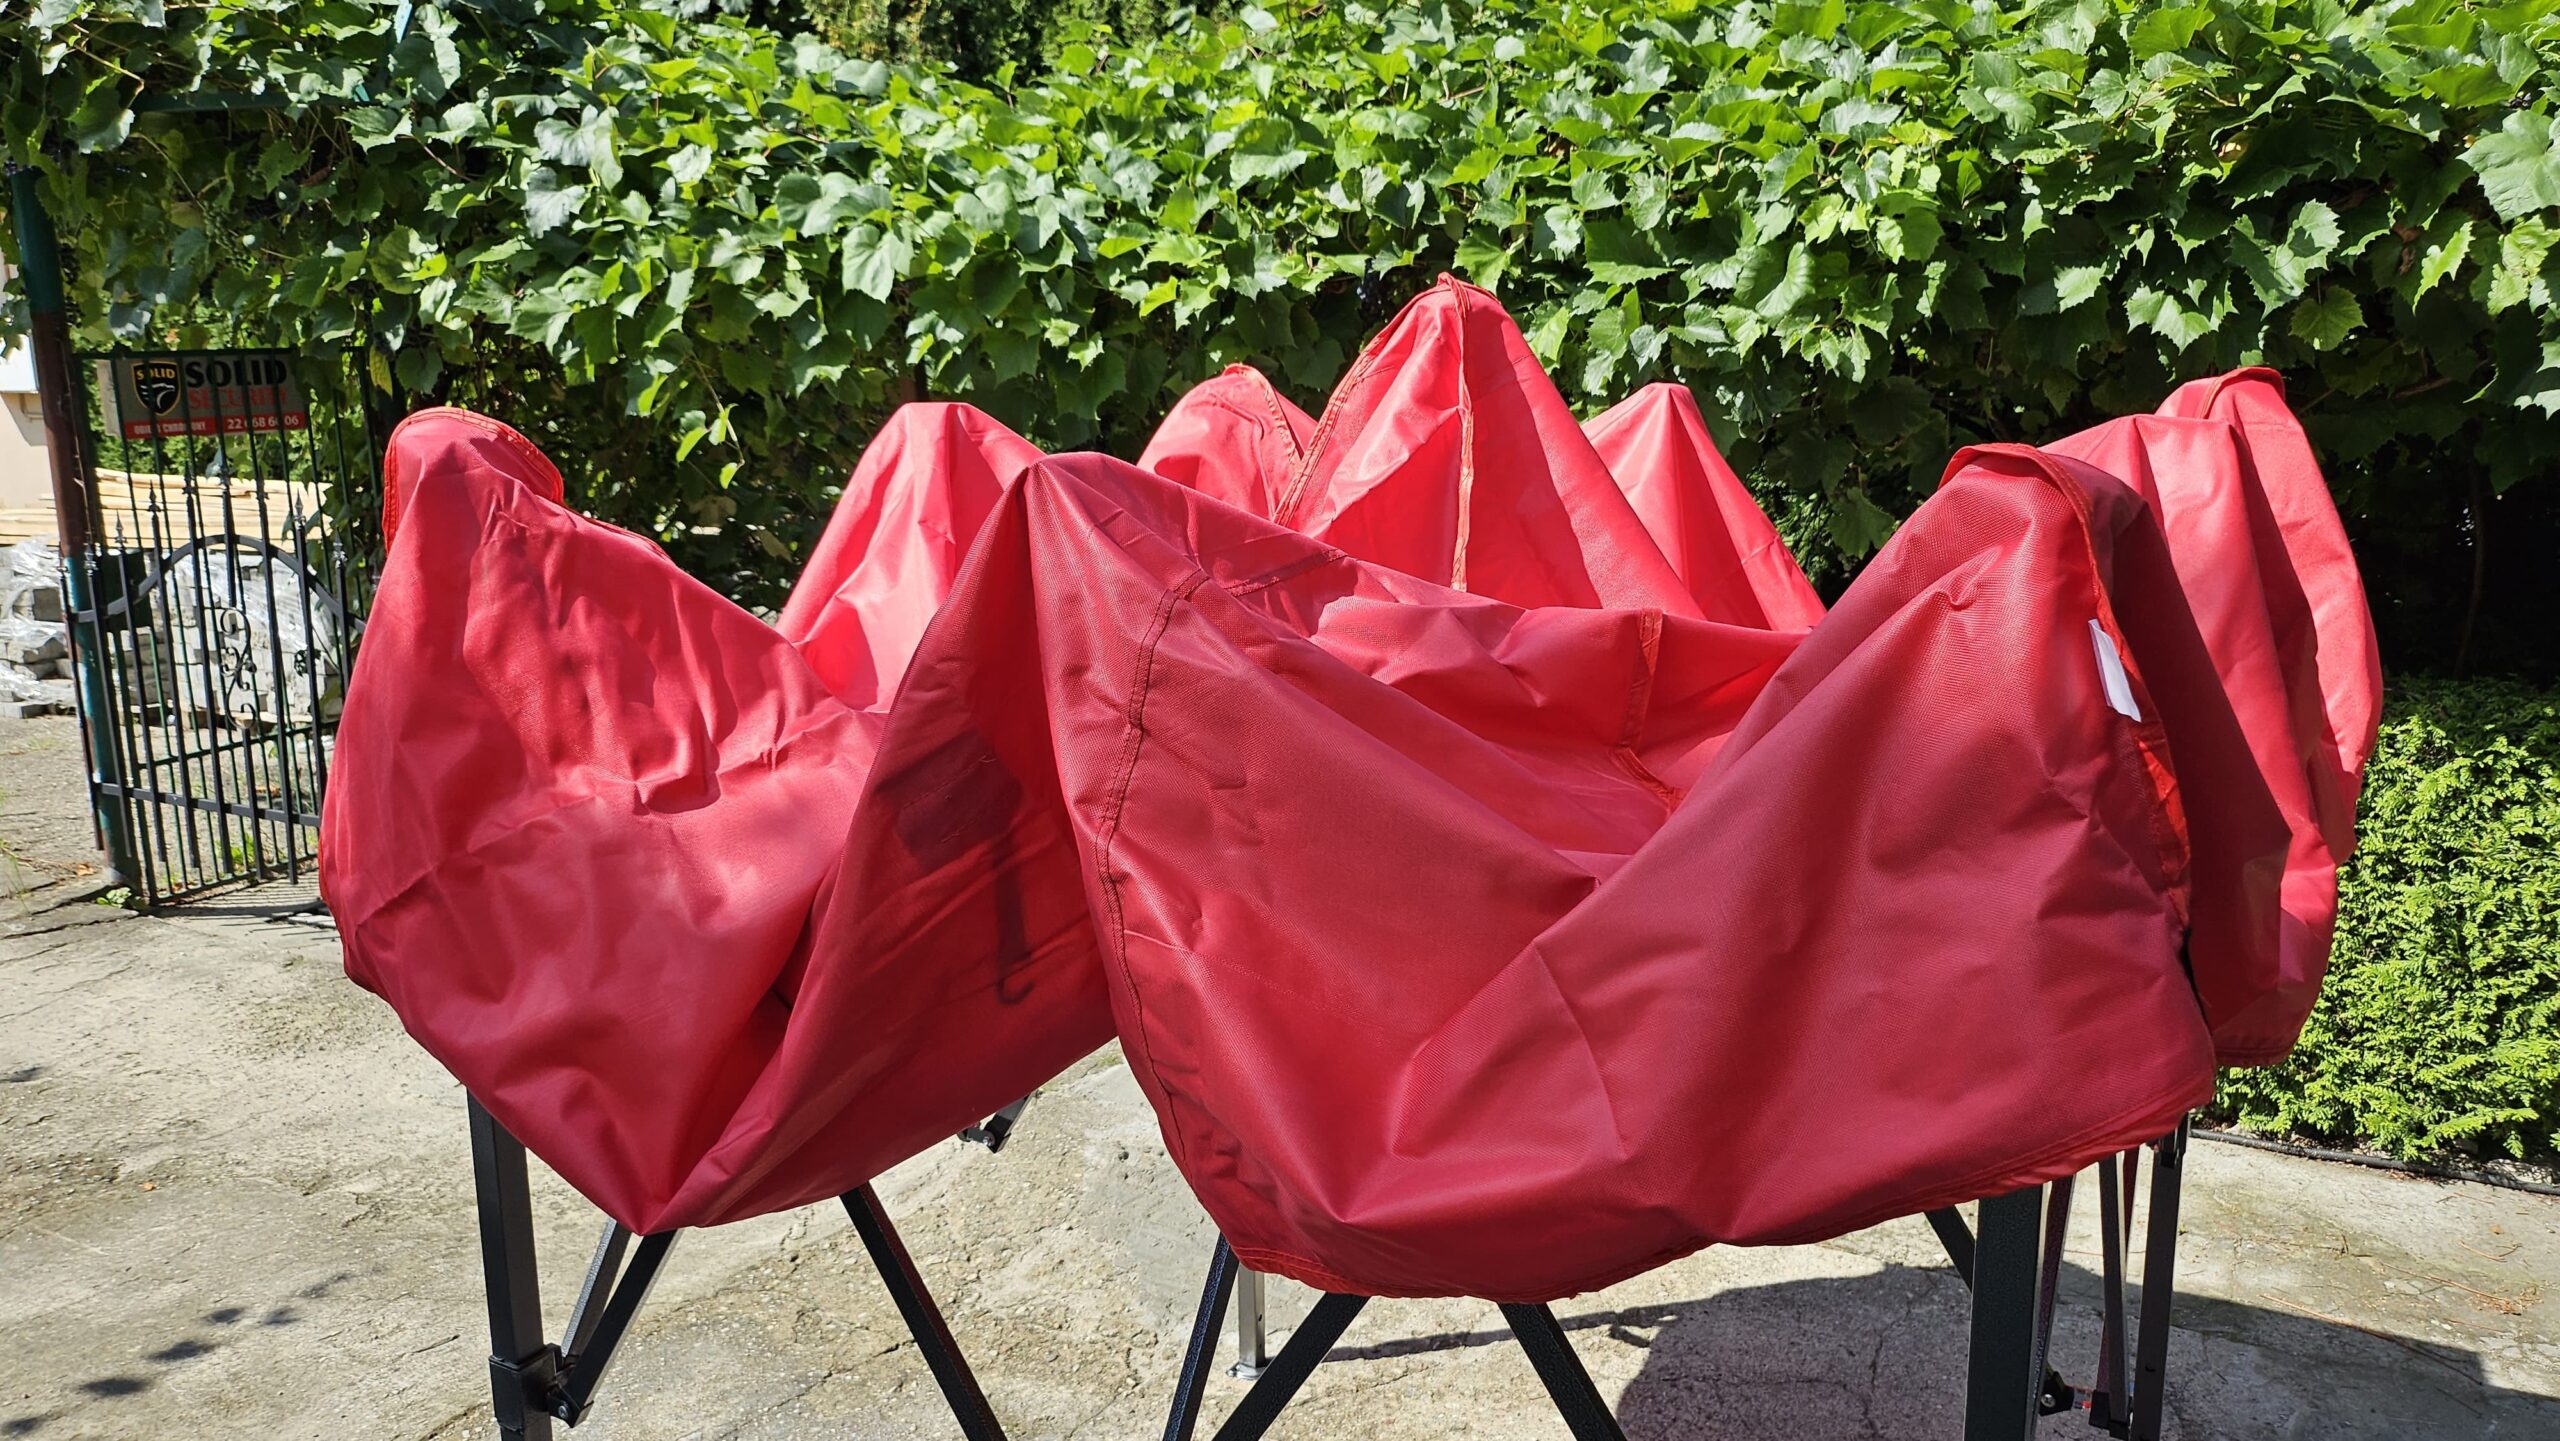
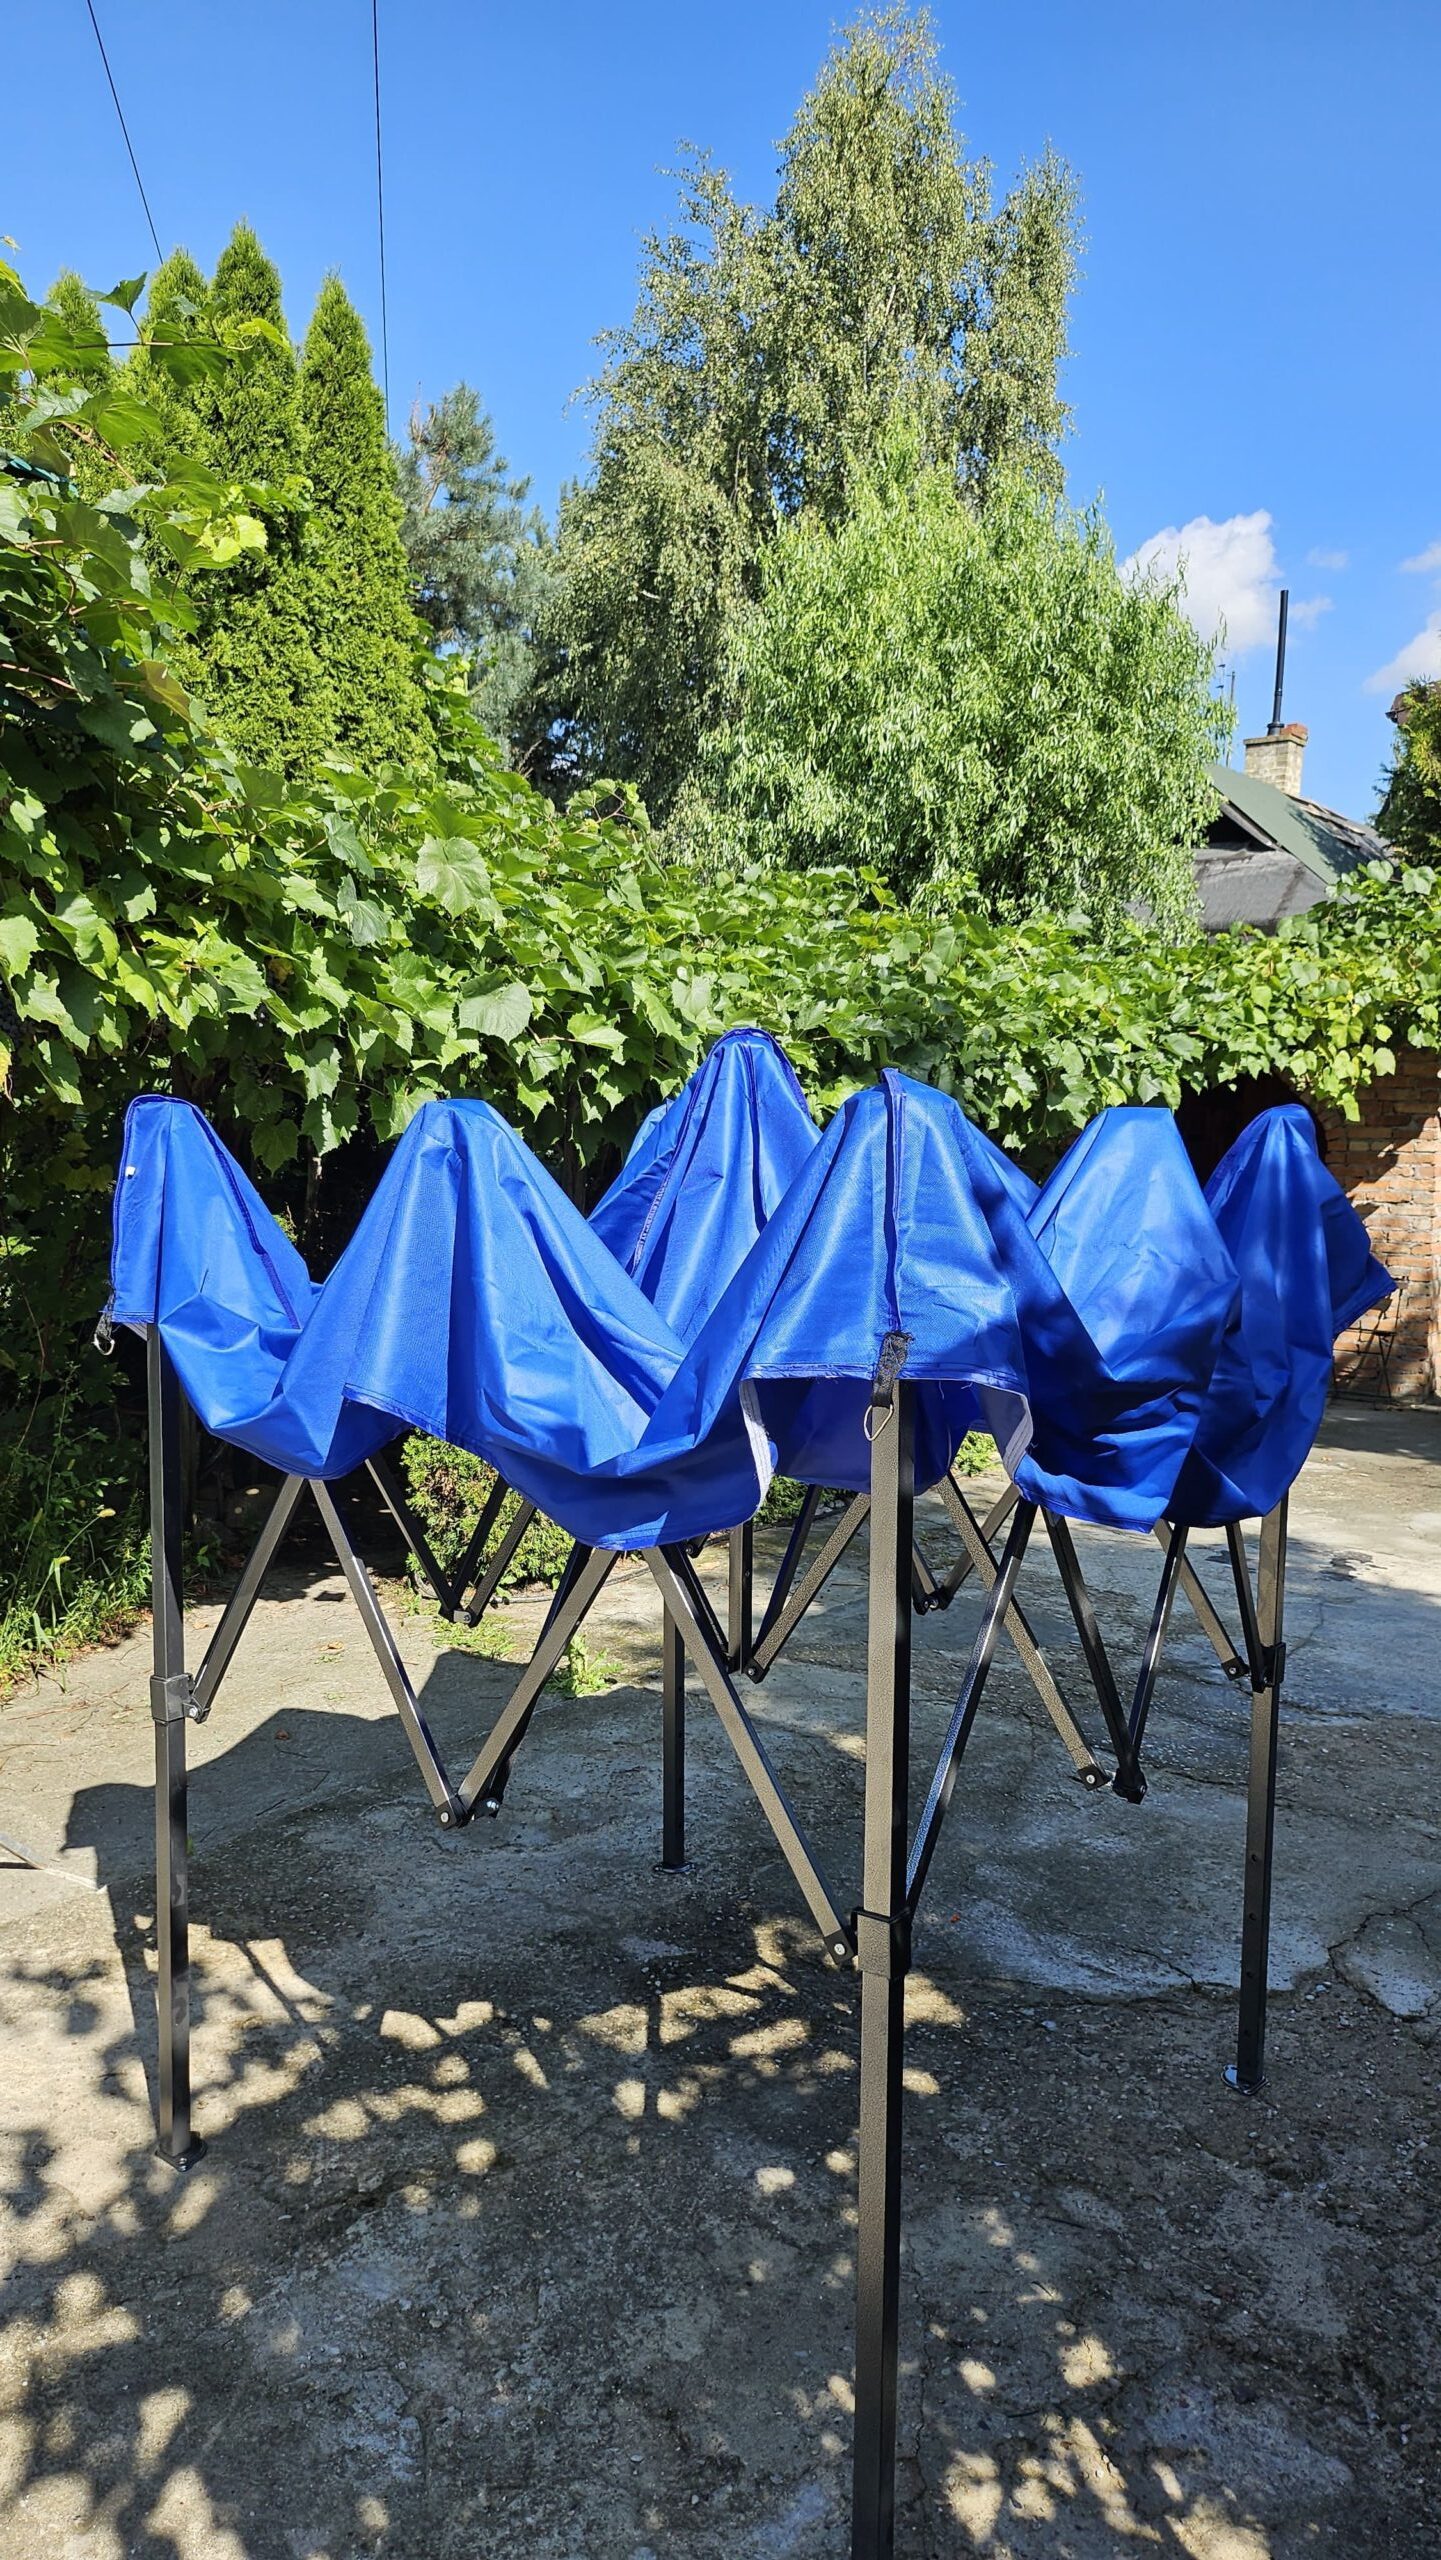

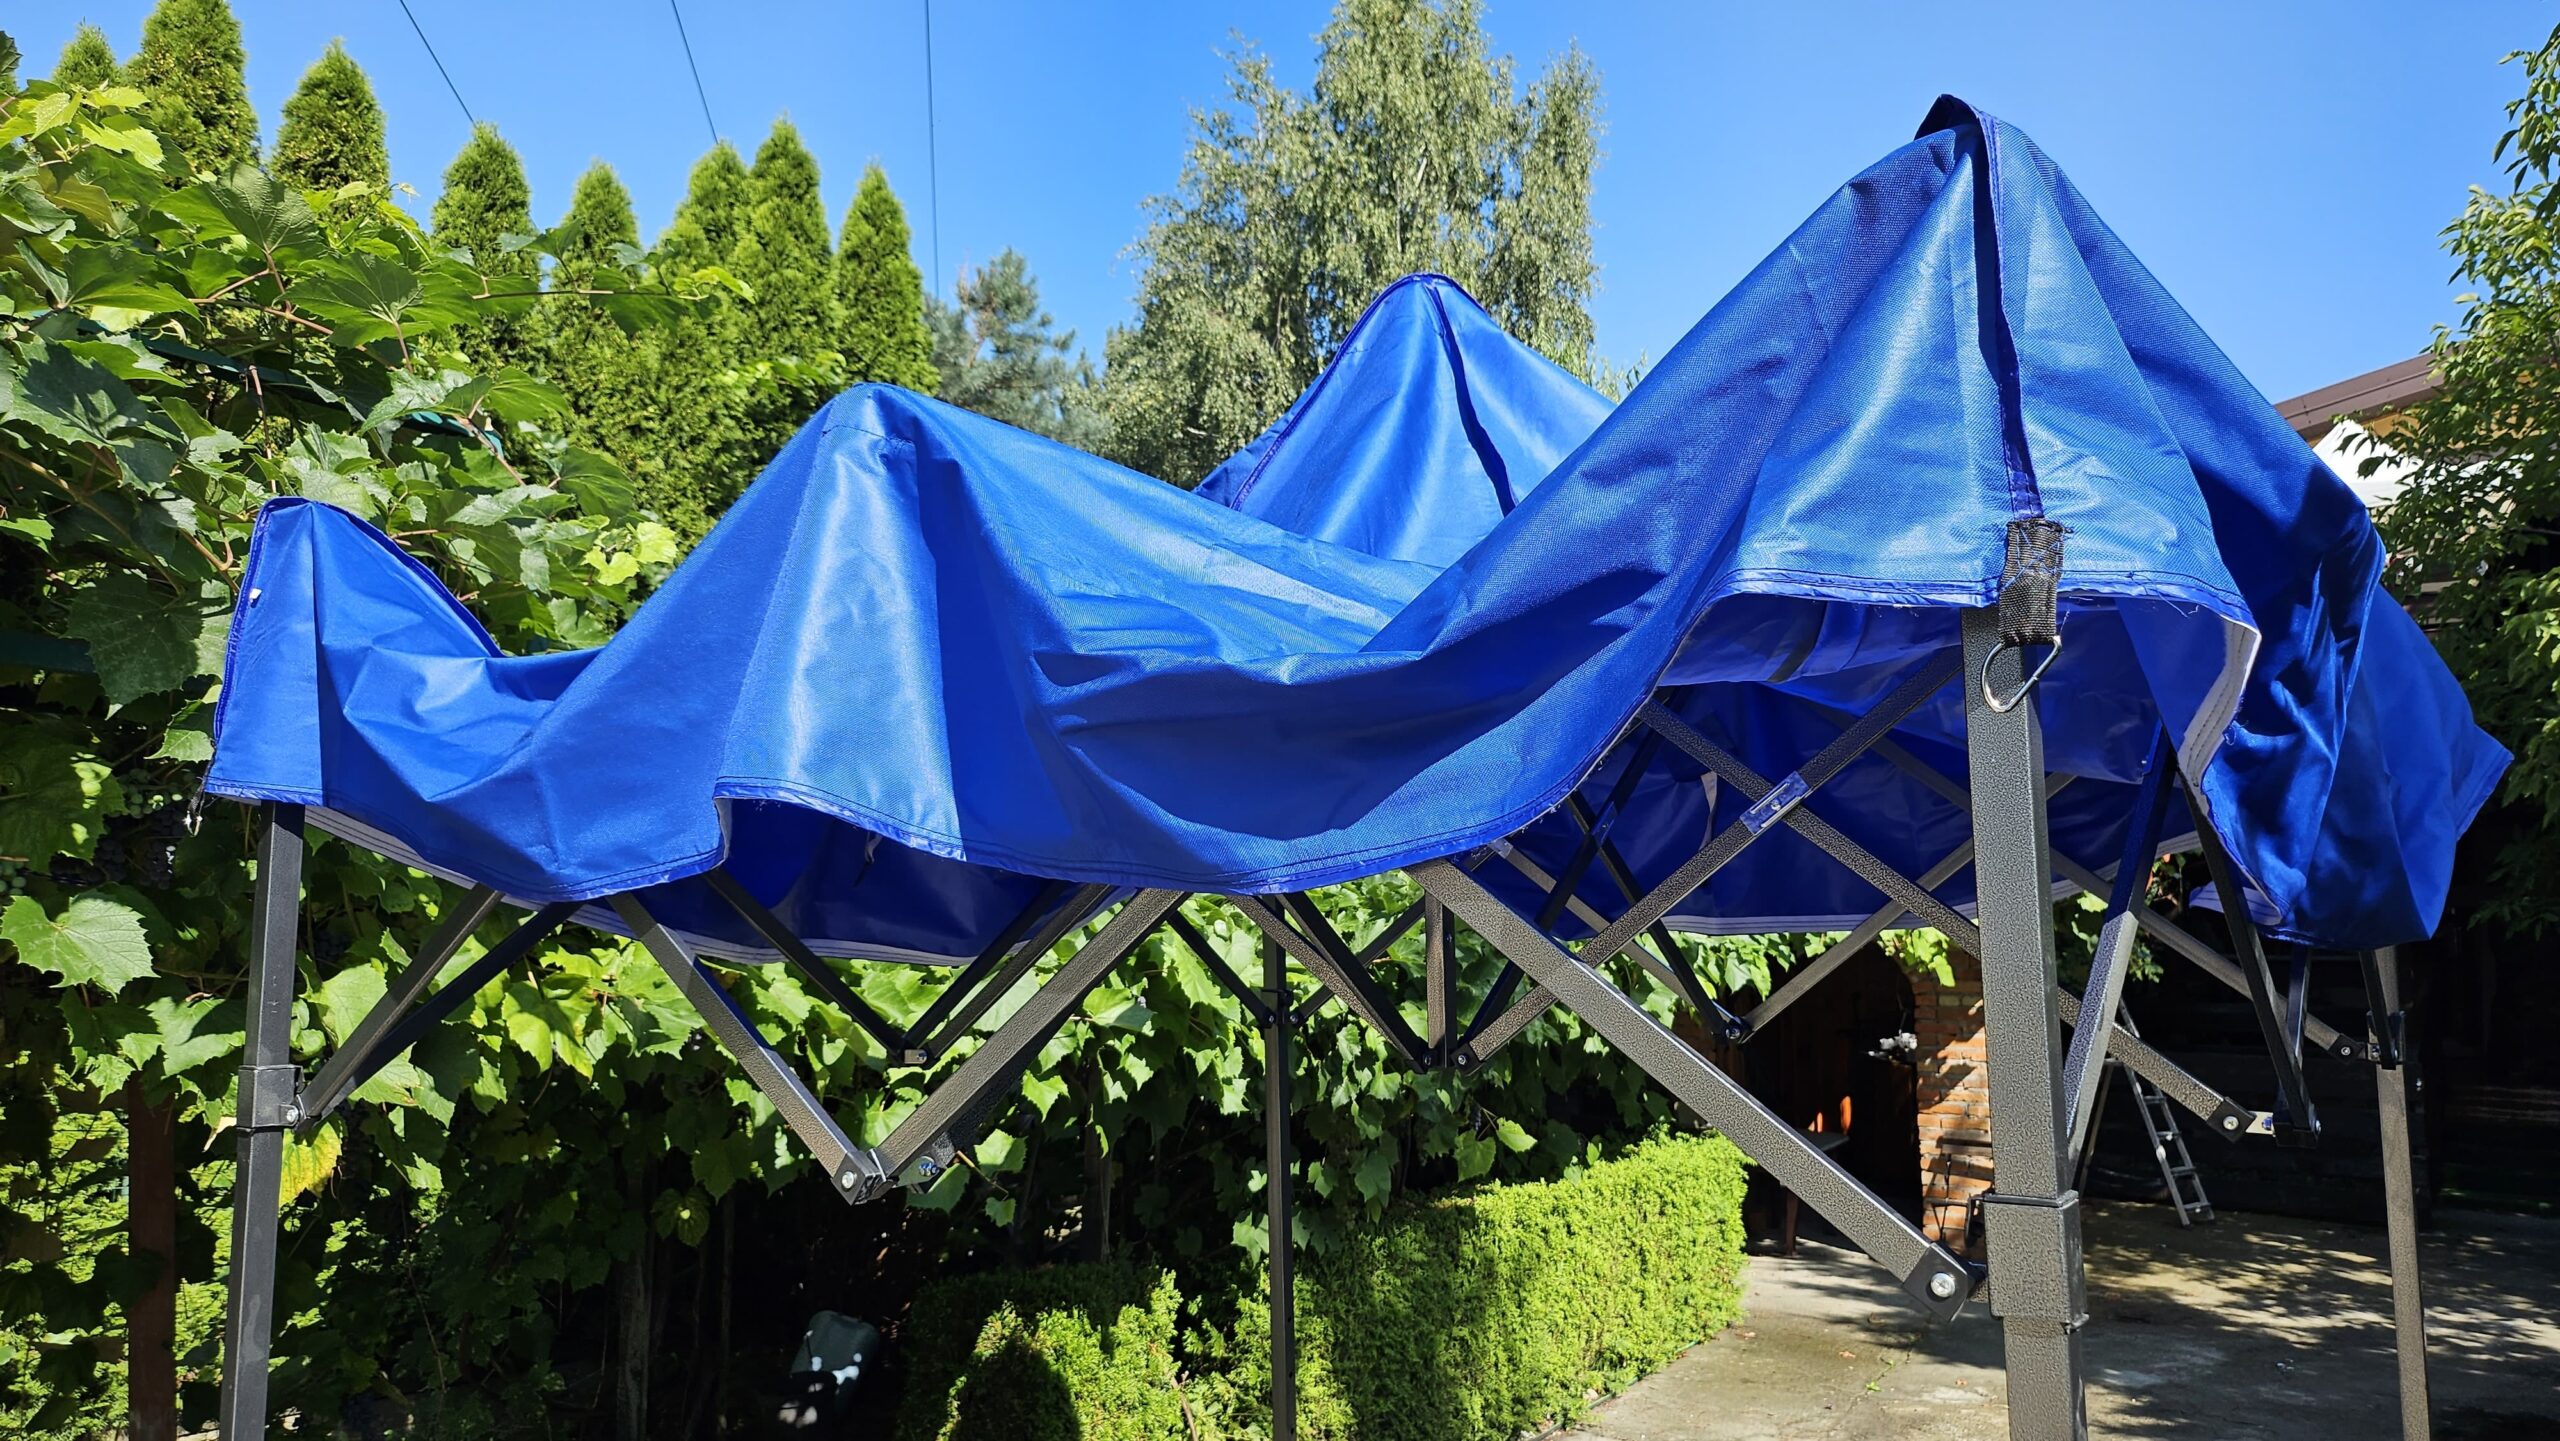
Step 3 – Attach the roof edges.
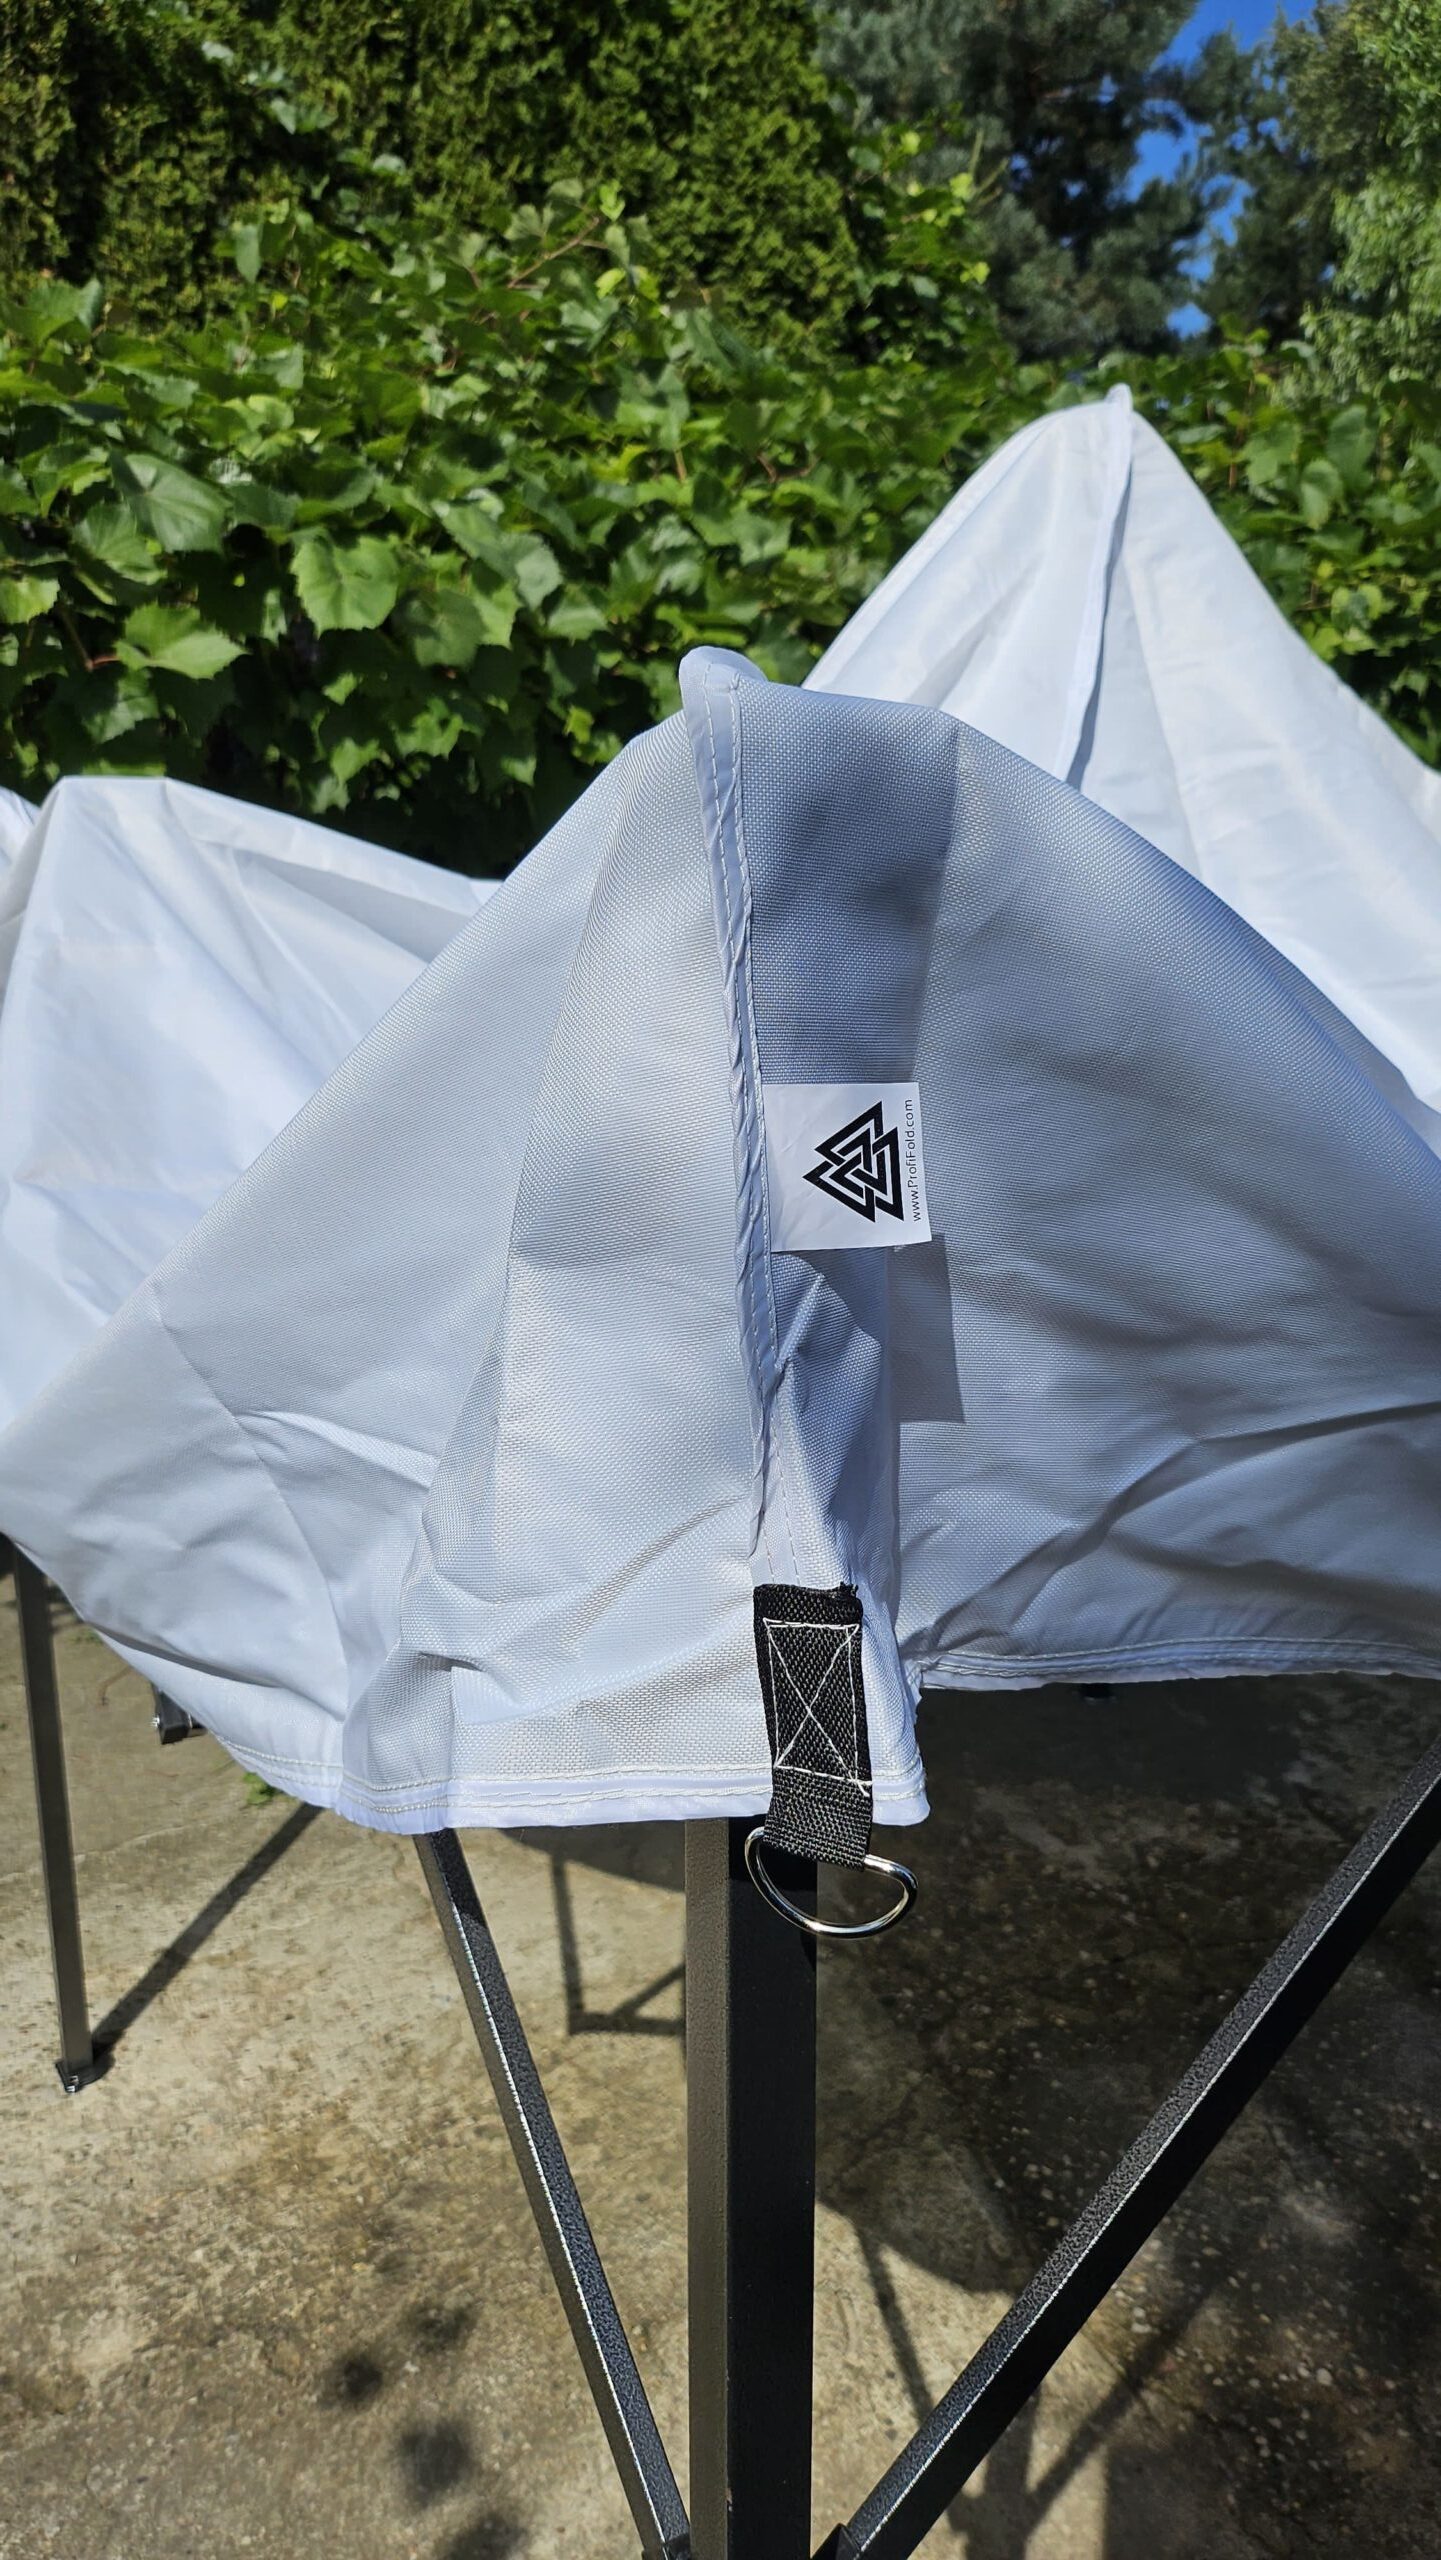
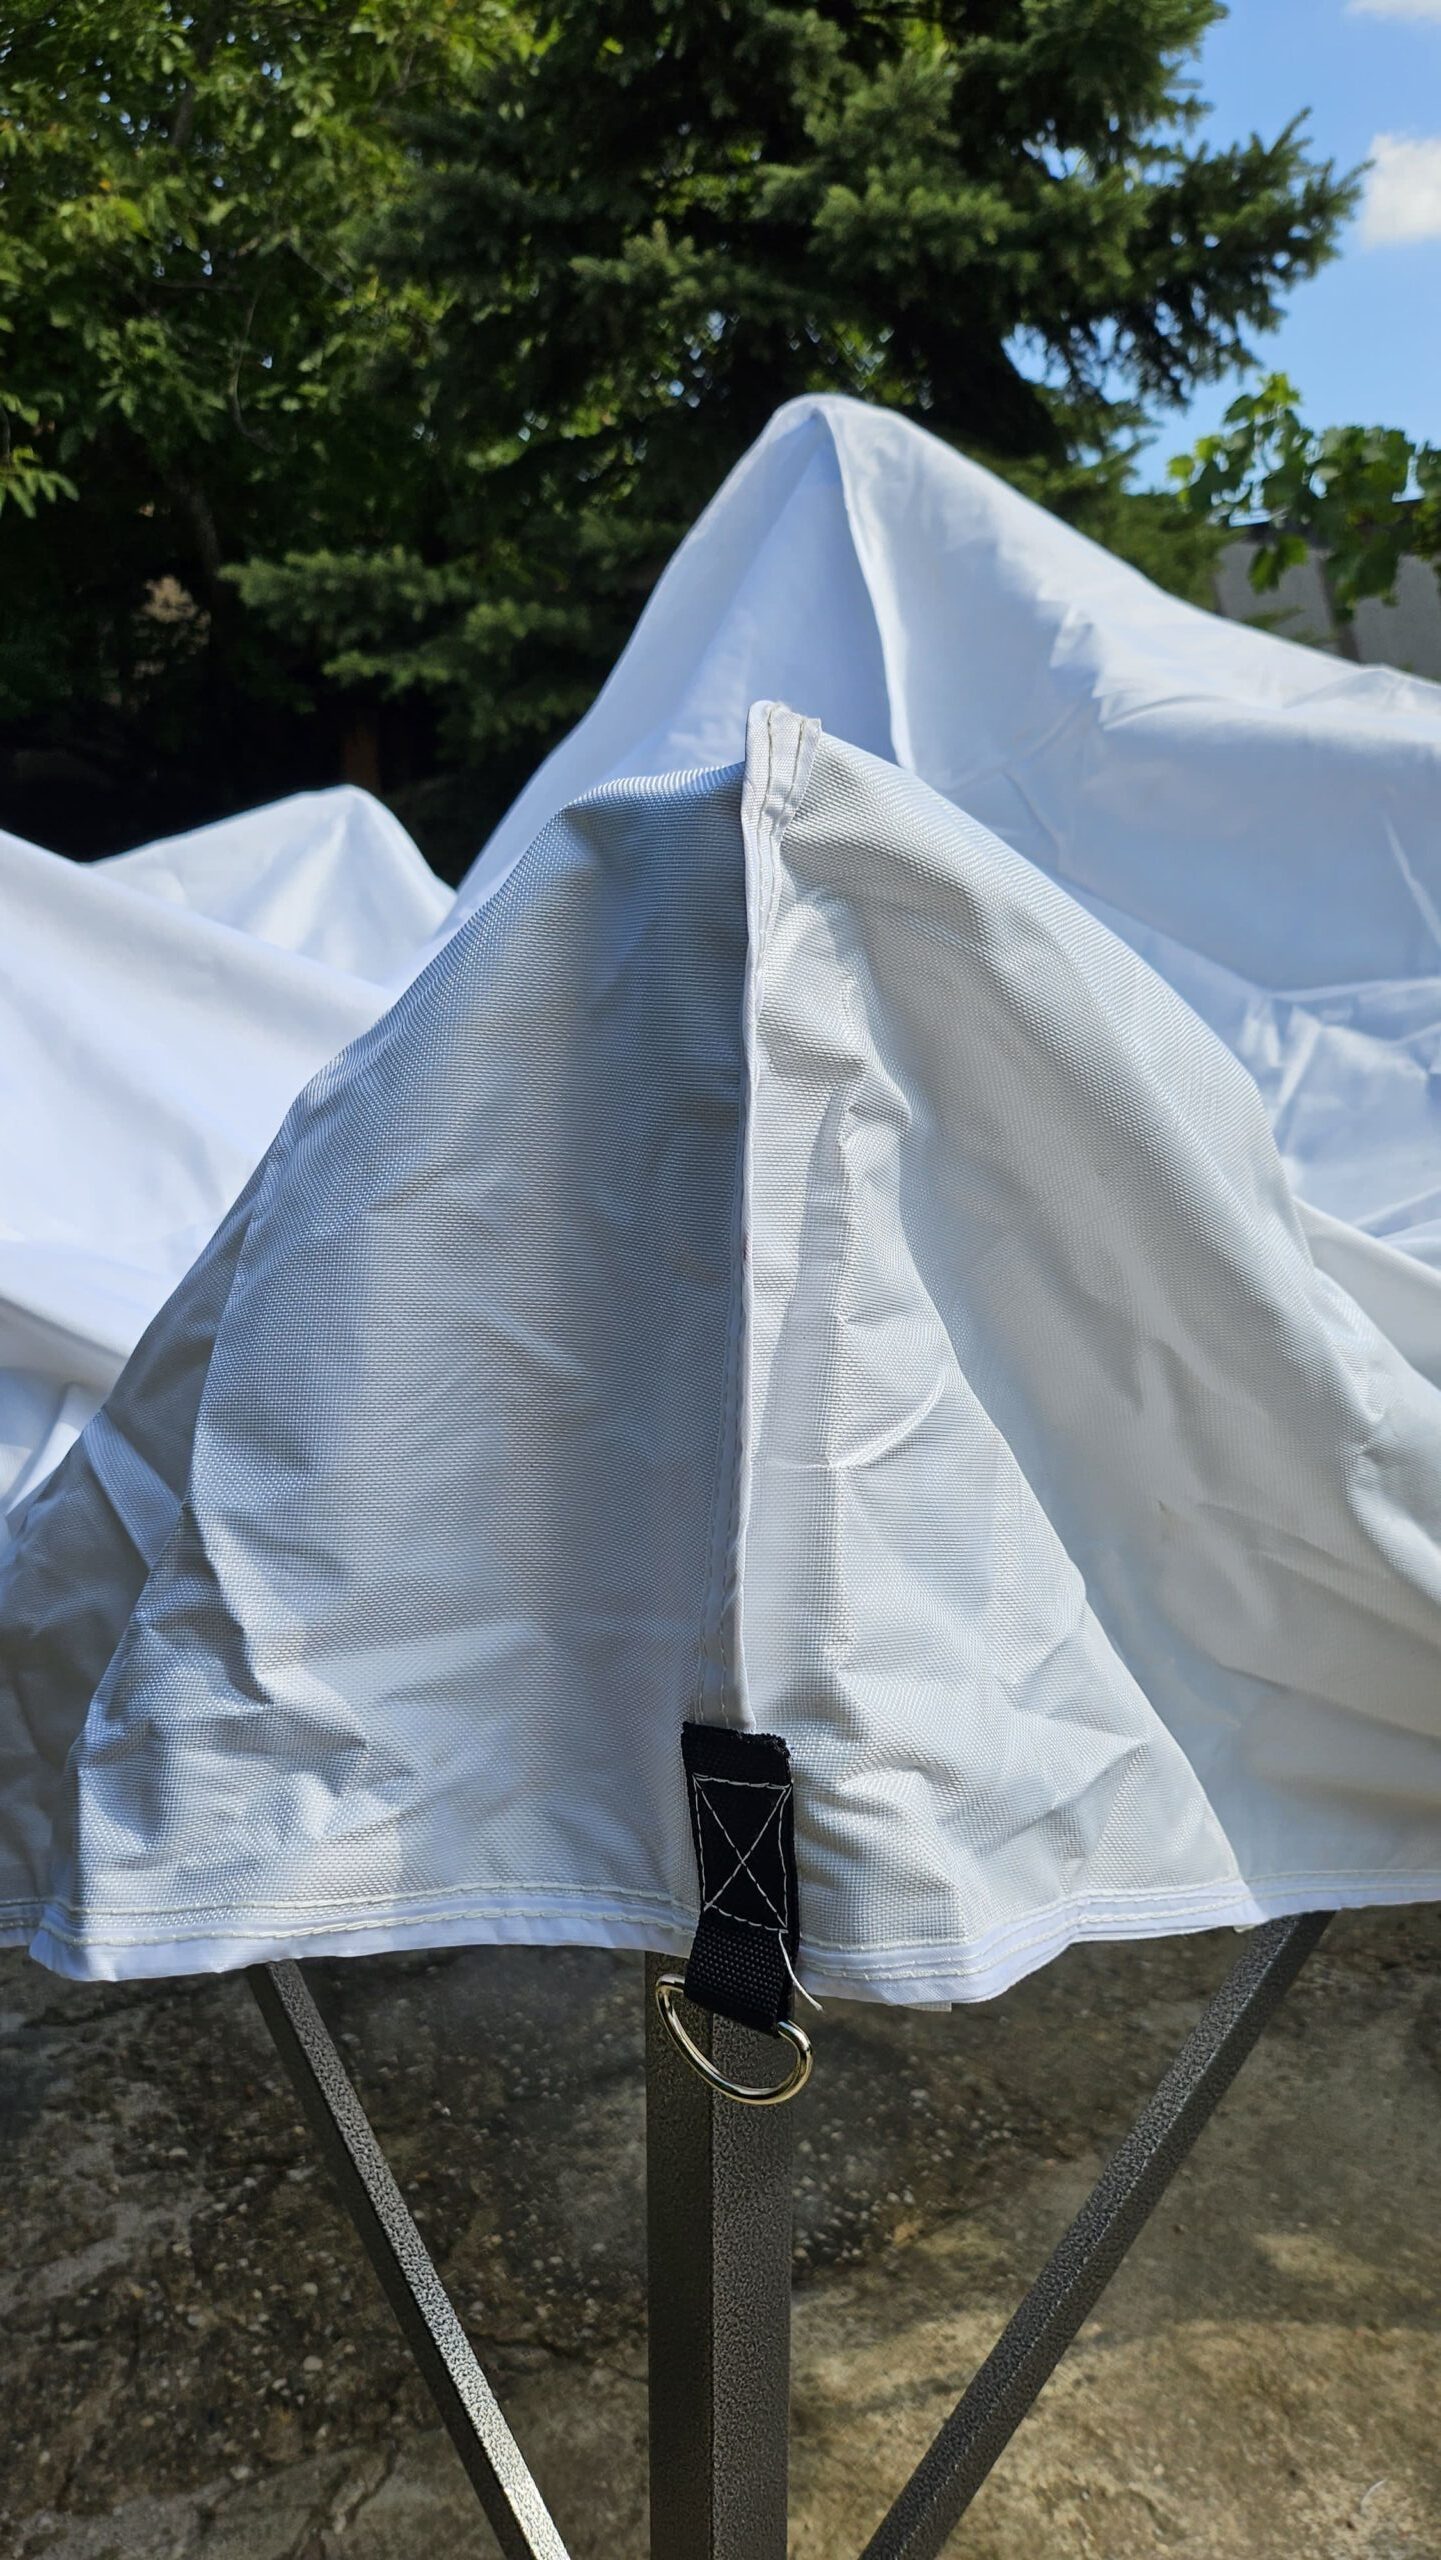
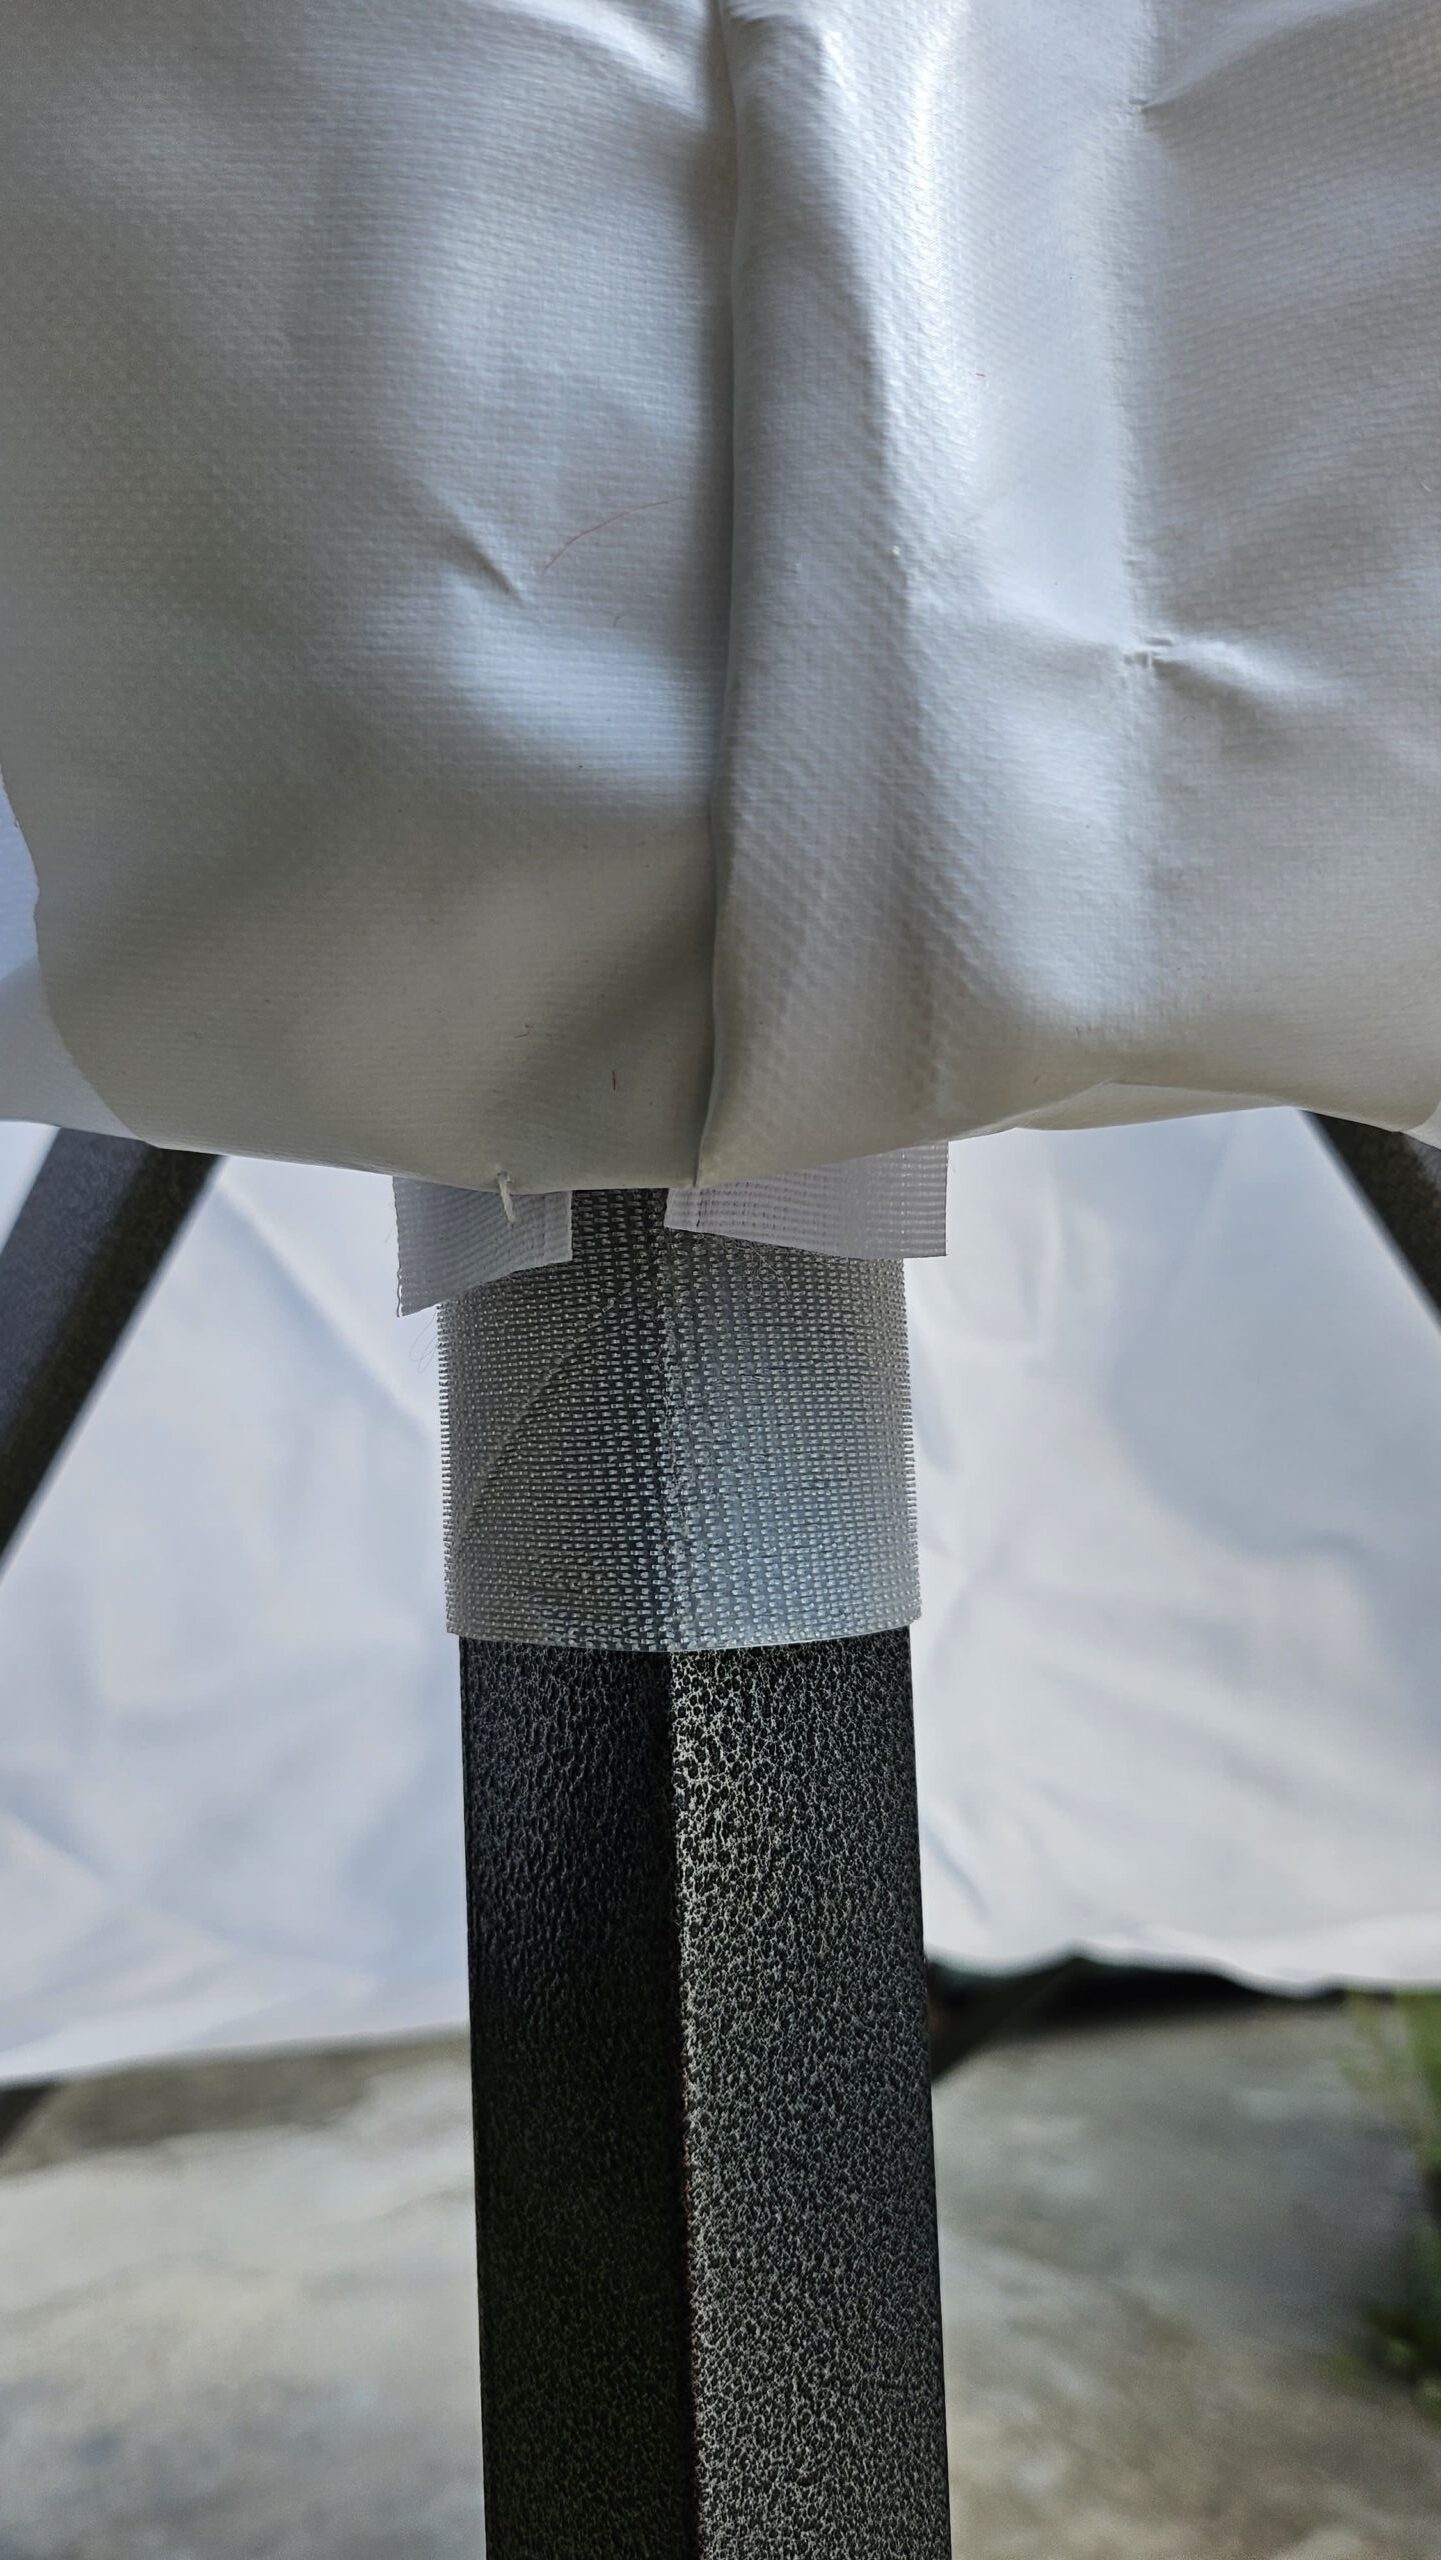
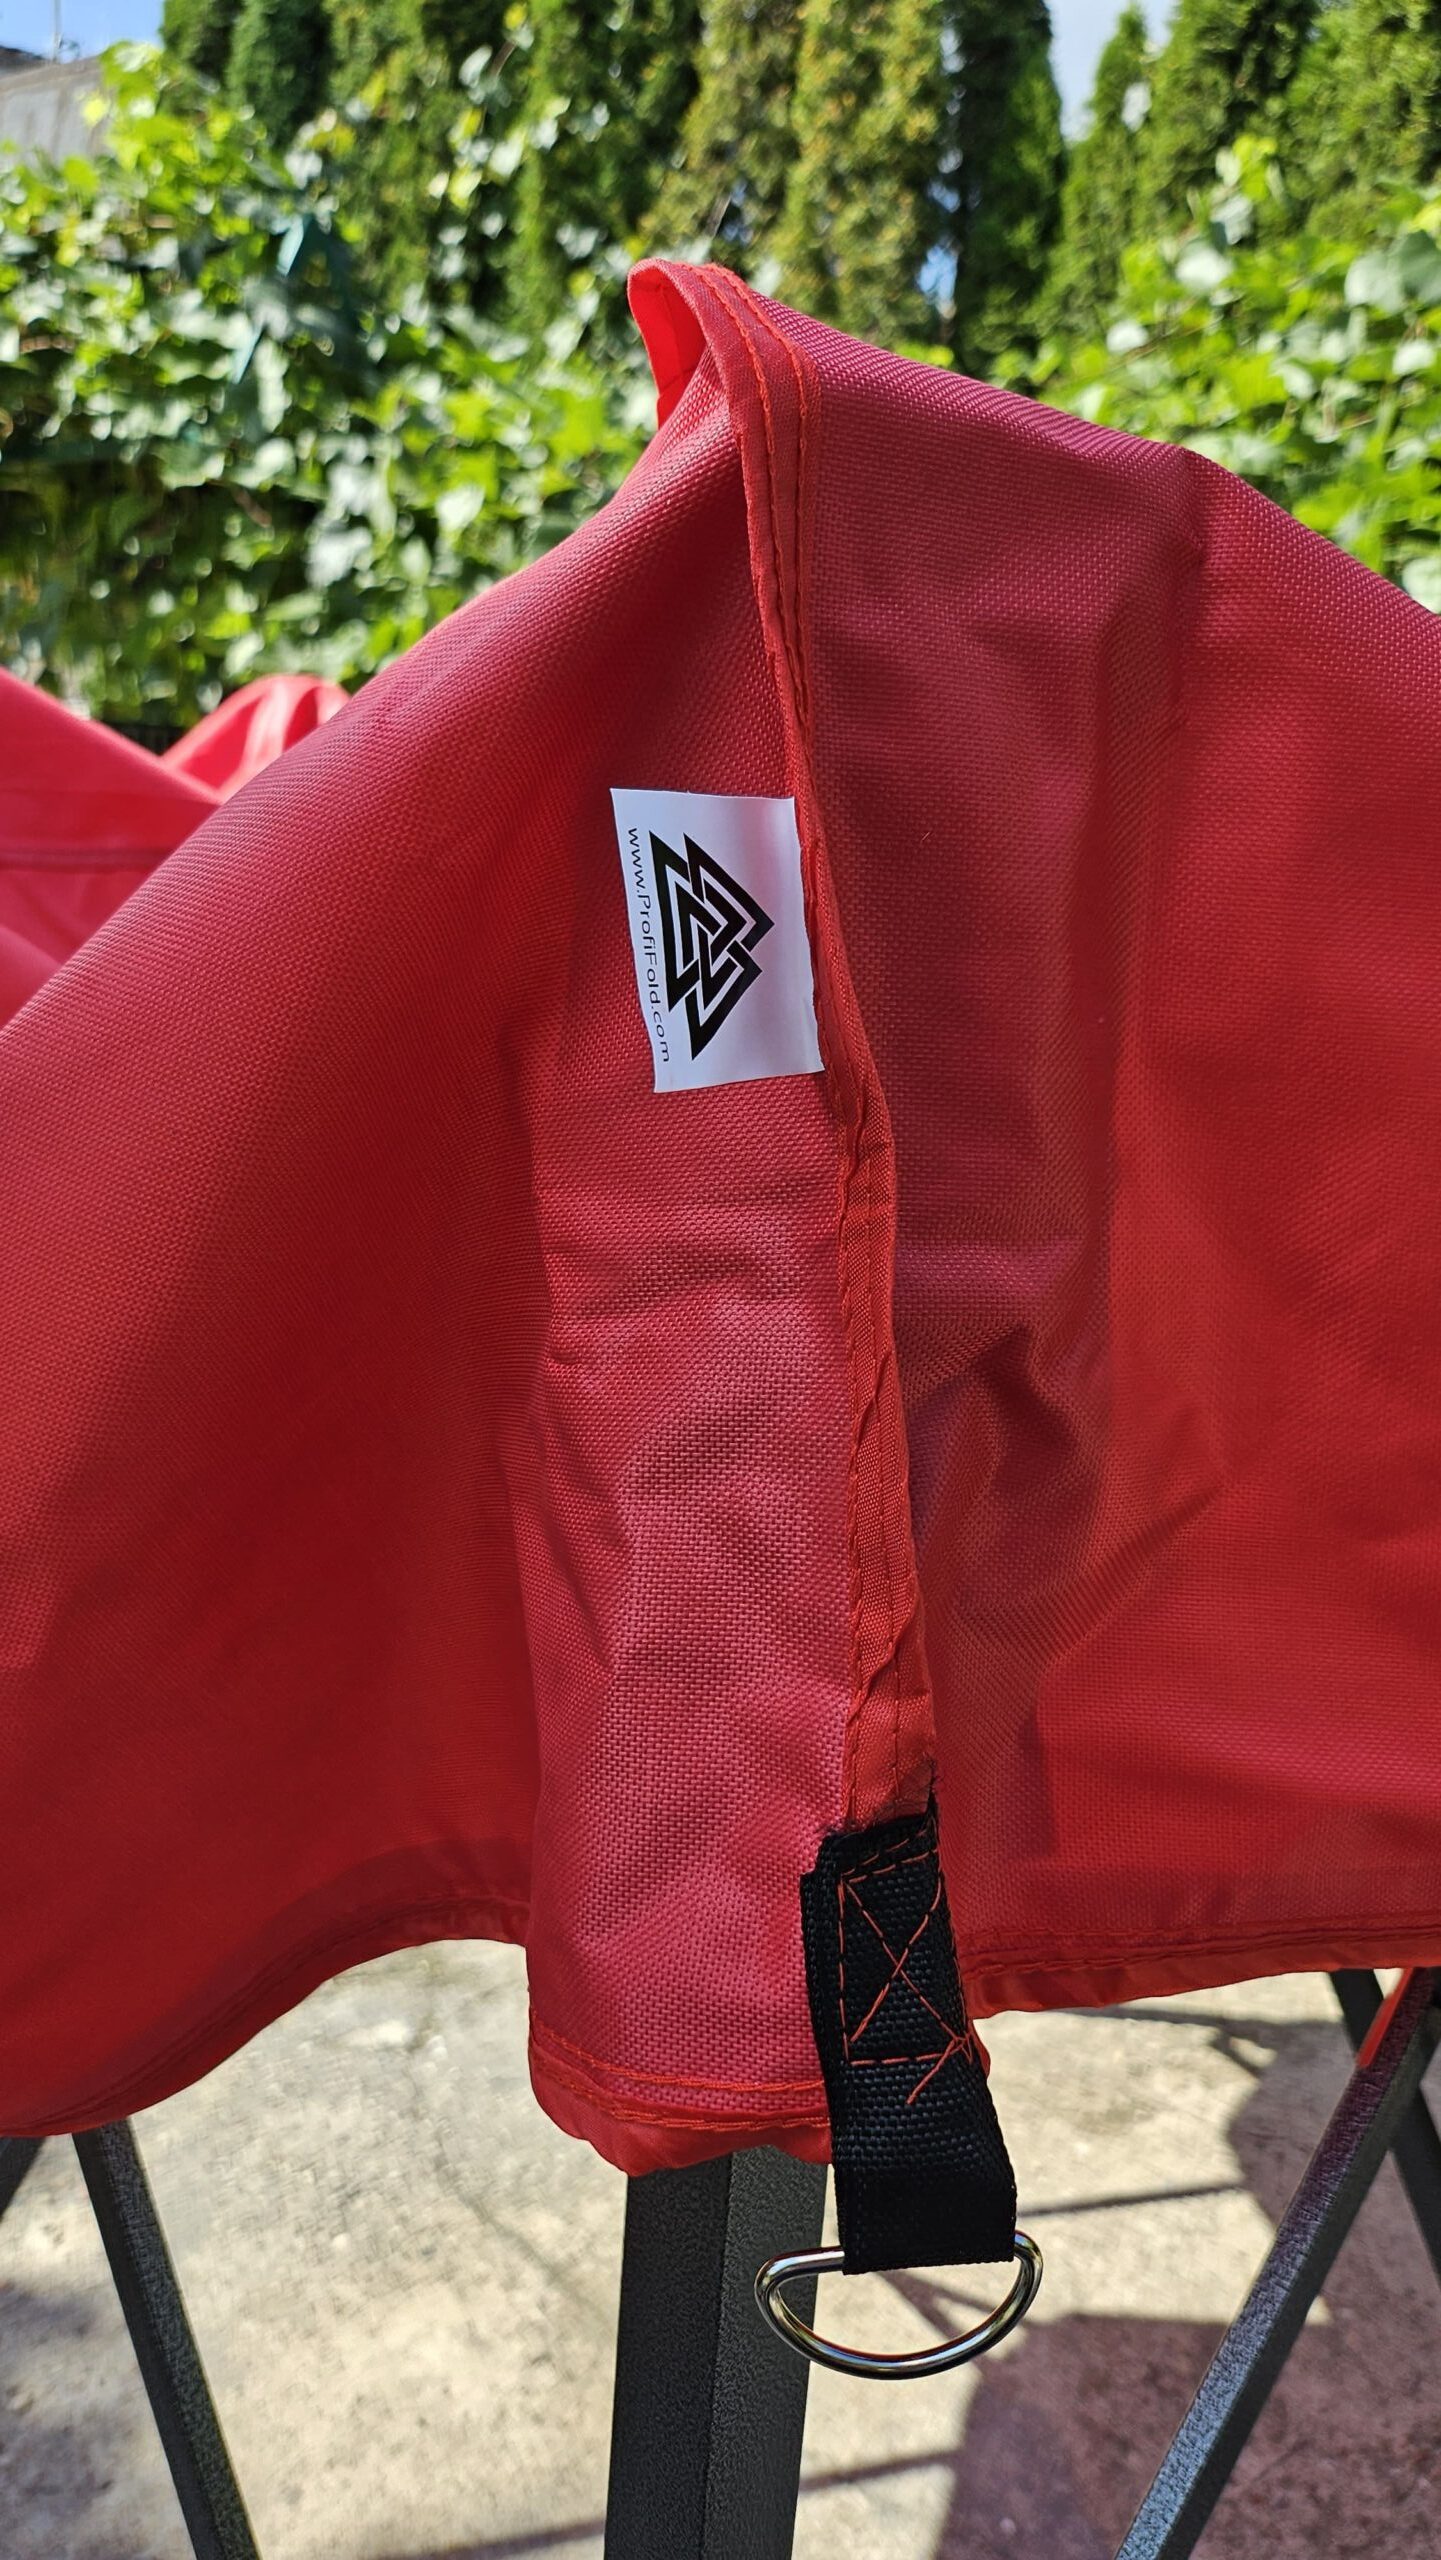
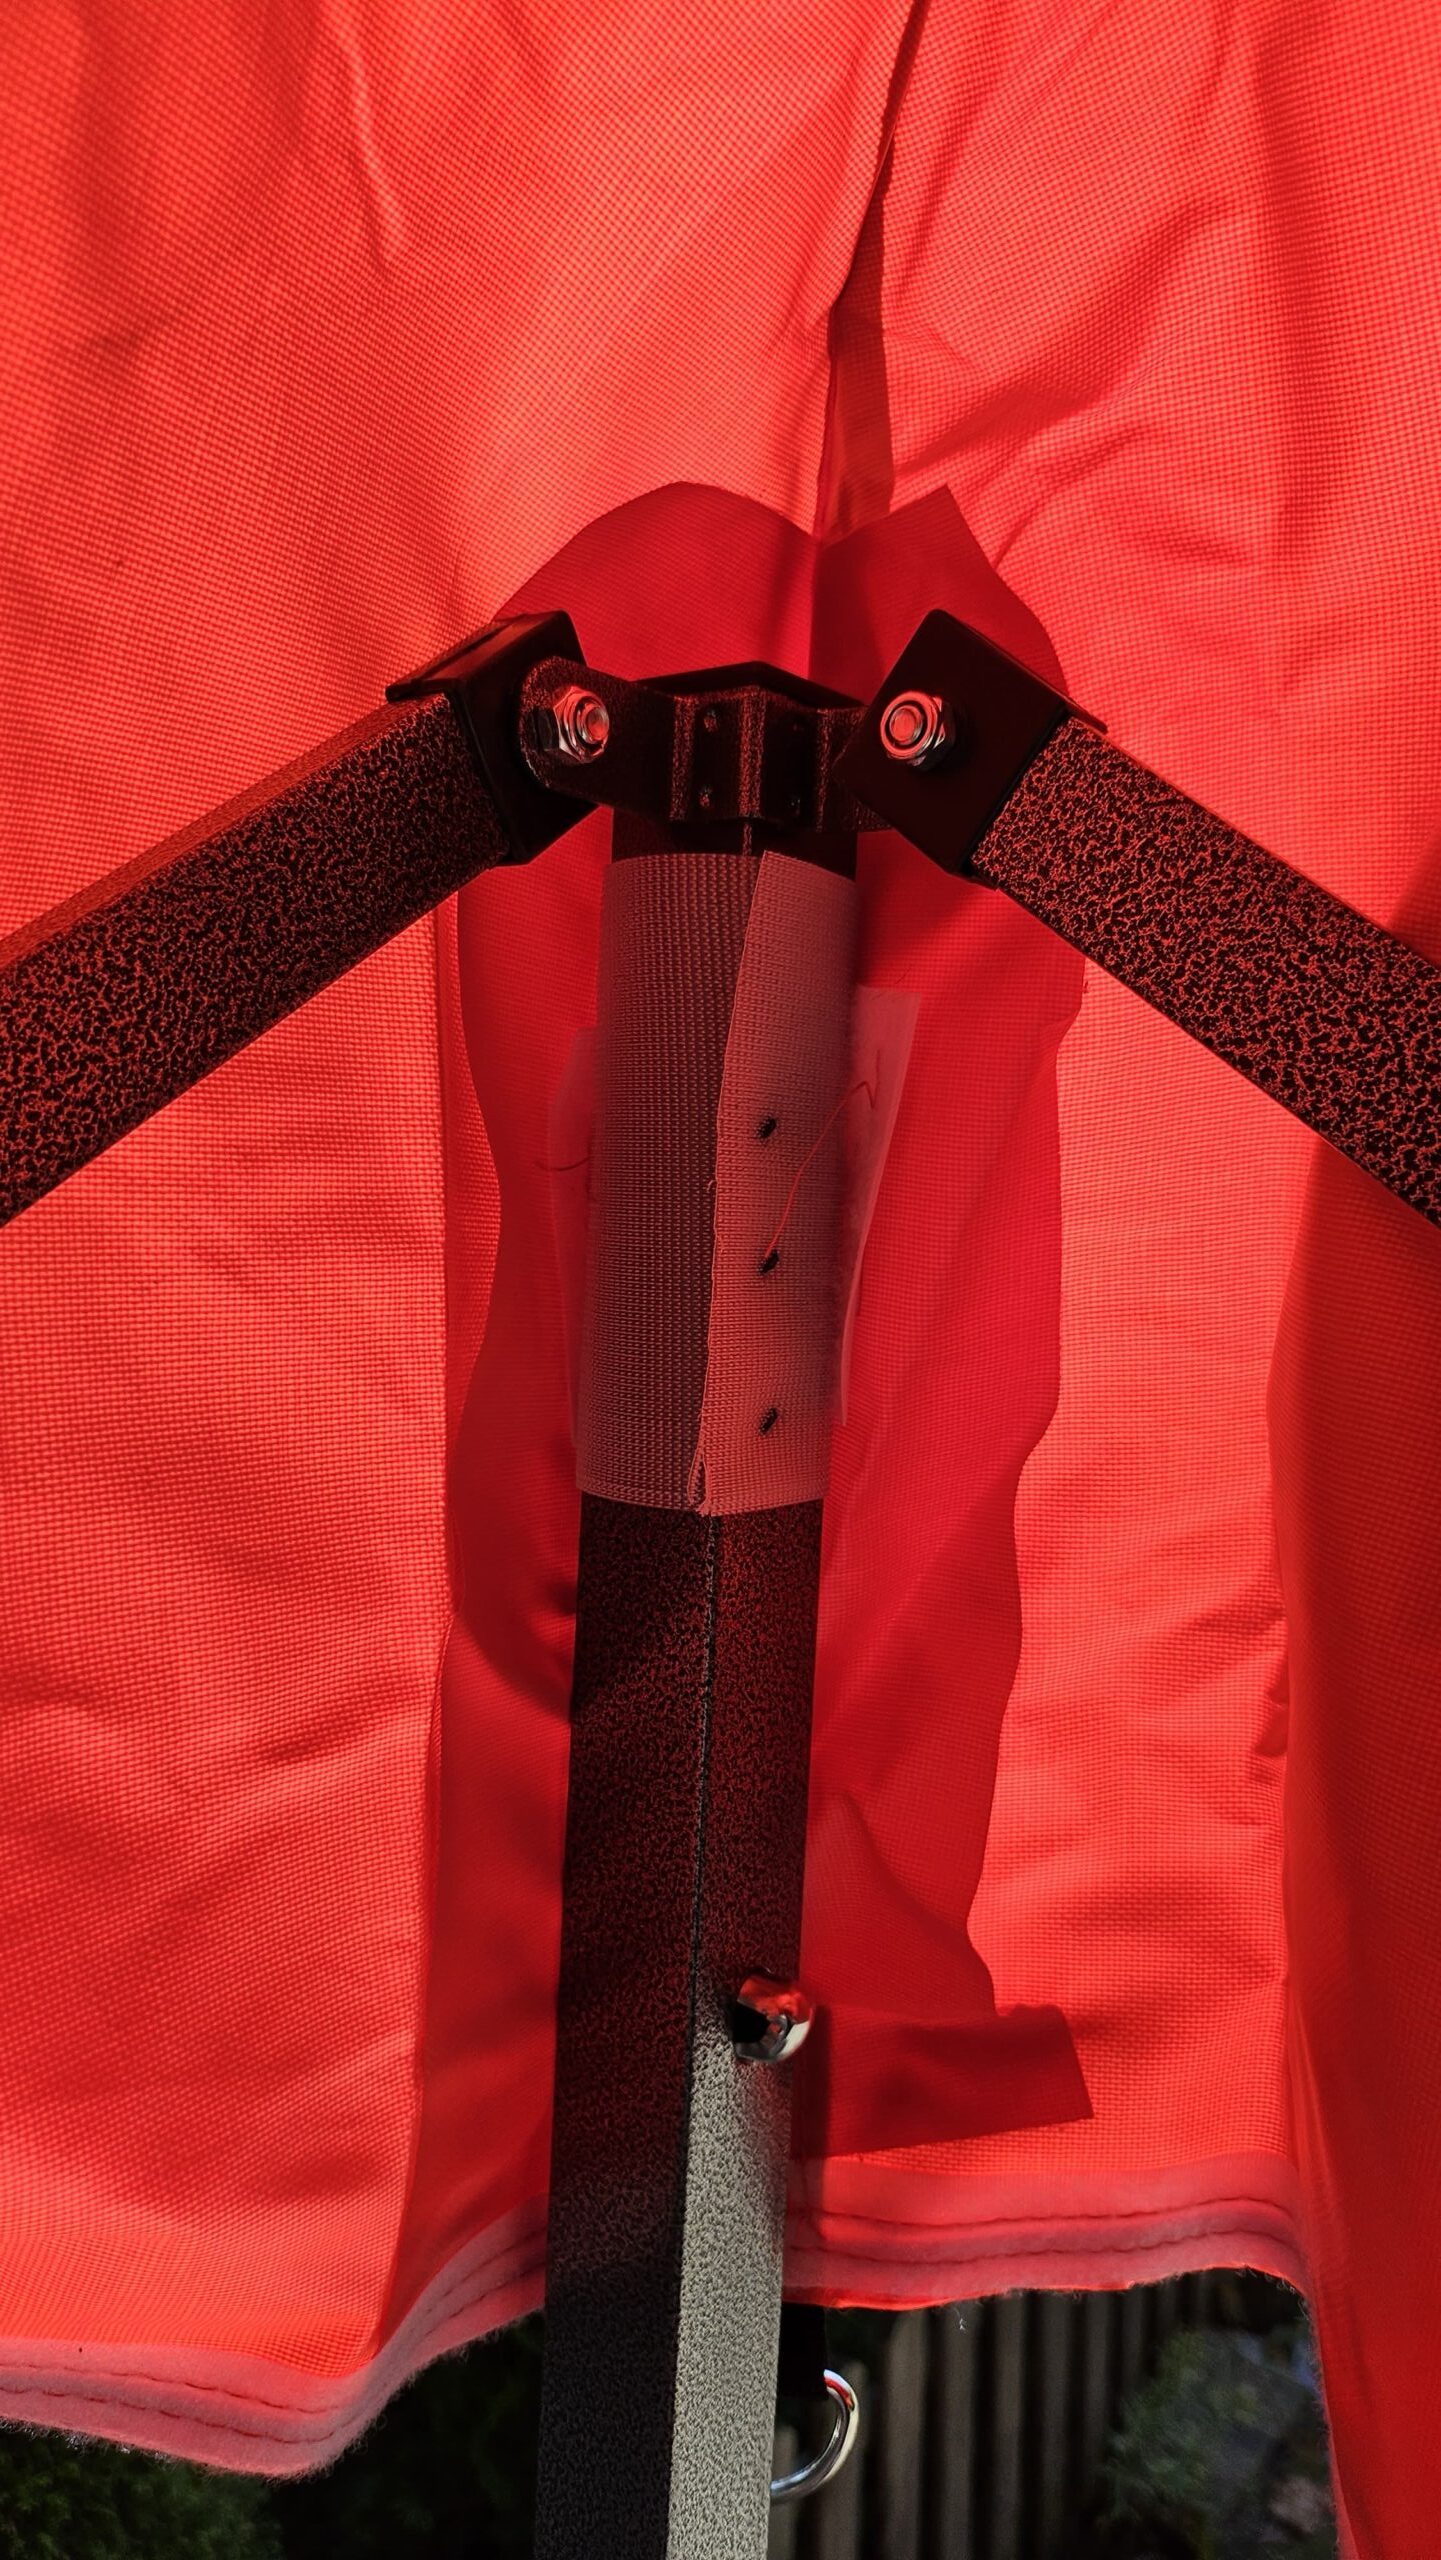
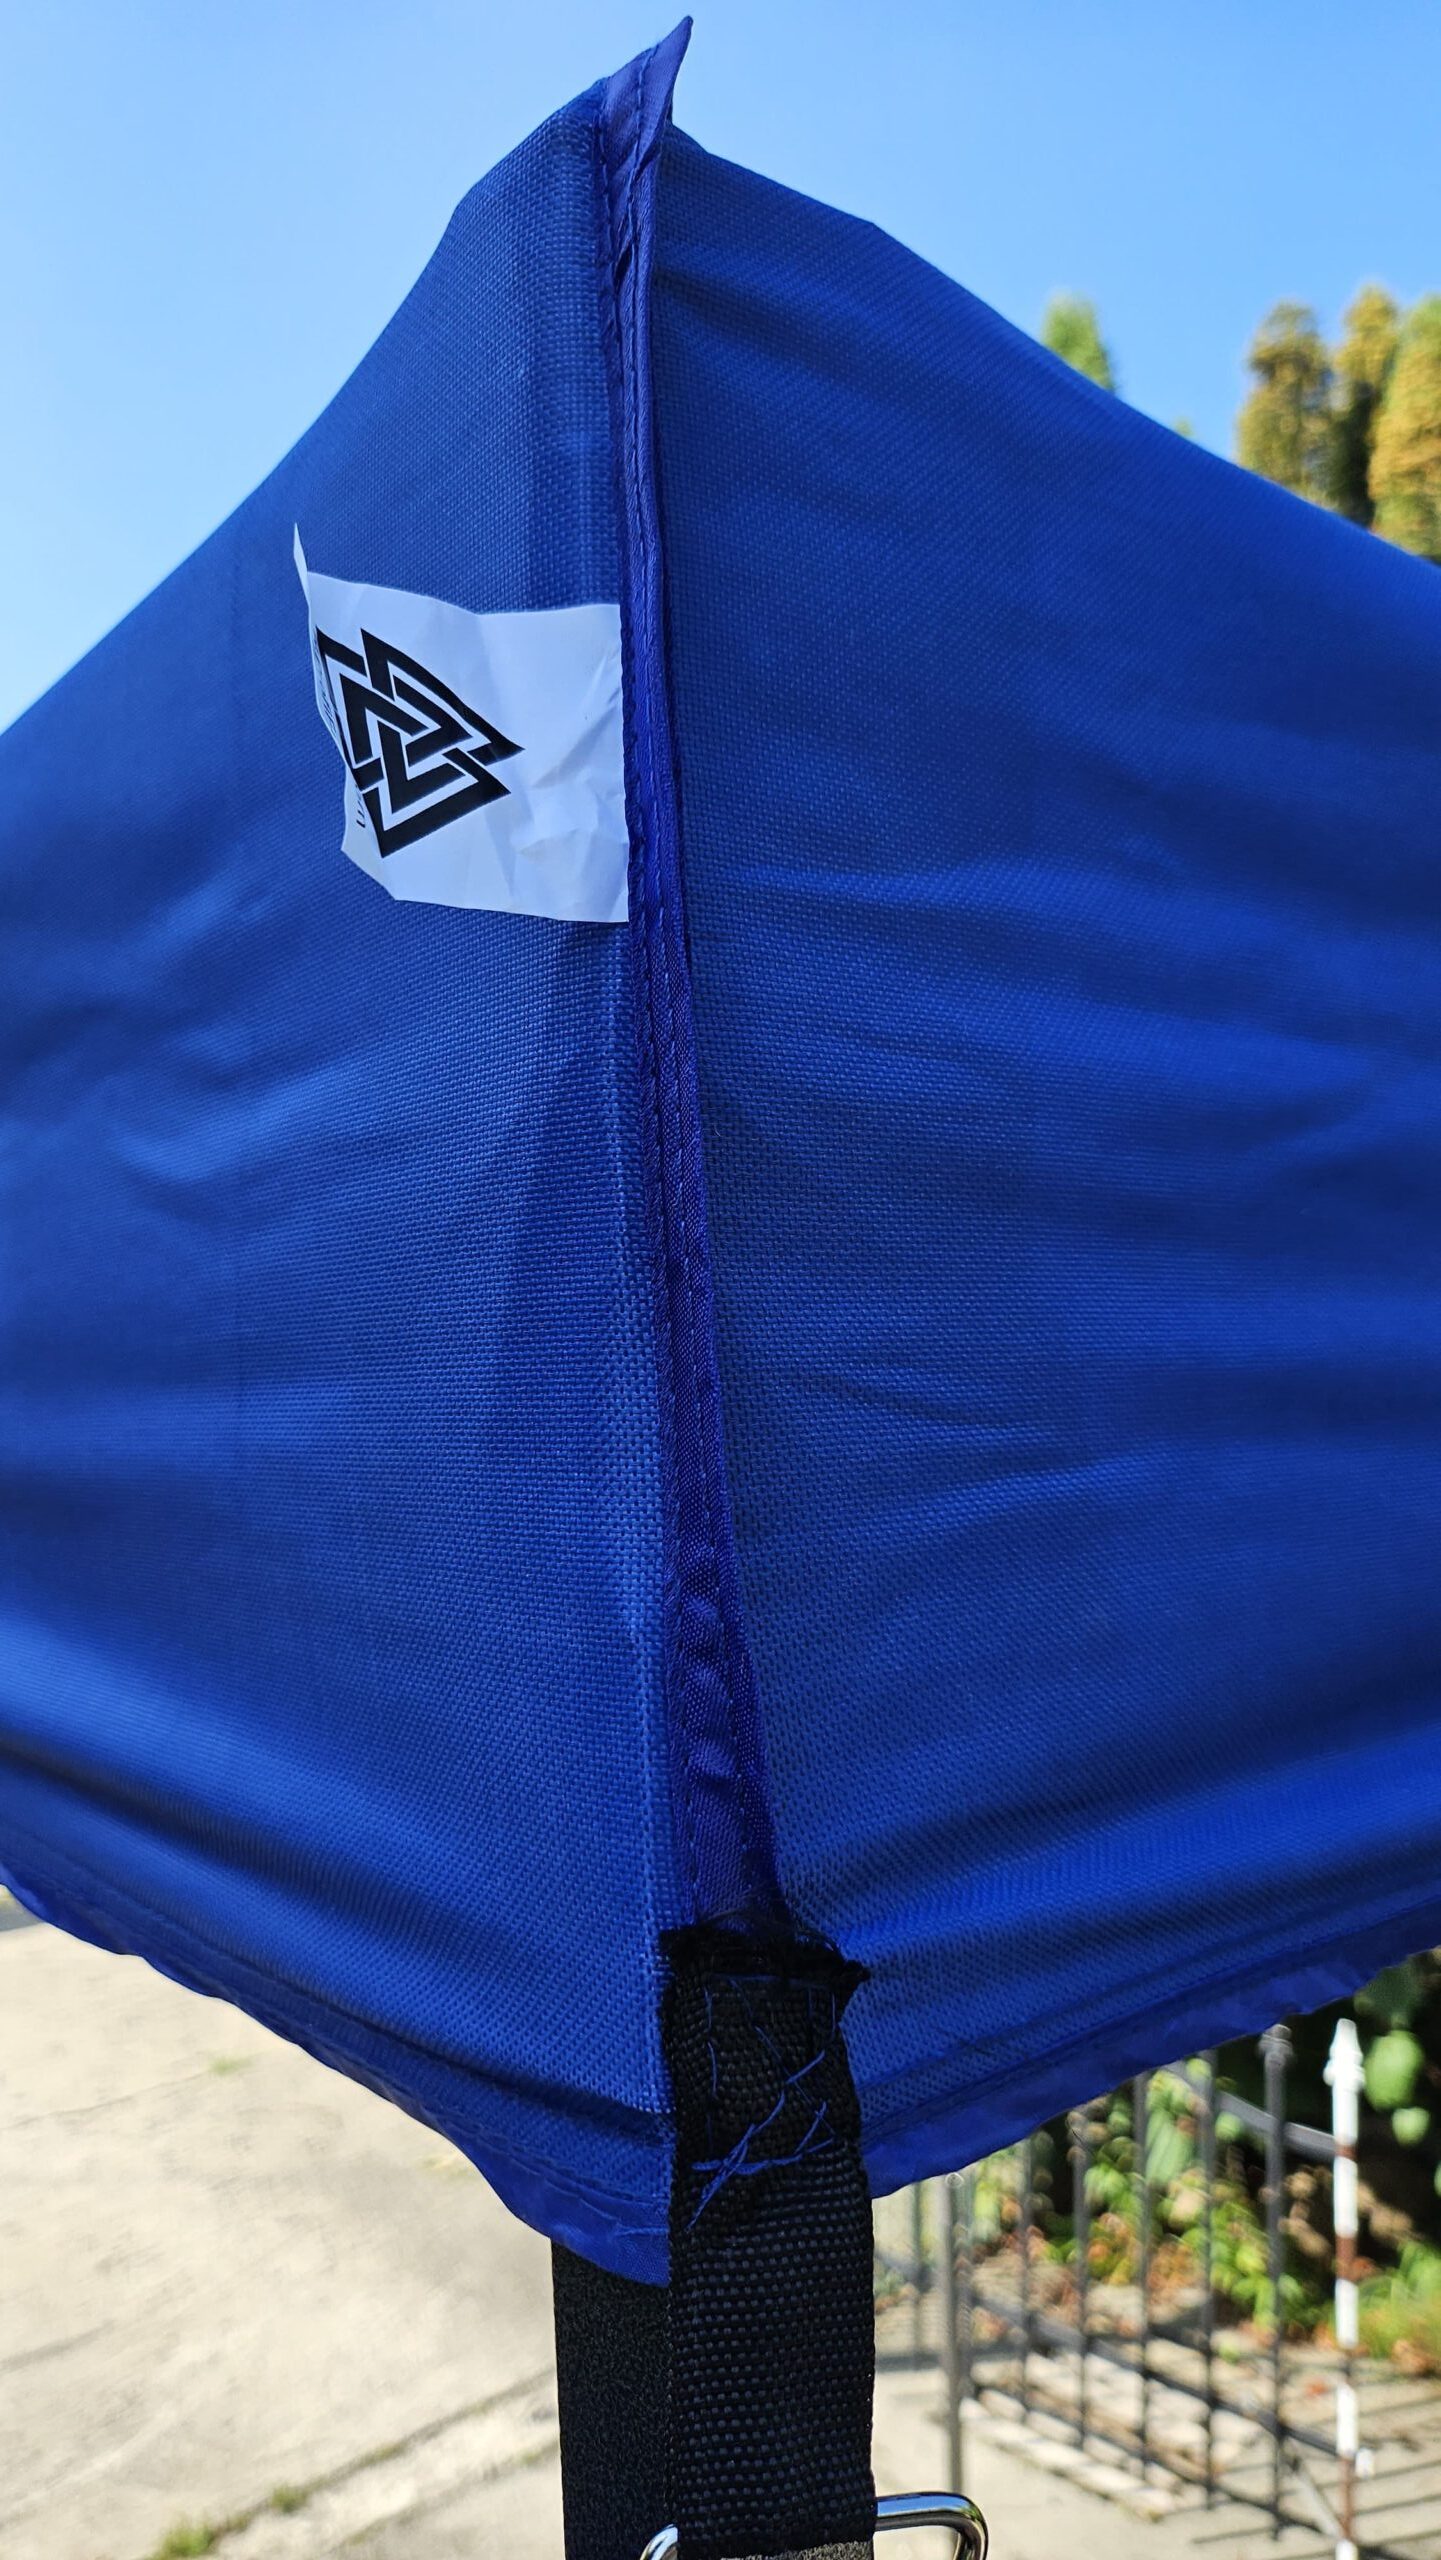
- Secure each edge, making sure it is in the correct position and fastened with Velcro straps.
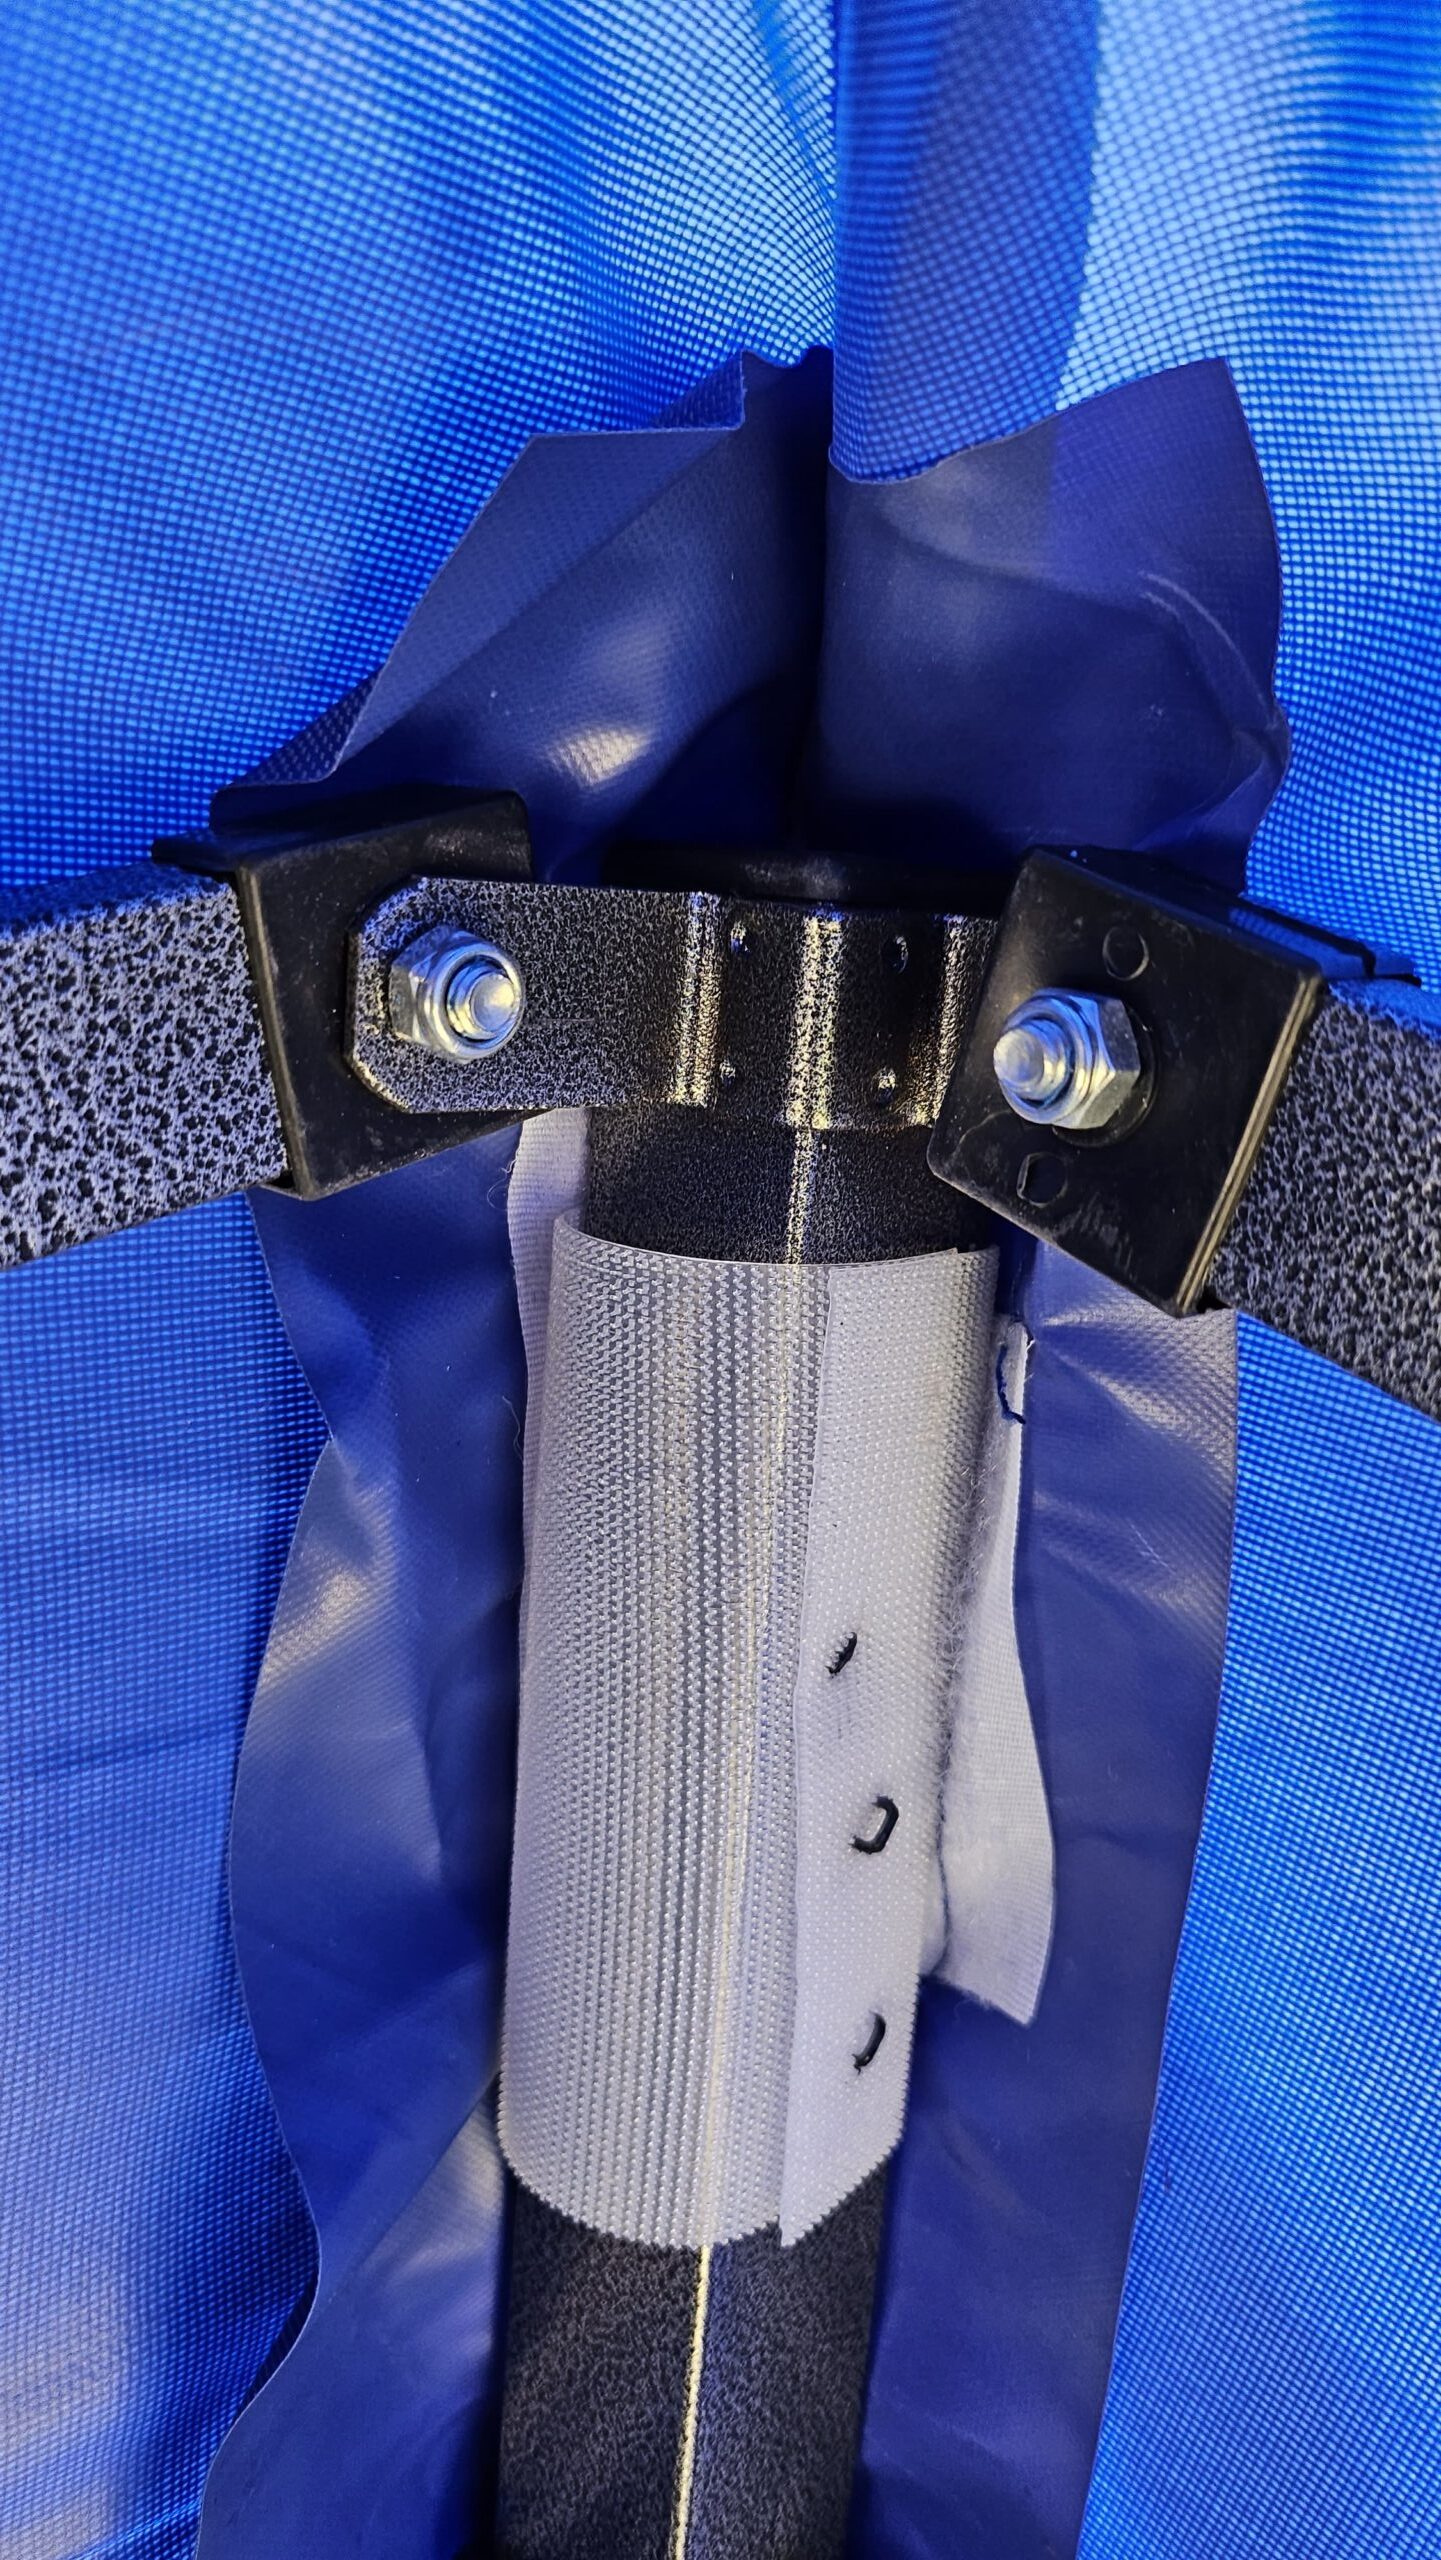
Step 4 – Raise the frame.
- Extend the frame almost to its maximum capacity.
- Start raising each leg one step at a time (one click per leg).
- Go around the tent and raise it in the same manner to the desired height, one step at a time.
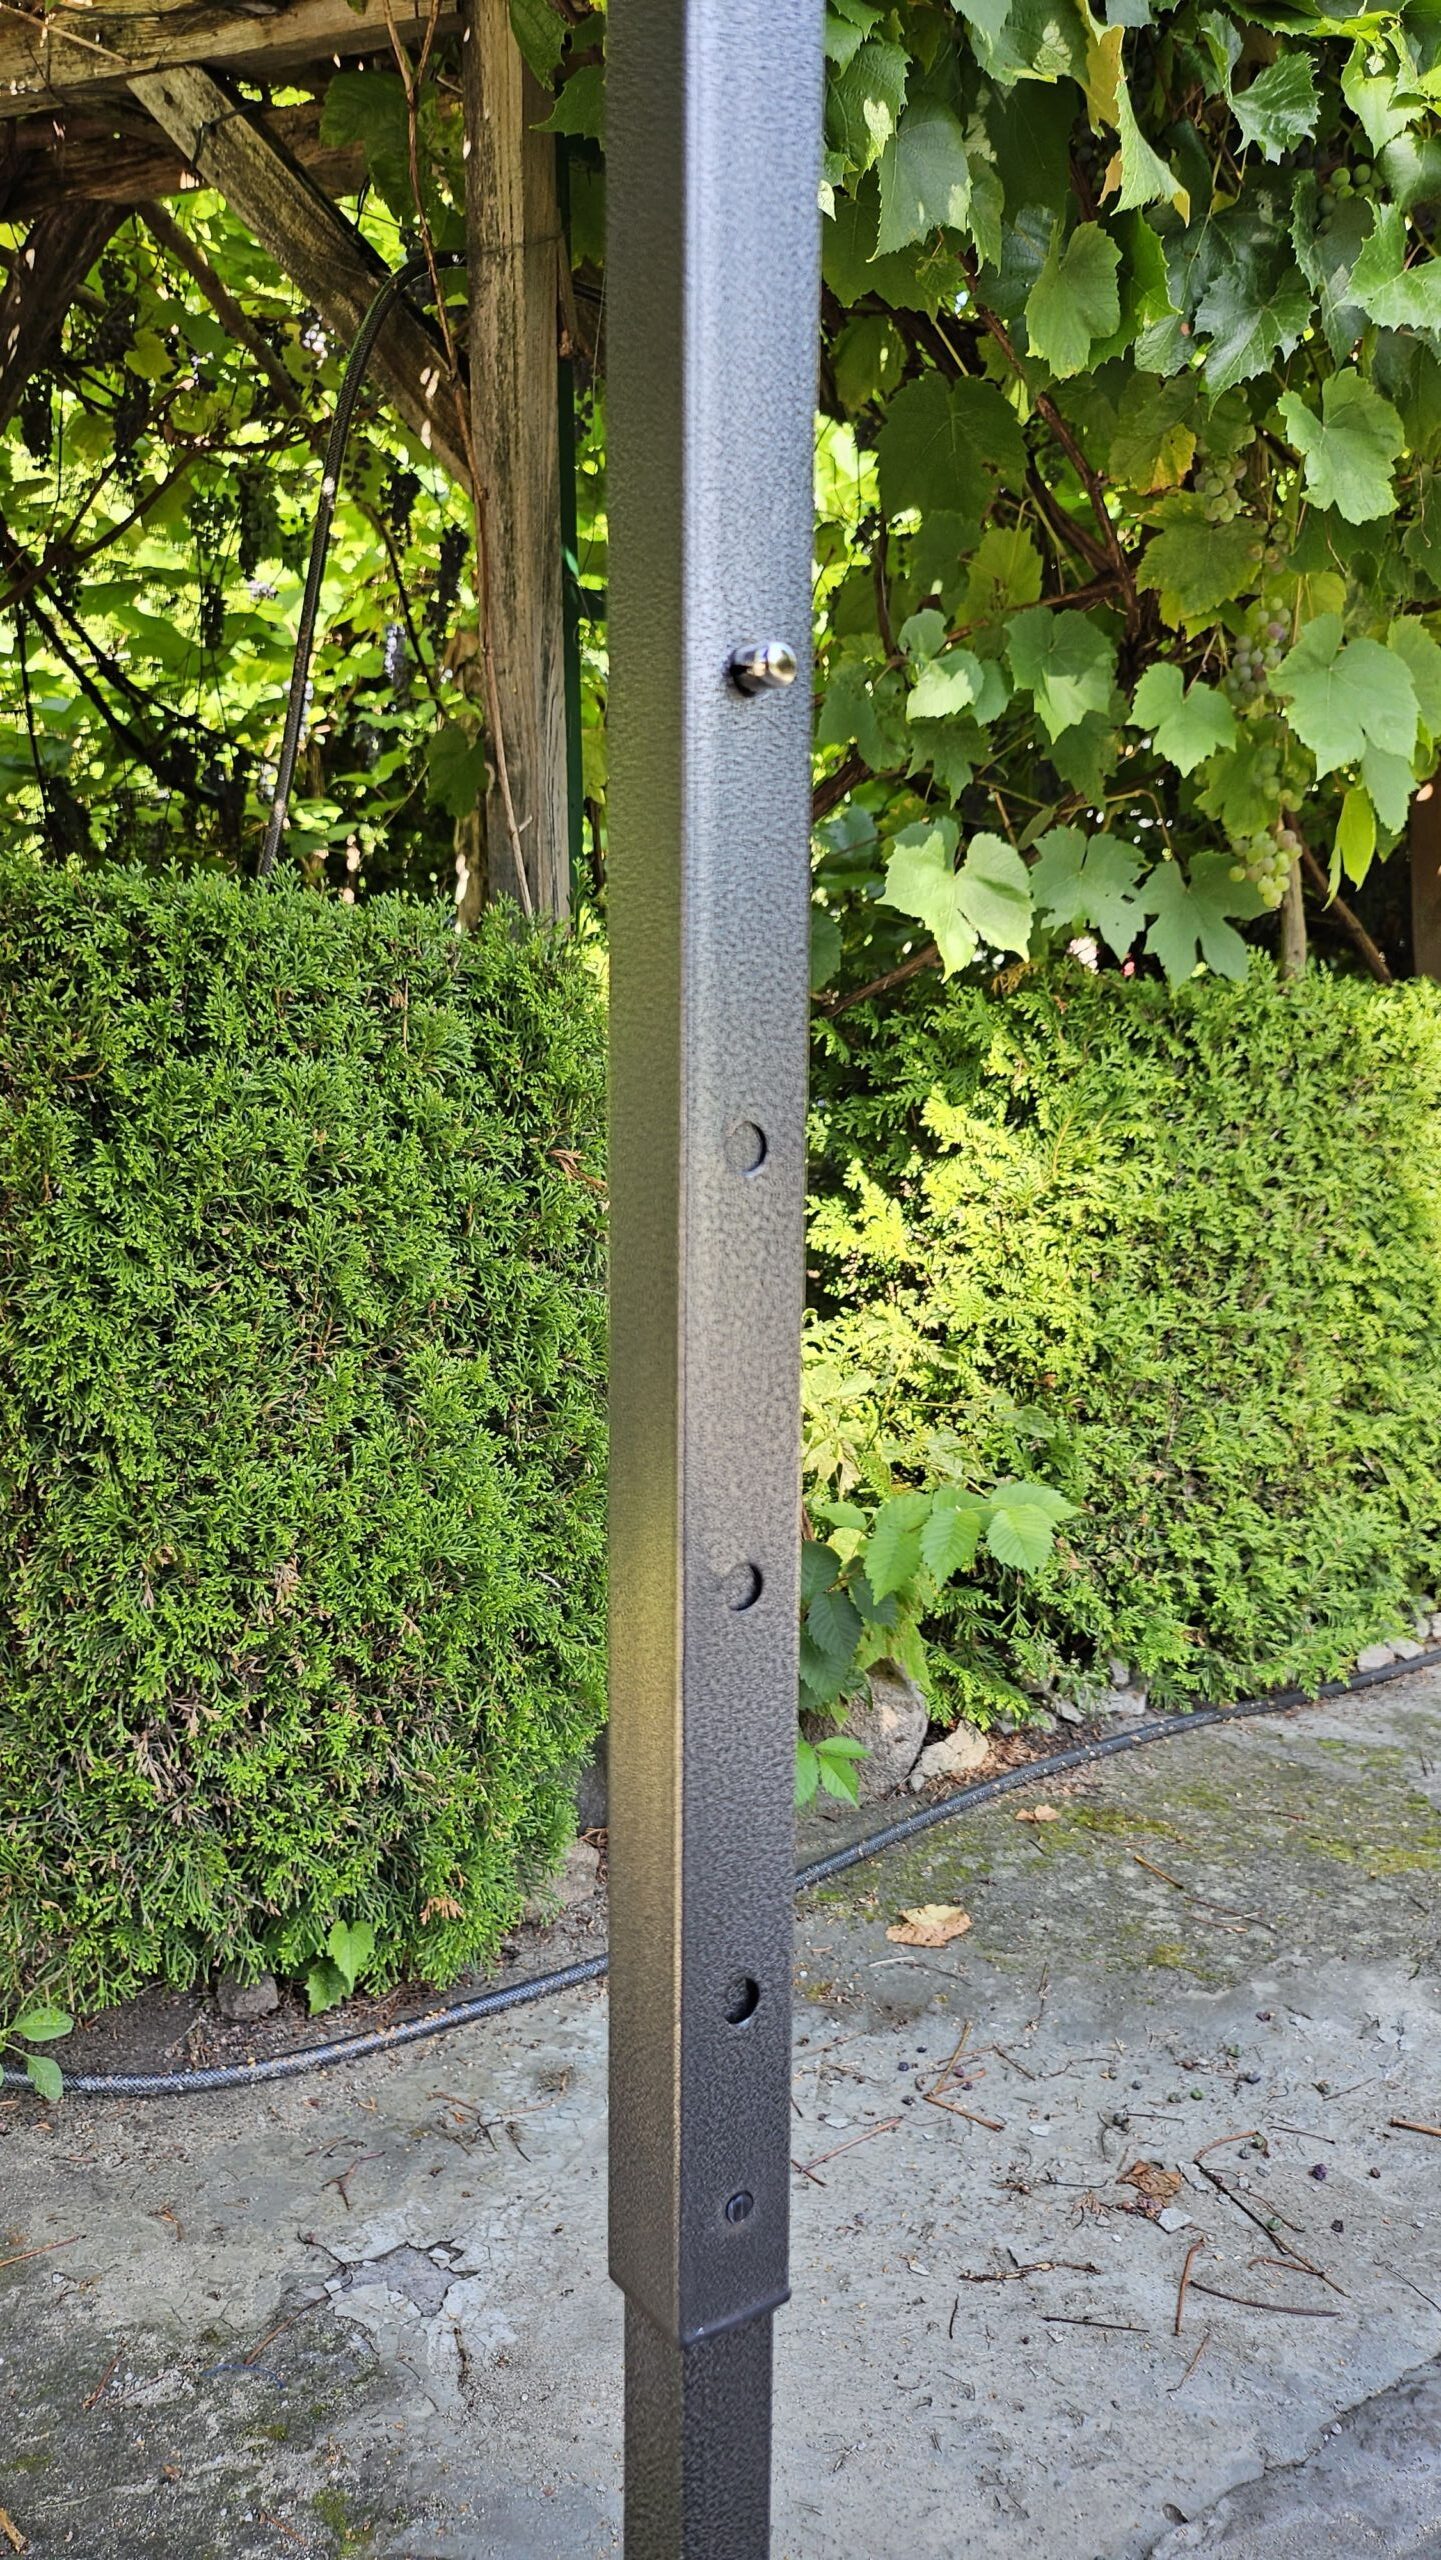
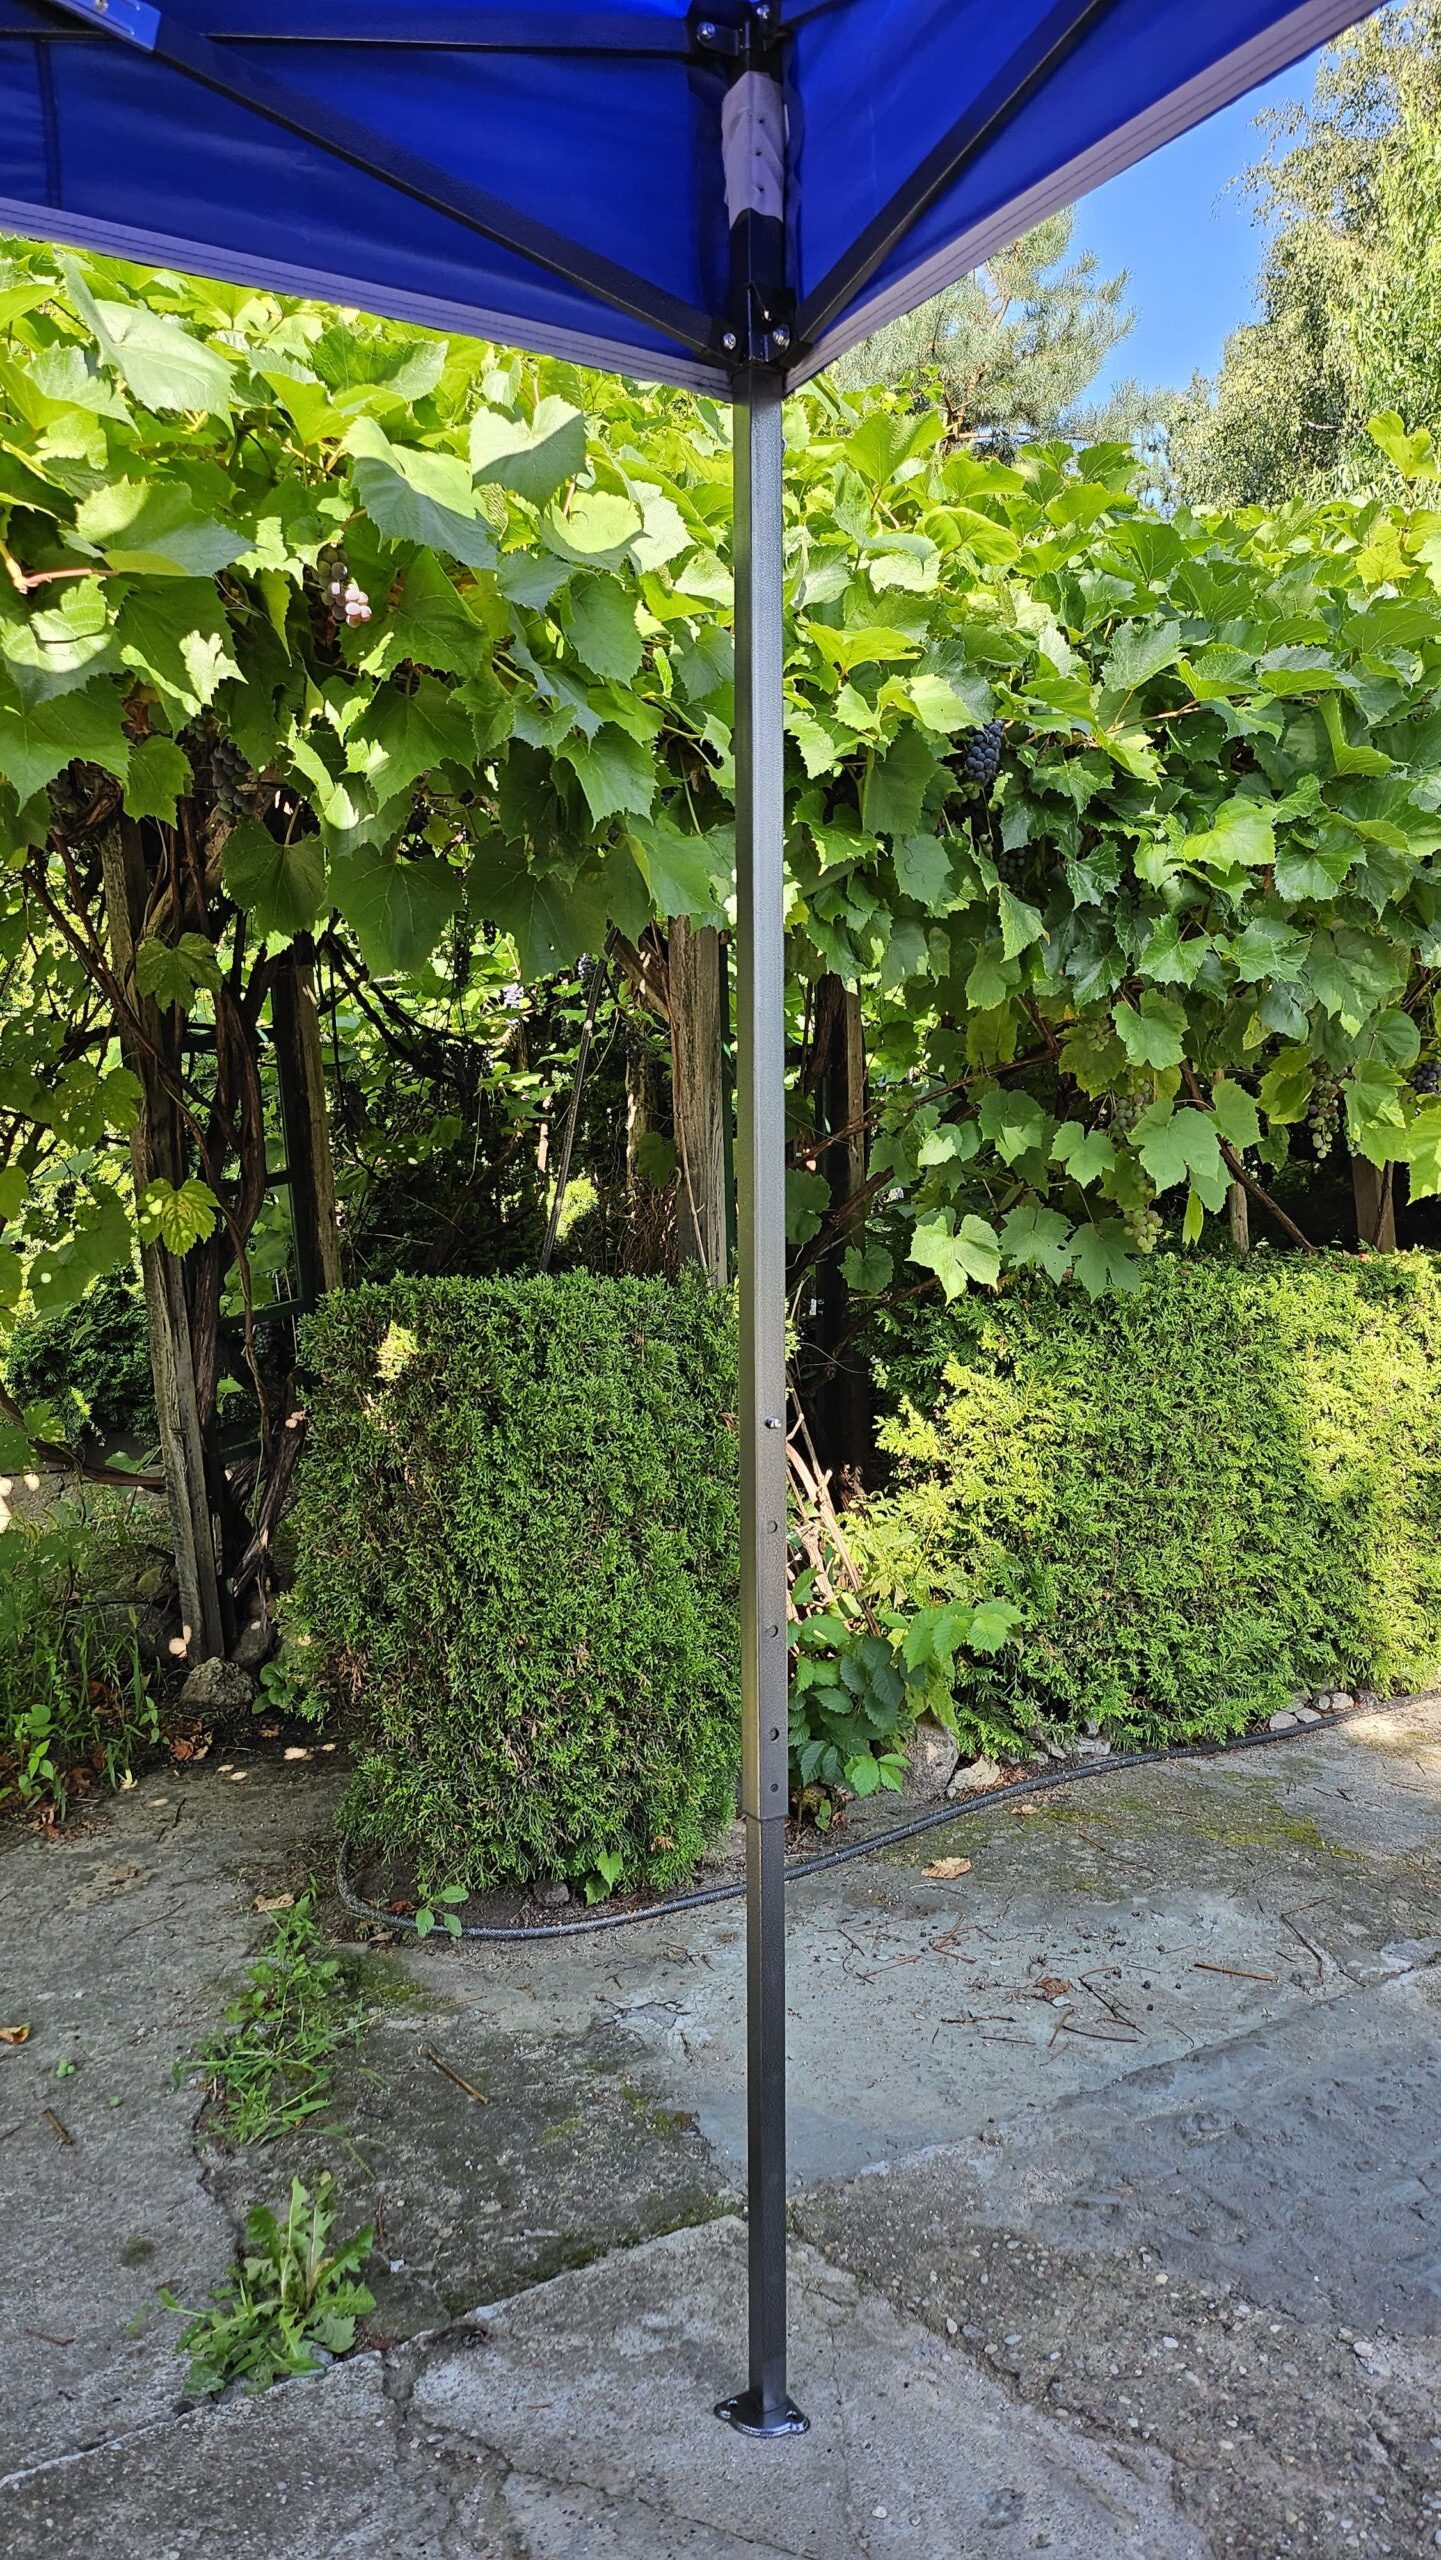
Step 5 – Tighten the tent.
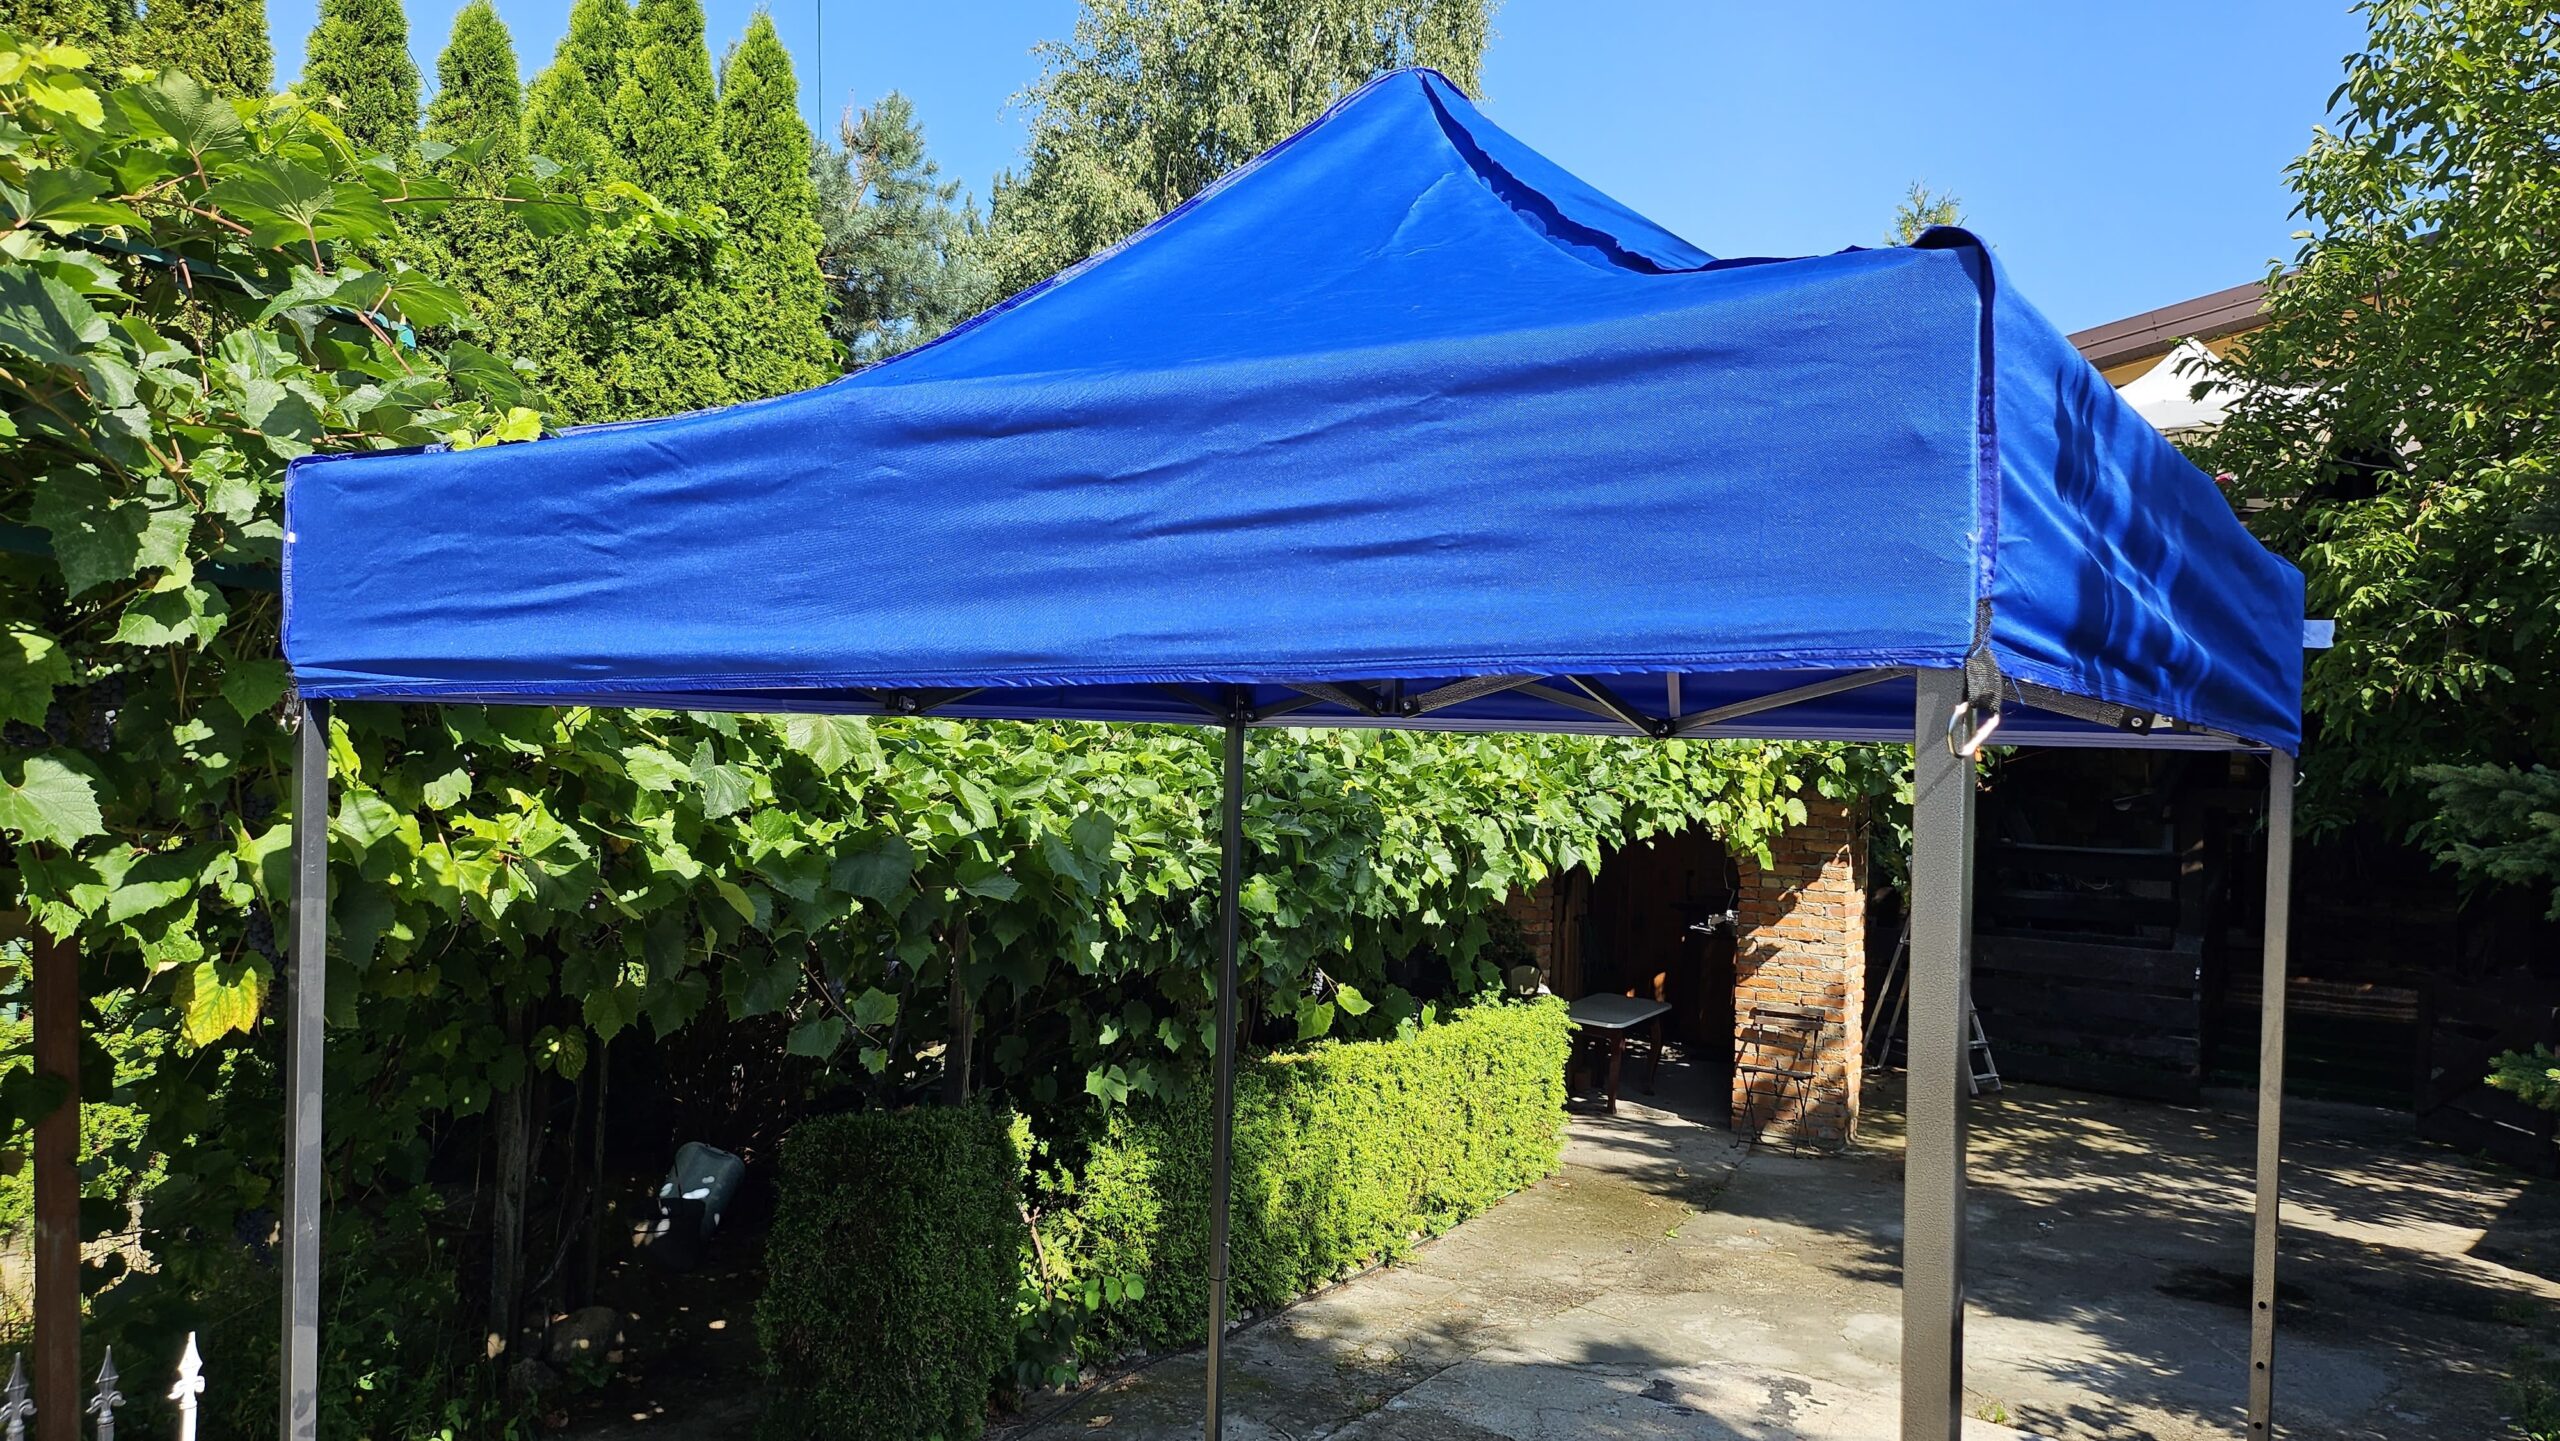
- Double-check that the roof is now correctly positioned, with the edges in the right place secured by Velcro straps, and adjust if necessary.
- Go to each leg and raise the last bit near the roof edge until the fastener clicks into place.
- This is the most challenging part as it requires both strength and caution to get the fasteners to click in – if you have trouble, try raising it as close as possible and then hit it with your hand to make it click into place.
- Do the same with each leg, one at a time.
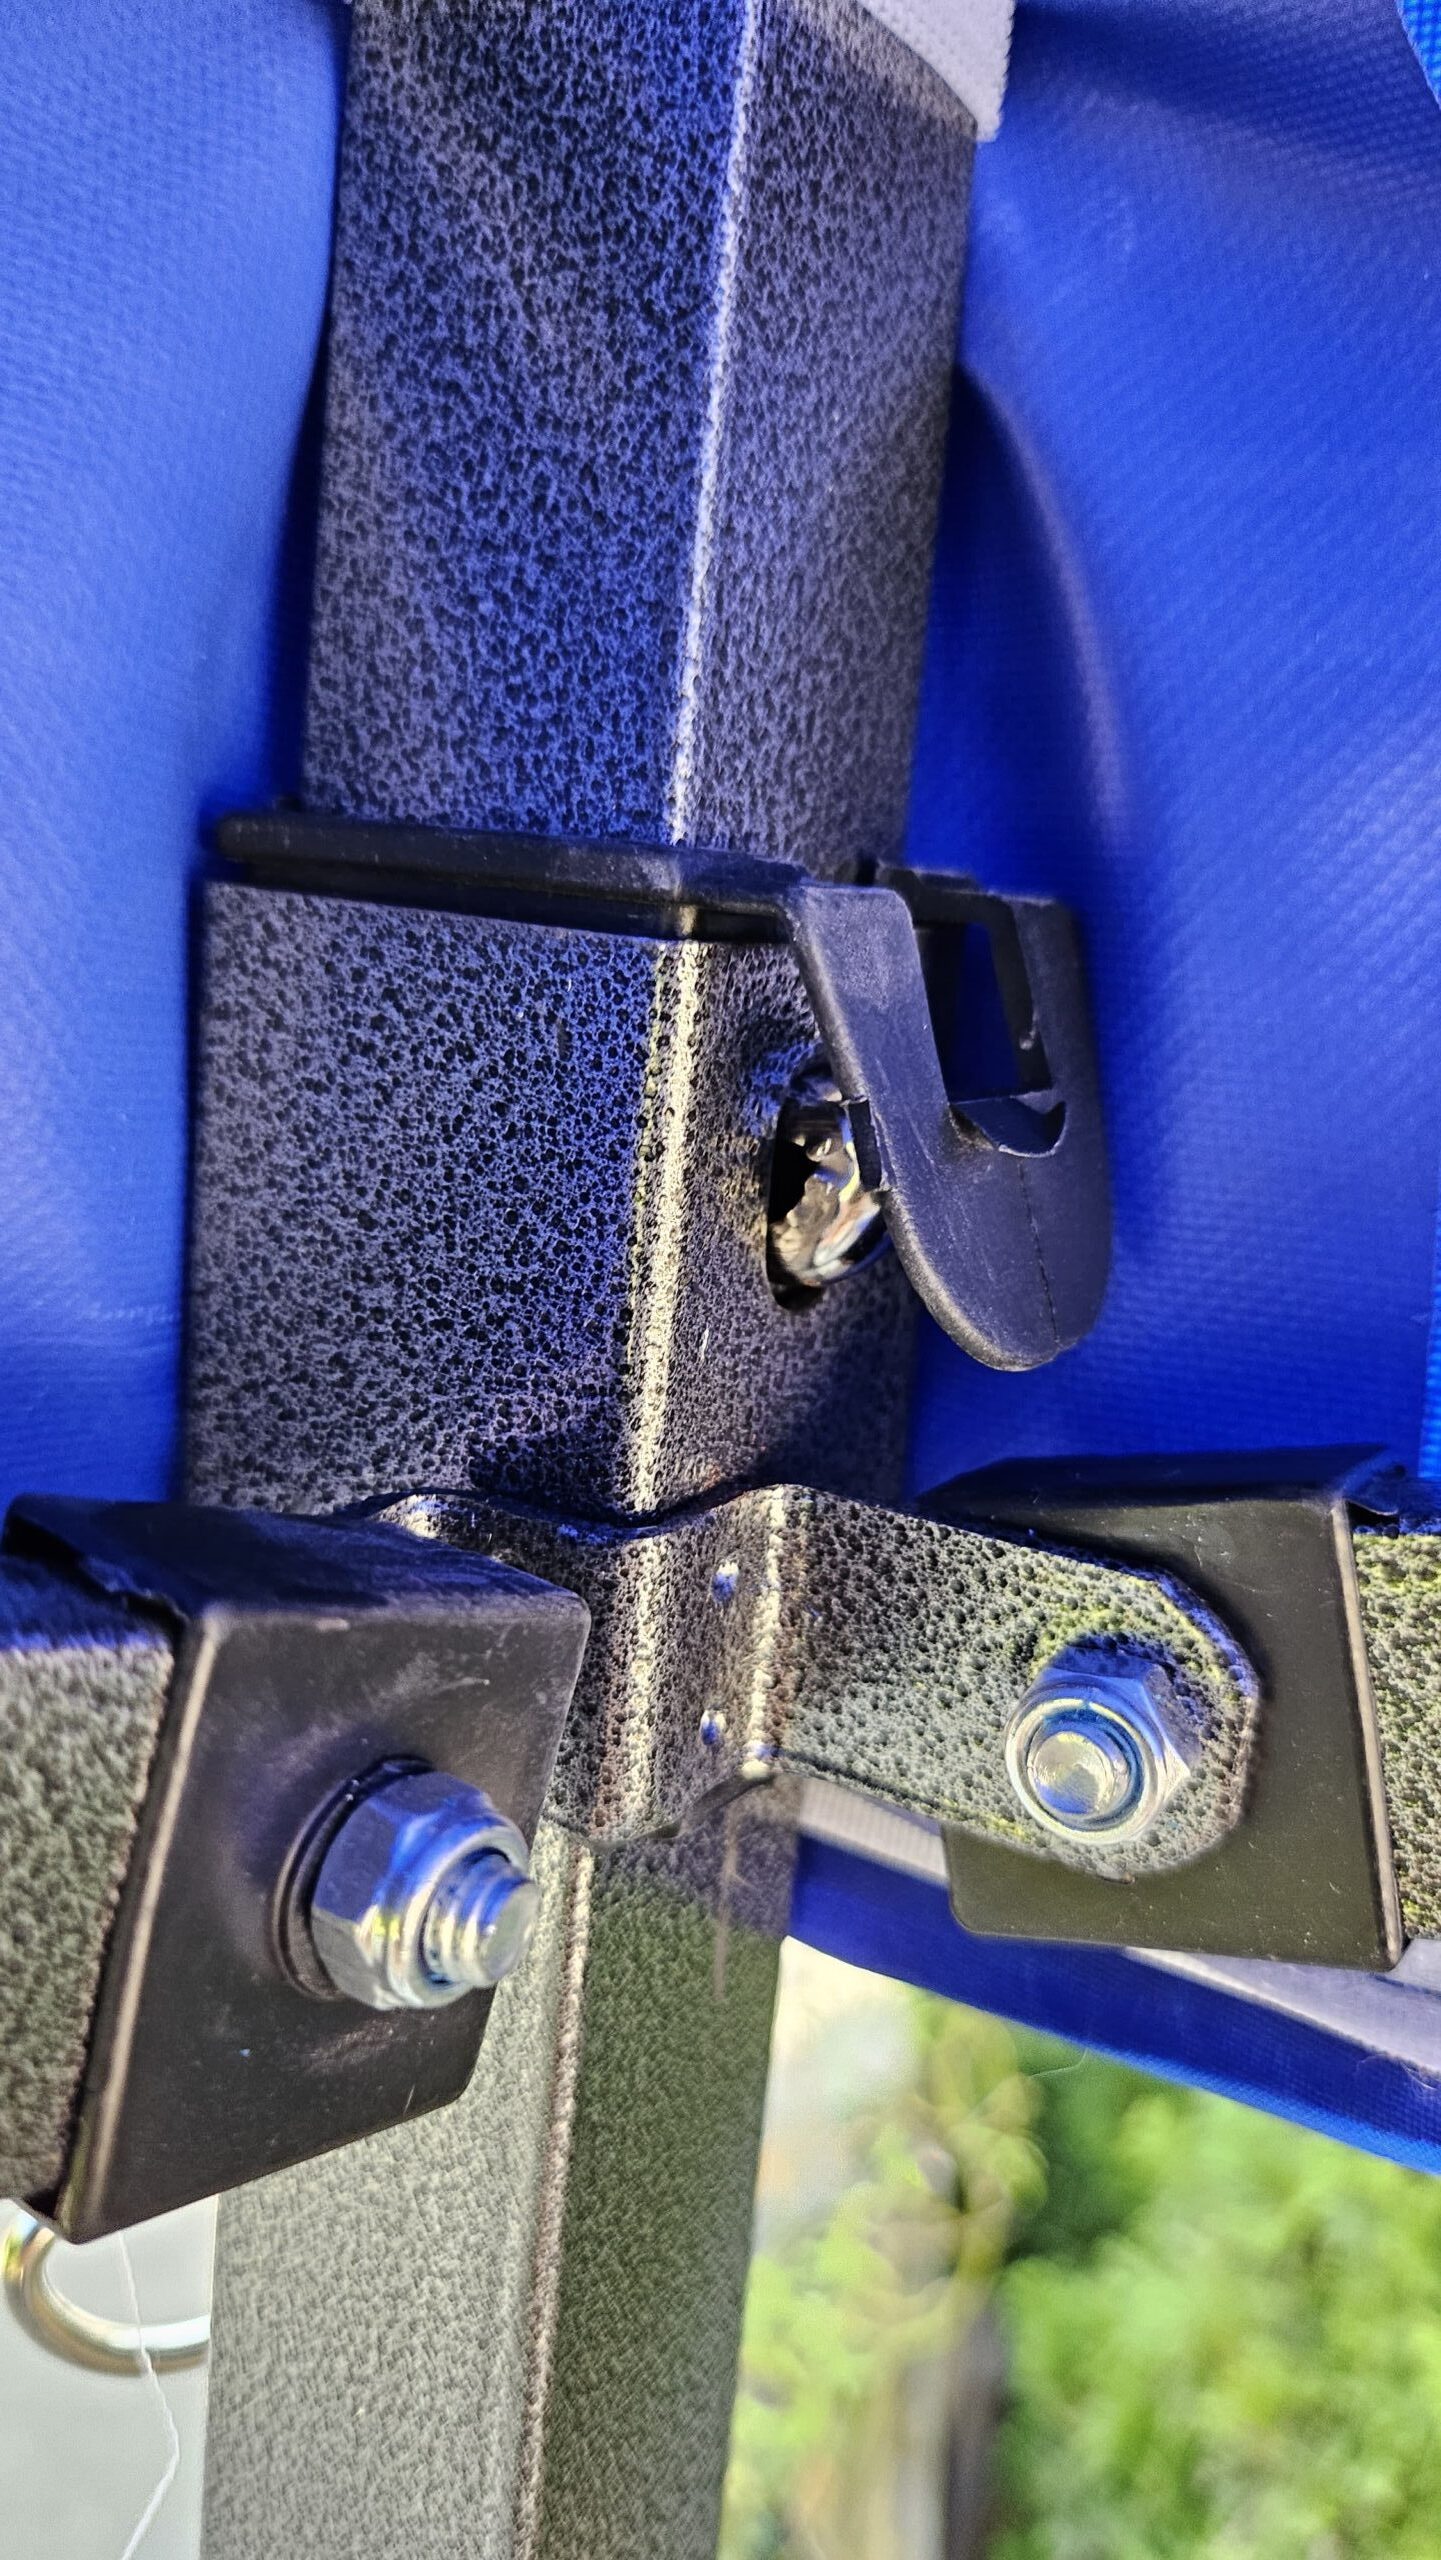
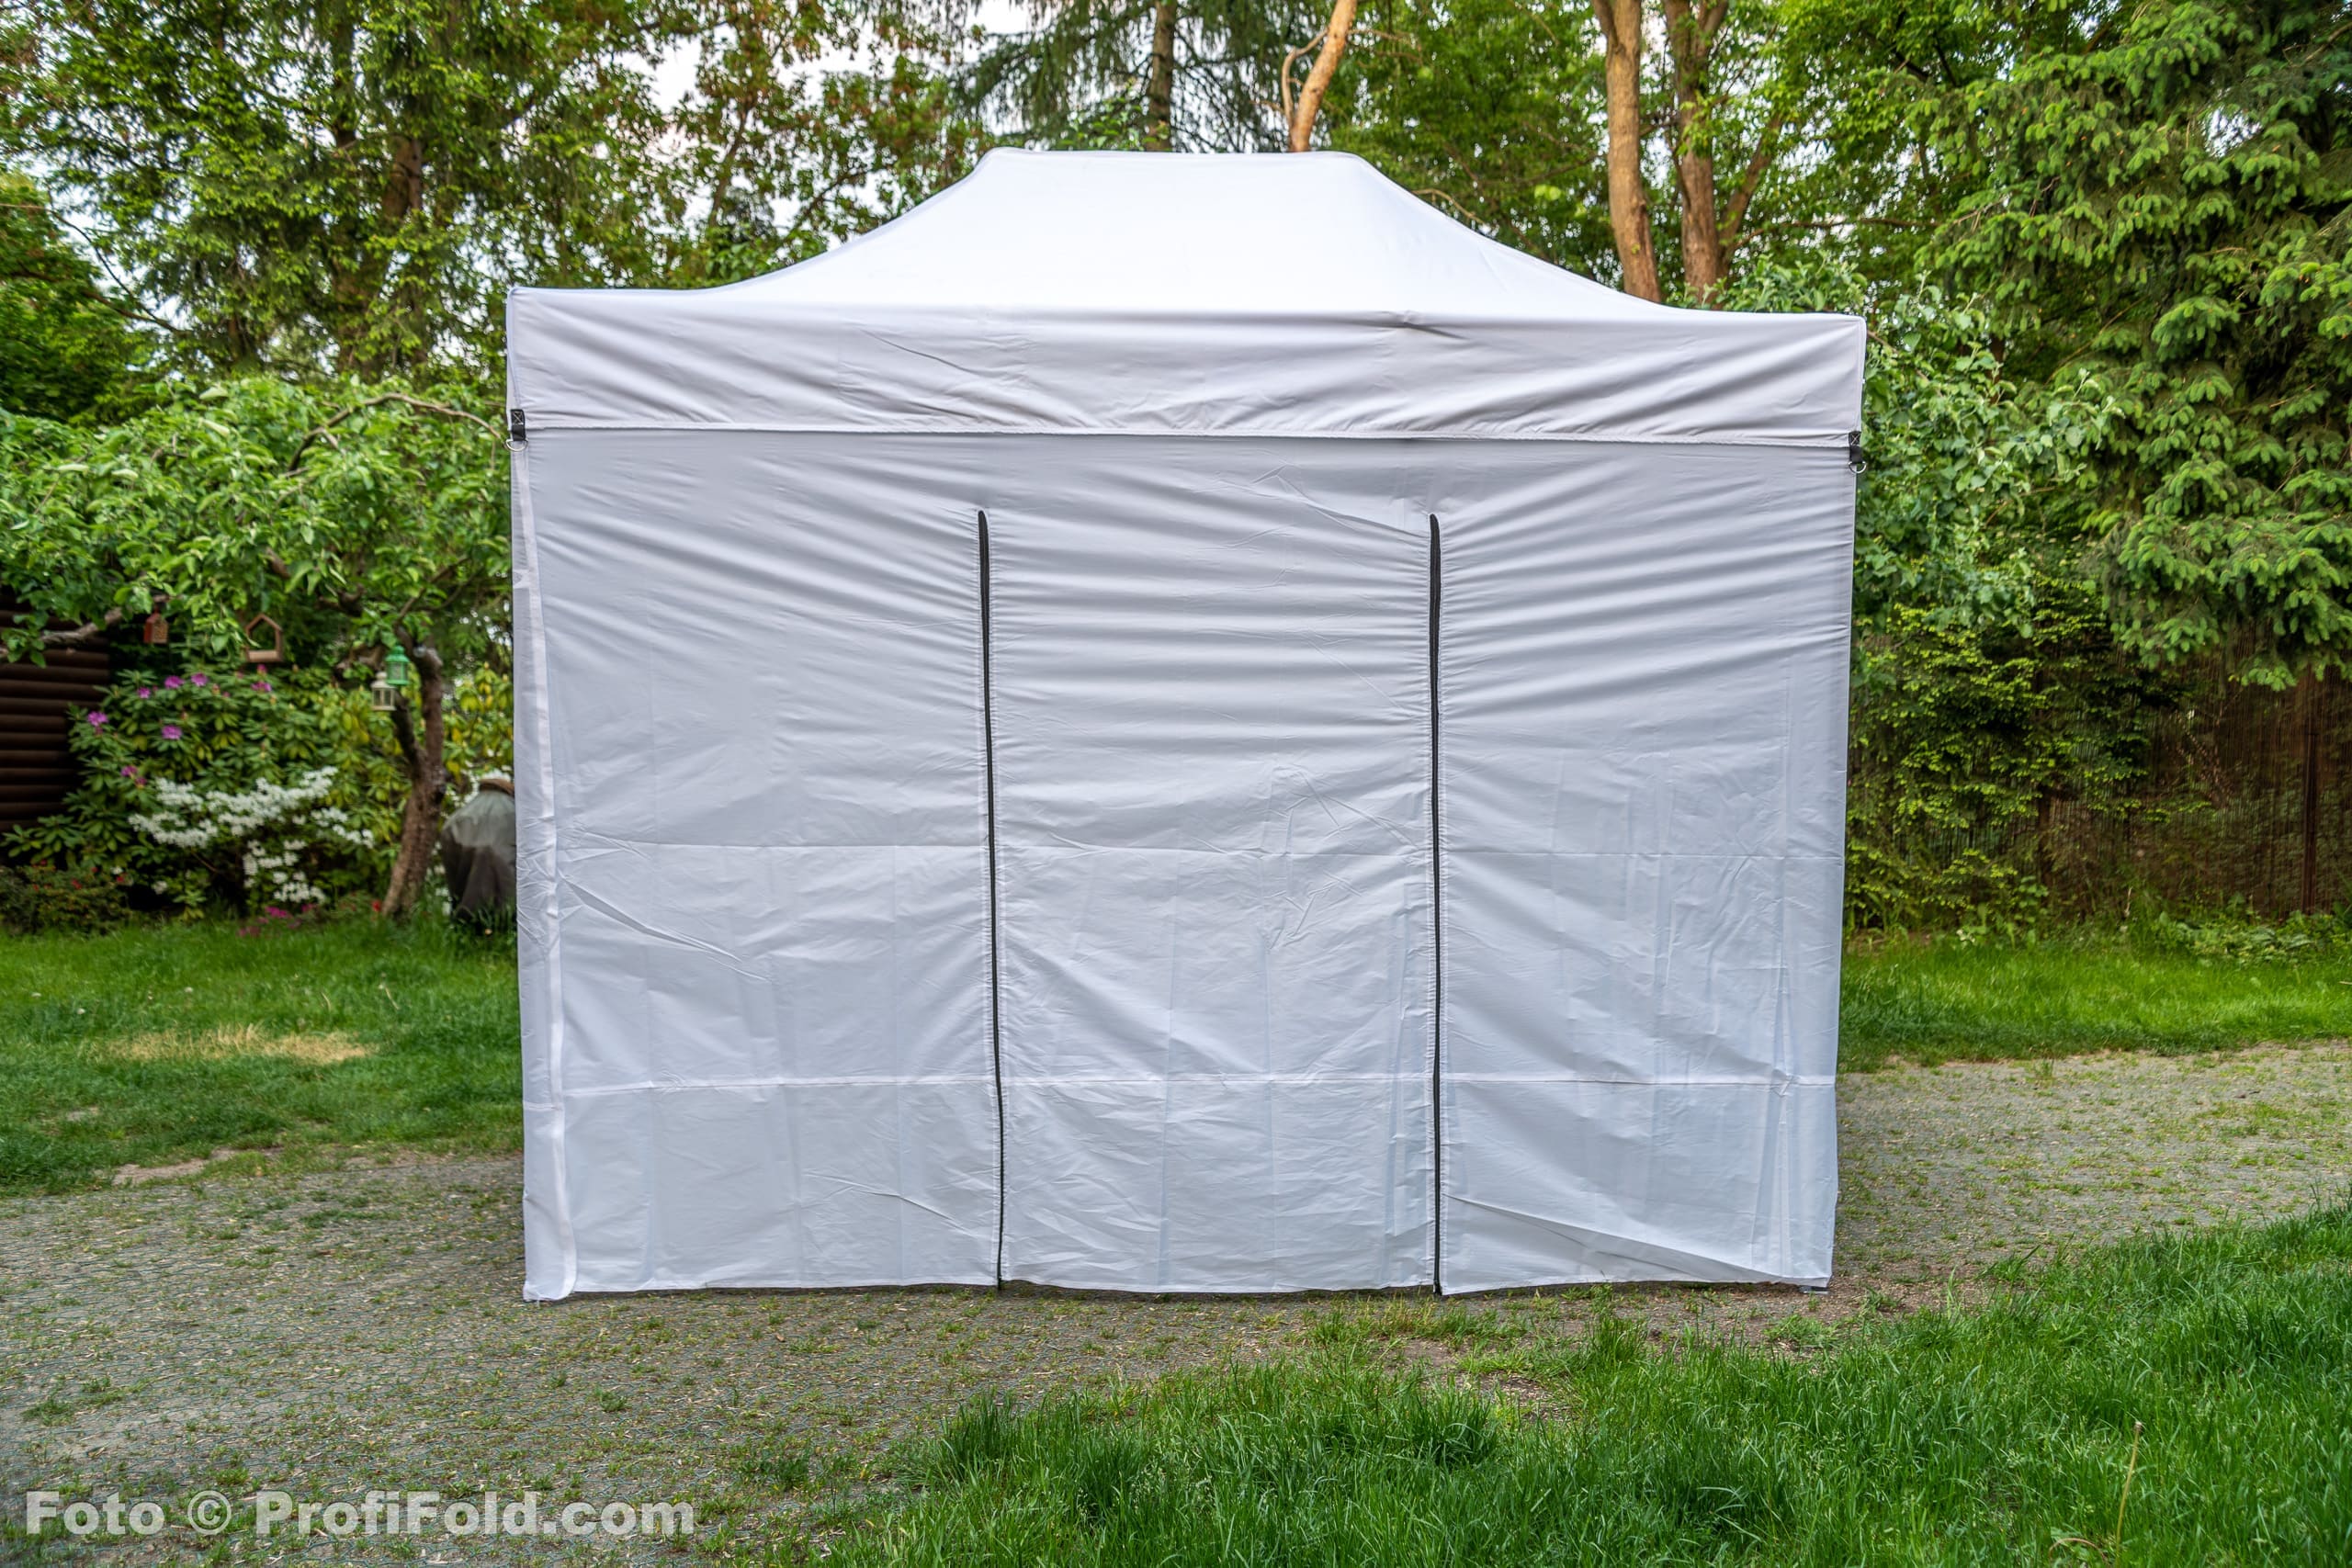
Step 6 – Attach the walls.
- If you wish to use the walls, attach them last when the tent with the roof is already set up.
- Since all the walls are connected, start by finding the front side with the door and attach it to the roof edge with Velcro straps, ensuring the left edge of the wall is aligned with the left leg and the door is centered in the tent.
- If you prefer to attach the door on the short side of the tent, that’s also possible. Do it in the same way, but the door will then be positioned further to the right, not in the center.
- Now go around the tent and attach the walls to the roof edge with Velcro straps.
- Note: You must fold up a bit of the roof edge at each leg to fit the wall underneath, then fold the roof edge back down over the wall. This can be tricky since the roof is taut. If needed, you can loosen the leg attachment at the roof edge by pressing down the plastic holder to click it out. Once the walls are in place, click the leg fasteners back in.
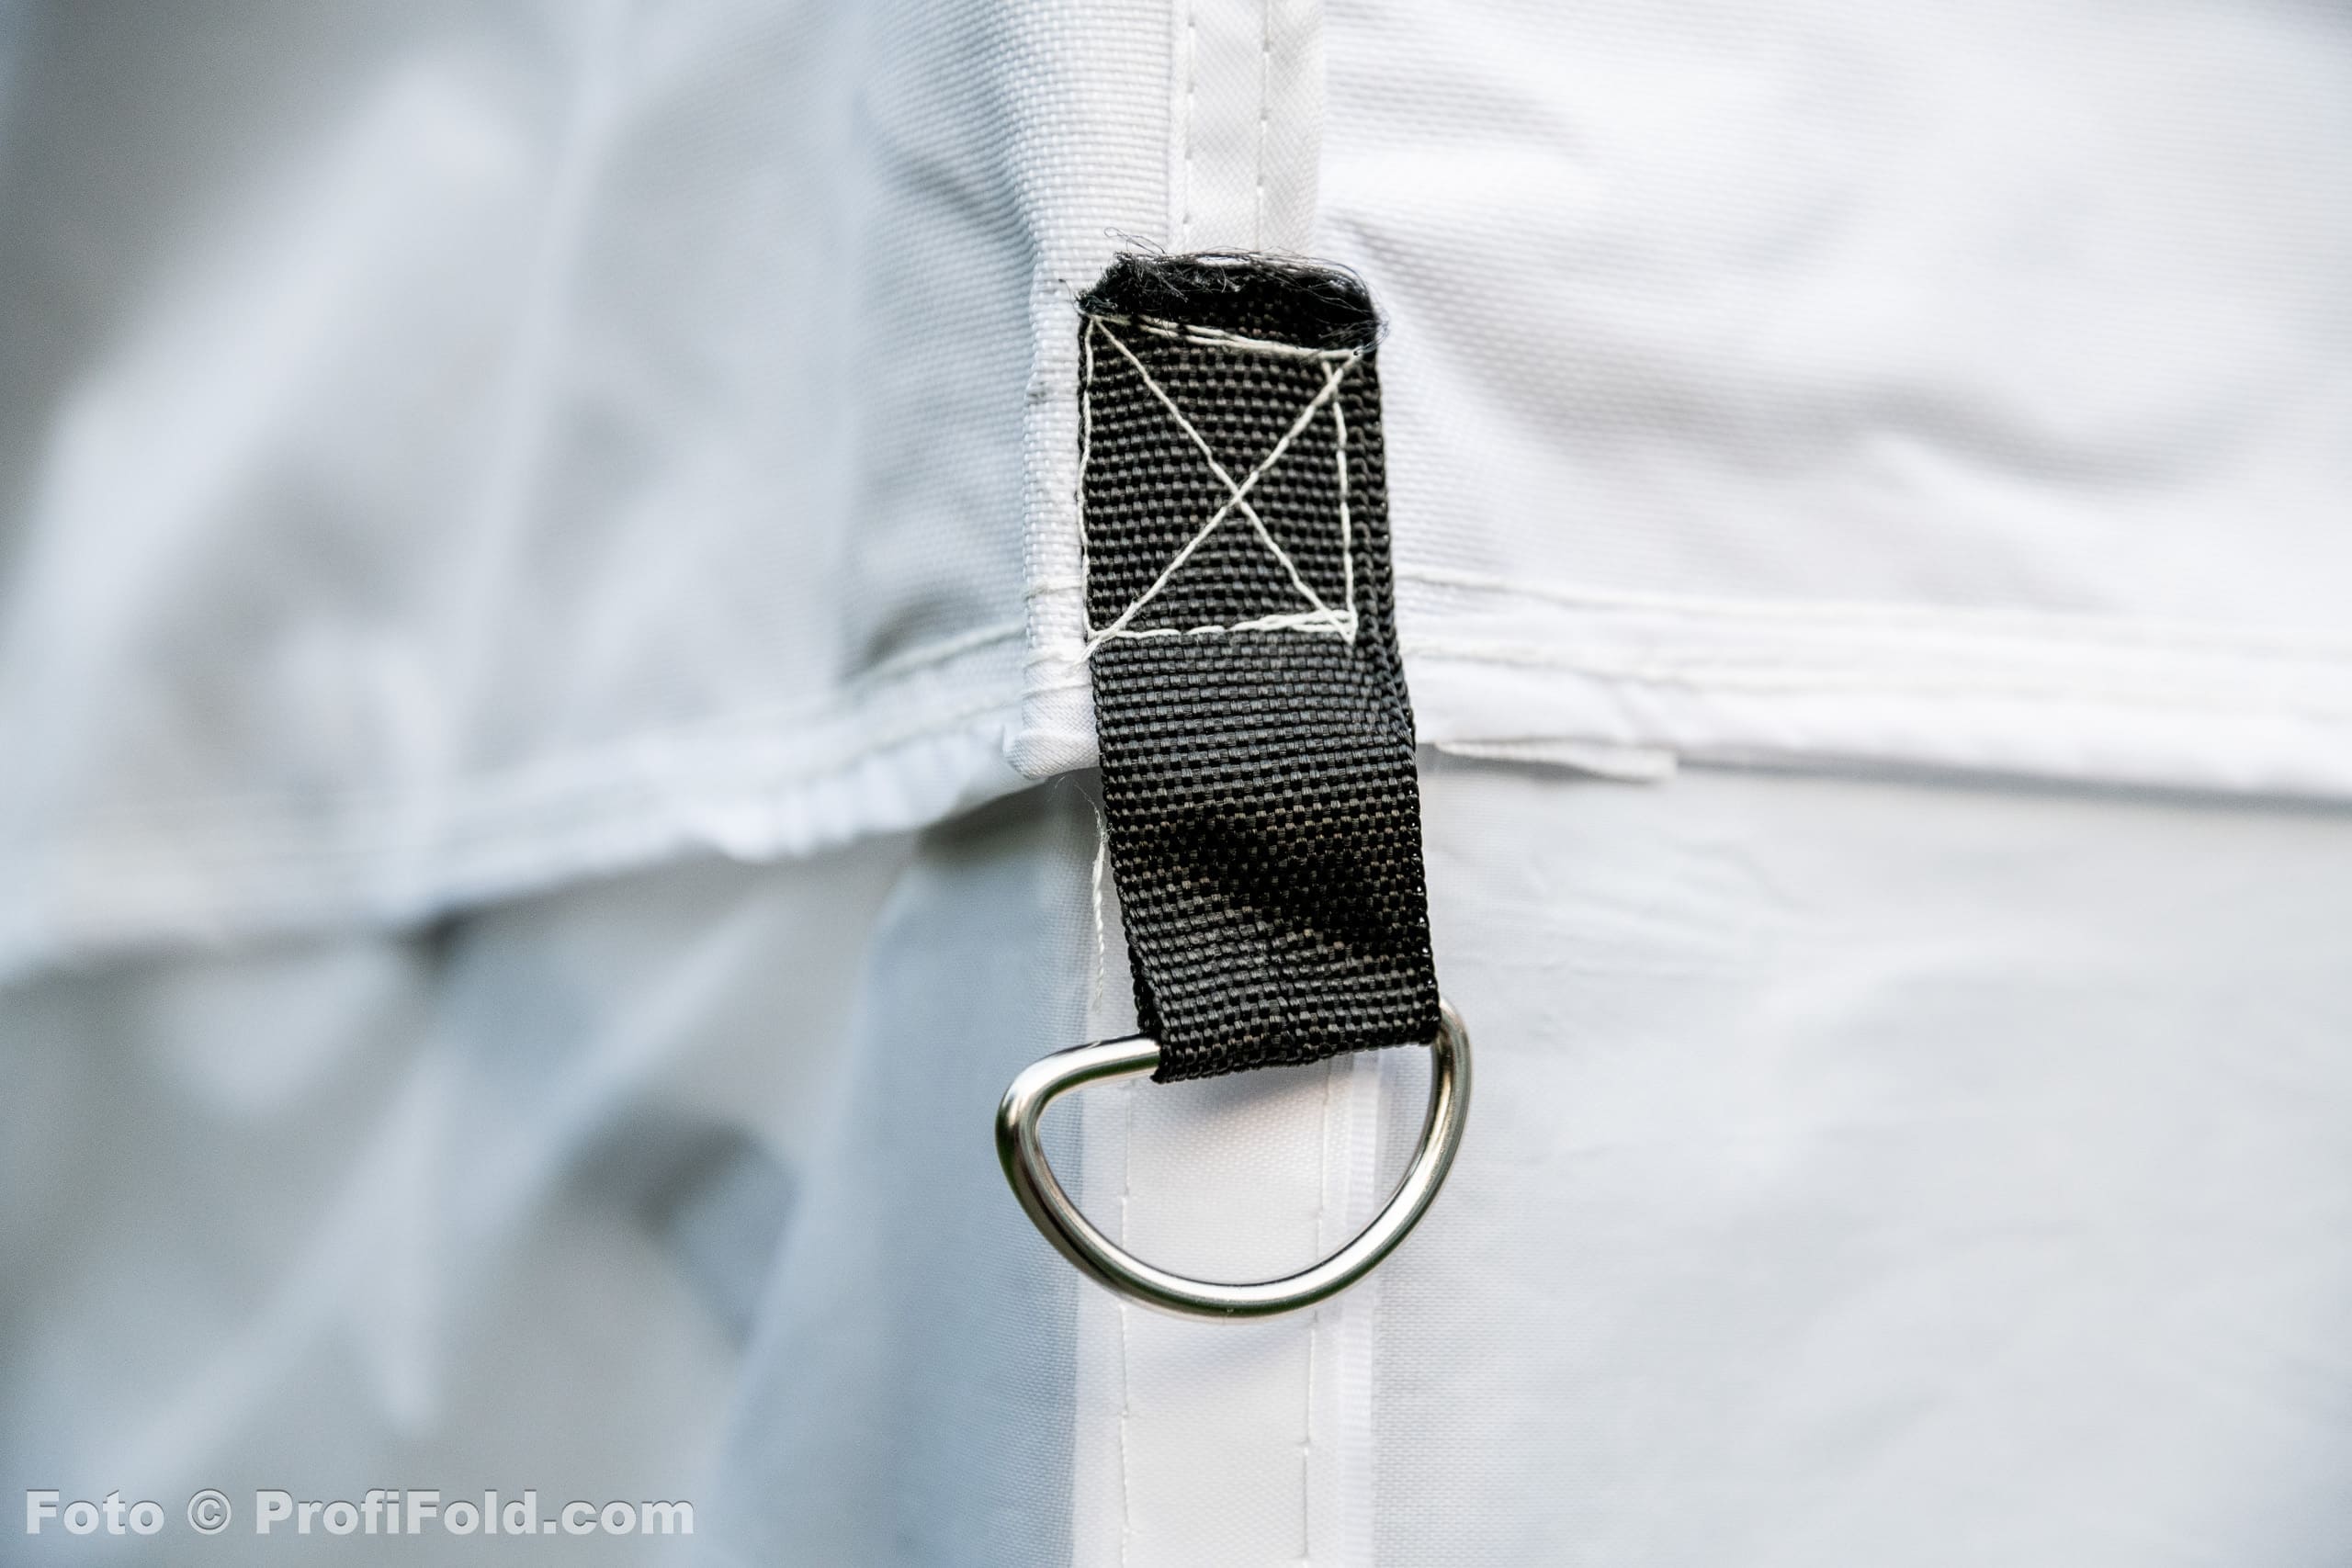
- Caution: Do not pull on the metal loop for the tent ropes, as it can easily tear.
Important! User Recommendations for the ProfiFold PopUp Tent:
Important User Recommendations for ProfiFold PopUp Tents:
- Handle the tent with care! The warranty covers only manufacturing defects.
- Avoid bad weather! ProfiFold tents are durable for normal use. However, remember that no tents in this price range (regardless of the brand) can withstand very strong winds and severe weather conditions.
- Not for year-round permanent use! These quick tents are not suitable for being set up permanently all year round.
- Wear and tear – ProfiFold quick tents offer good quality relative to their price, but they have their limits. For instance, the frame’s legs may bend in strong winds, or the fabric may wear out over time. Also, careless assembly can damage certain parts of the tent.
- Replacement parts are available – If needed, we have replacement parts available at a low cost (not covered by warranty).
Bästa Pop-Up Tält
i budgetklassen
Distribution av Snabbtält
Distributör av tält från ProfiFold. Konkurrenskraftiga priser och attraktiva mängdrabatter. Det bästa valet när det gäller prisvärda, lätta pop up tält / snabbtält. Lämpliga för marknader och events.
Kontakt
Svensk Distribution:
VerktygsGrossen.nu
Email: sales@ProfiFold.eu